PCB Repair Logs Black Tiger: Difference between revisions
mNo edit summary |
mNo edit summary |
||
| (One intermediate revision by the same user not shown) | |||
| Line 5: | Line 5: | ||
<tr class="> | <tr class="> | ||
<td colspan="2" class="" style="text-align:center;">[[Image:marquee_black_tiger.jpg|200px]]</td> | <td colspan="2" class="" style="text-align:center;">[[Image:marquee_black_tiger.jpg|200px]]</td> | ||
</tr> | |||
<tr class=""> | |||
<th scope="row" style="text-align:left; white-space: nowrap;">Manufacturer</th> | |||
<td class="" style="">[[PCB_Manufacturers_Capcom|Capcom]]</td> | |||
</tr> | |||
<tr class=""> | |||
<th scope="row" style="text-align:left; white-space: nowrap;">Year</th> | |||
<td class="" style="">1988</td> | |||
</tr> | </tr> | ||
<tr class=""> | <tr class=""> | ||
| Line 12: | Line 20: | ||
<tr class=""> | <tr class=""> | ||
<th scope="row" style="text-align:left; white-space: nowrap;">Pin Out</th> | <th scope="row" style="text-align:left; white-space: nowrap;">Pin Out</th> | ||
<td class="" style=""> | <td class="" style="">[http://wiki.aussiearcade.com.au/index.php/File:Jamma_pinout.png Jamma Pinout]</td> | ||
</tr> | </tr> | ||
</table></p> | </table></p> | ||
Latest revision as of 10:24, 5 February 2013
Black Tiger (Bootleg)
 |
|
| Manufacturer | Capcom |
|---|---|
| Year | 1988 |
| PCB Image | Reserved |
| Pin Out | Jamma Pinout |
Board 1
Repairer: Womble
Forum Thread: Black Tiger (Bootleg) PCB Repair
Getting on for a year ago I picked up a bootleg Black Dragon board on ebay that was sold as faulty.
Got it home, plugged it into my cab and got this screen..
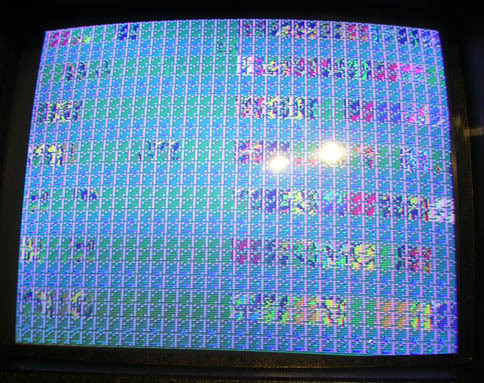
Checked the voltages and ribbon cable connections and they were good. Very few marks on the board, one fair sized scratch but the track underneath was still good.
1st step was to reseat all the ROMs on the board and I quickly found one with a leg bent under.
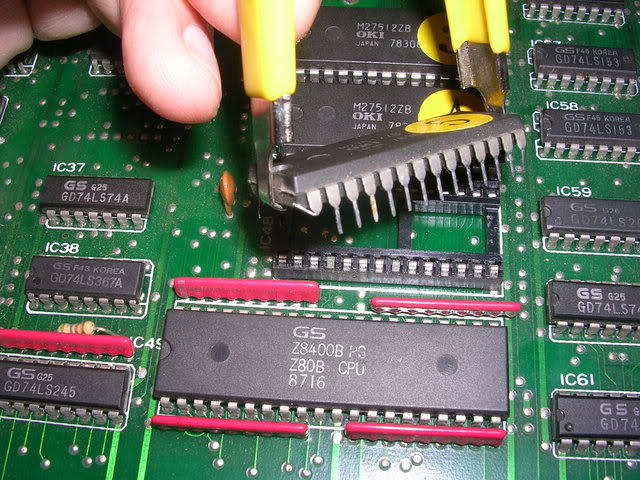
Straightened the leg and powered it up again but nothing had changed.
The Z80s are running but its clear that they were crashing, which in the absence of a watchdog reset means the system jams solid.
A quick hop around the board with the logic probe and data sheets for the RAM chips showed up that 3 of the 5 2018 RAM chips (IC21 and IC23 on CPU board, and IC117 on the video board) had floating pins.
So I de soldered them, fitted sockets and installed new RAM. That gave me the different screen of crap on boot.
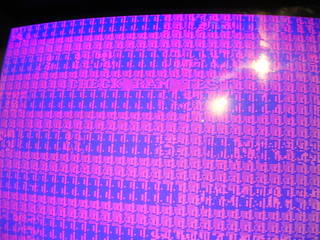
This crap looks like a hotchpotch of graphics elements, blocks of gfx data from the game world. Amongst that crap was often the text "Check RAM ROM". I had no idea if that was an instruction, or a the title of a test that doesn't run. Either way I took it to mean the same - the board can drive but the data is borked. Oh and sometimes after a few seconds of that screen I get a rather mashed game splash screen, at which point the system locks solid.
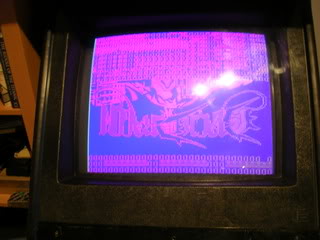
This looked like progress, and it still smelt like a RAM fault, especially with the high failure rate of the RAM so far. So I de soldered the 6264 at IC43 on the CPU board and dropped it in my USB tester, chip test failed!
ICs 43 (RAM) and 44 to 48 (ROM) are in a tightly formed stack of sockets, a number of them had rusty contact pads within the sockets so I de soldered all the sockets and fitted new machined pin sockets in their place. Its easier to remove them sequentially than it would be to fit the RAM in a new socket and then come back to try and remove one with a socket on both sides. It also let me see the track layout under the sockets as the address line connections between them were not what I was expecting. I couldn't find the schematics anywhere so seeing where the tracks went under this section meant that I could buzz them all through.
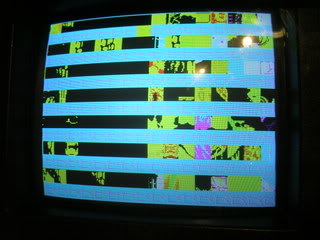
When that was complete the board then gave this.
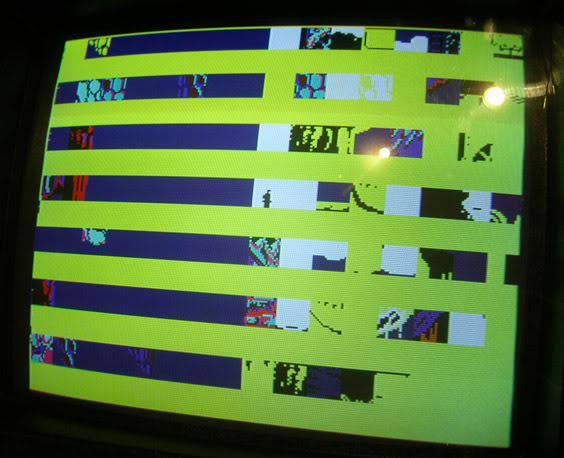
Or this
As I was assuming the remaining couple of 2018s were ok on the video board based on the logic probe test there was only one other RAM chip to change - a fat 2016 at IC86.
When I replaced that with a new chip the board burst back into life.
It was still not quite right as the icon graphics and text are all corrupted as you can see on the above photo and this close up.
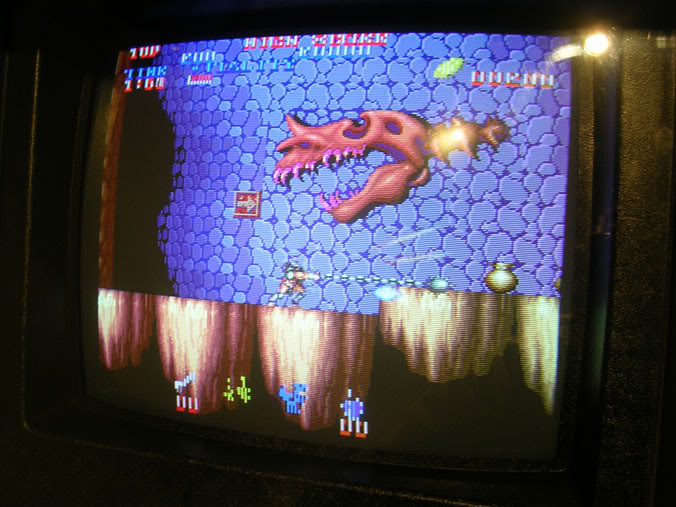
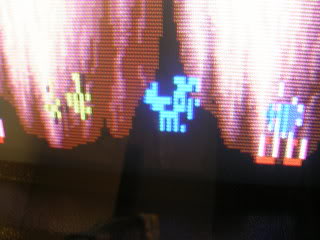
I traced this to ROM #15 at IC112 on the video board, when this ROM is removed all the text and icons vanished from the game. The ROM read as "out of spec" in my reader, but as it was a PROM I had no idea if that meant anything or not, and I couldn't find a Black Dragon MAME romset that had the rom layout that this board has.
As Black Dragon is the Japanese version I was always planning to turn it in to Black Tiger anyway, using ROM 15 from the Black Tiger set with the original Black Dragon roms covered the screen in crap so that wasn't a winner.
Using Arcade Kings instructions I burnt new ROMs for IC 44-48, IC19 & 20 and IC27 & 28 and fitted the new rom at IC112 and the game came up perfectly as Black Tiger.
At this point I thought I was done with this one, I even played the game for a good few hours. Then weird things started to creep back in. Sometimes the Hero's clothing would flicker between the standard armour and the powered up armour. The morning star weapon would be drawn too low and the dragon that comes out of the sky into the lightning at the start of the game was drawn twice.
After a lot of poking and flexing of the board this was traced to the daughter board that sits between the 2 main boards in the stack. It has IC sockets that line up with long pins protruding through the underside of the video board and it just pushes together, all in all a pretty naff connection method. The long pins had been touched up before so I resoldered them all properly and this cured the problem, but this is where it gets weird.
The original problem went away but the backgrounds were now being oddly drawn. Its made up of vertical stripes and these were all inverted so the right-hand side of the stripe was drawn on the the left hand side. This made the game look odd and wasn't really clear until the background had an element that was wide, like the dinosaur bones which were all broken up.
I spent ages looking for problems I could have introduced while fixing the soldering and eventually slung the board back on my pissed off pile.
Reading Gamedudes repair of GnG made me take another look as his fault was inverted sprite elements. His fault was an LS273 chip and it turns out that was my problem too, except I havent replaced anything and the fault has gone.
Went over the boards many 273s with the logic probe, nothing obviously wrong. Found that if I interrupted the clock signal to the 273s I could narrow down which areas of the board were doing what. The background was handled by the area just left of centre on the video board. So I went round the 273s piggybacking a new one on all the existing ones. As soon as I piggy backed a chip on the 273 at IC36 the fault cleared.
The odd thing is that the fault remained cleared when I took the piggy backed chip off again, and it remained cleared following a power down and power up, and is still fine the next day.
I don't even have a photo of what it was doing as the fault is totally gone now.
This board has been on a shelf for over a year since it developed this fault, it hasn't even been assembled for most of that time either as I had borrowed its ribbon cables for another project temporarily. There's no way a charge could have hung around for the board to remember stuff.
Very odd, but the board is now considered a worker, finally!
Board 2
Repairer: VectorGlow
Forum Thread: Black Tiger (Bootleg) PCB Repair
Symptom: Colours in large ‘Black Tiger’ text are wrong when watching attract mode, also no yellow outline to them but sometimes vertical stripes started appearing while eventually took over the whole screen
Cure: Replaced bad 28pin 86S100 on lower board, location 1N
Symtpm: Various background colours wrong, as well as main title text on high score table, no grey shading on that large text, etc.
Cure: Replaced bad 74LS273 at location 12H on top board