PCB Repair Logs Turbo Force: Difference between revisions
Created page with "==Turbo Force== <p><table class="infobox vevent" style="width:22em;" cellspacing="5"> <caption class="summary" style=""><b>Turbo Force</b></caption> <tr class="> <td colspan="..." |
mNo edit summary |
||
| Line 4: | Line 4: | ||
<tr class="> | <tr class="> | ||
<td colspan="2" class="" style="text-align:center;">[[Image:marquee_turbo_force.jpg|200px]]</td> | <td colspan="2" class="" style="text-align:center;">[[Image:marquee_turbo_force.jpg|200px]]</td> | ||
</tr> | |||
<tr class=""> | |||
<th scope="row" style="text-align:left; white-space: nowrap;">Manufacturer</th> | |||
<td class="" style="">[[PCB_Manufacturers_Video_System_Co_Ltd|Video System Co Ltd]]</td> | |||
</tr> | |||
<tr class=""> | |||
<th scope="row" style="text-align:left; white-space: nowrap;">Year</th> | |||
<td class="" style="">1989</td> | |||
</tr> | </tr> | ||
<tr class=""> | <tr class=""> | ||
| Line 11: | Line 19: | ||
<tr class=""> | <tr class=""> | ||
<th scope="row" style="text-align:left; white-space: nowrap;">Pin Out</th> | <th scope="row" style="text-align:left; white-space: nowrap;">Pin Out</th> | ||
<td class="" style=""> | <td class="" style="">[[PCB_Pinouts_Jamma|Jamma]]</td> | ||
</tr> | </tr> | ||
Latest revision as of 08:39, 7 February 2013
Turbo Force
 |
|
| Manufacturer | Video System Co Ltd |
|---|---|
| Year | 1989 |
| PCB Image | Turbo Force PCB |
| Pin Out | Jamma |
Repairer: Elgen
Forum Thread: Turbo Force PCB Repair
Now I did do a mock-up of this somewhat easy repair with just some hook-up wires a few months ago, but always had a feeling that it could be done nicer. And now it just bugged me so much, that I had to do it...and why not make a log for others to see, I thought };-D
Got this original Turbo Force as untested in a larger batch of untested boards.
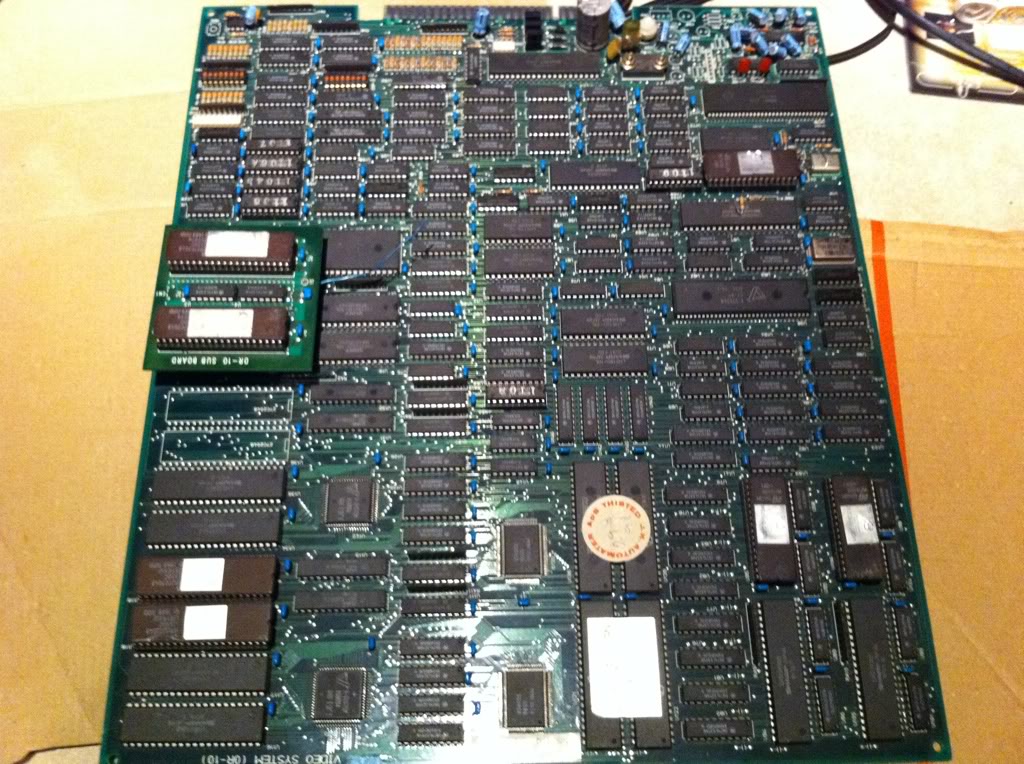
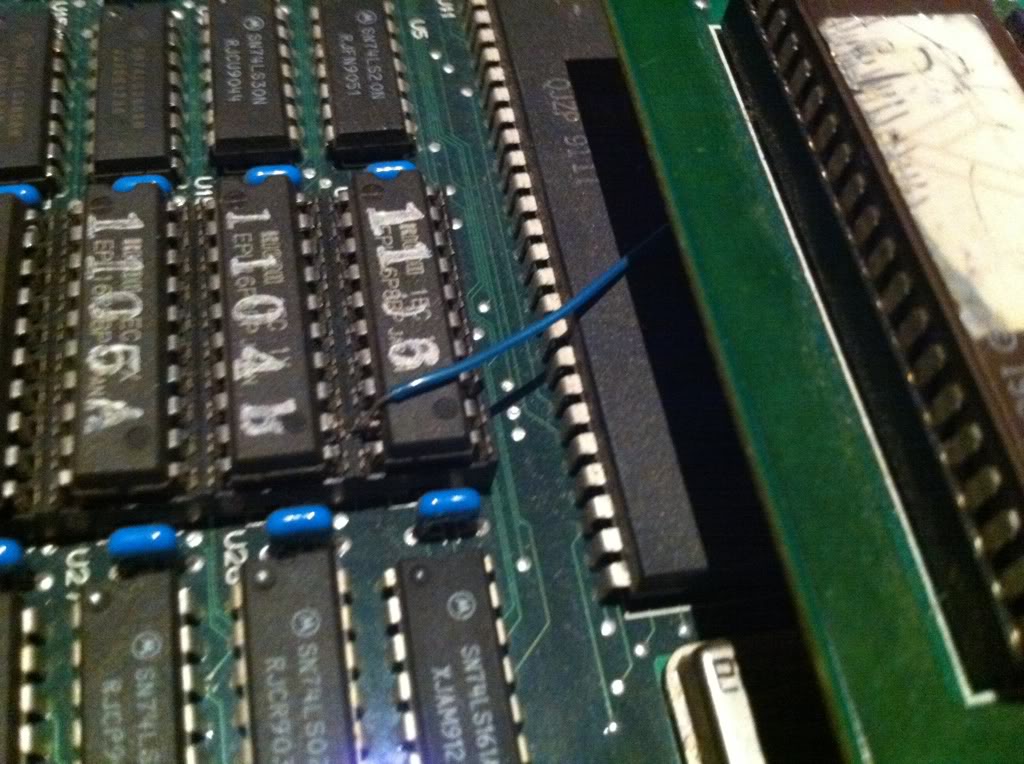
It wouldn't do anything just black screen and no sound. This construction immediately caught my eye; the sub board had a loose wire hanging from it.
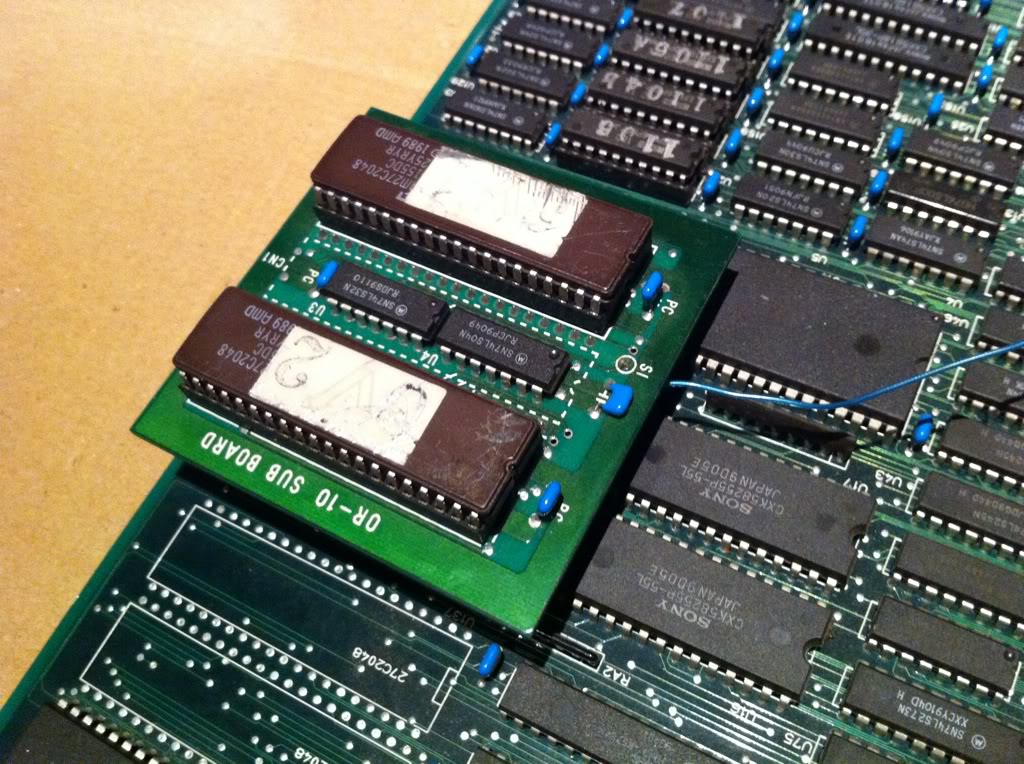
And when I pulled the sub board from it's socket, I saw that the thin bit were broken off of 2 of the pins
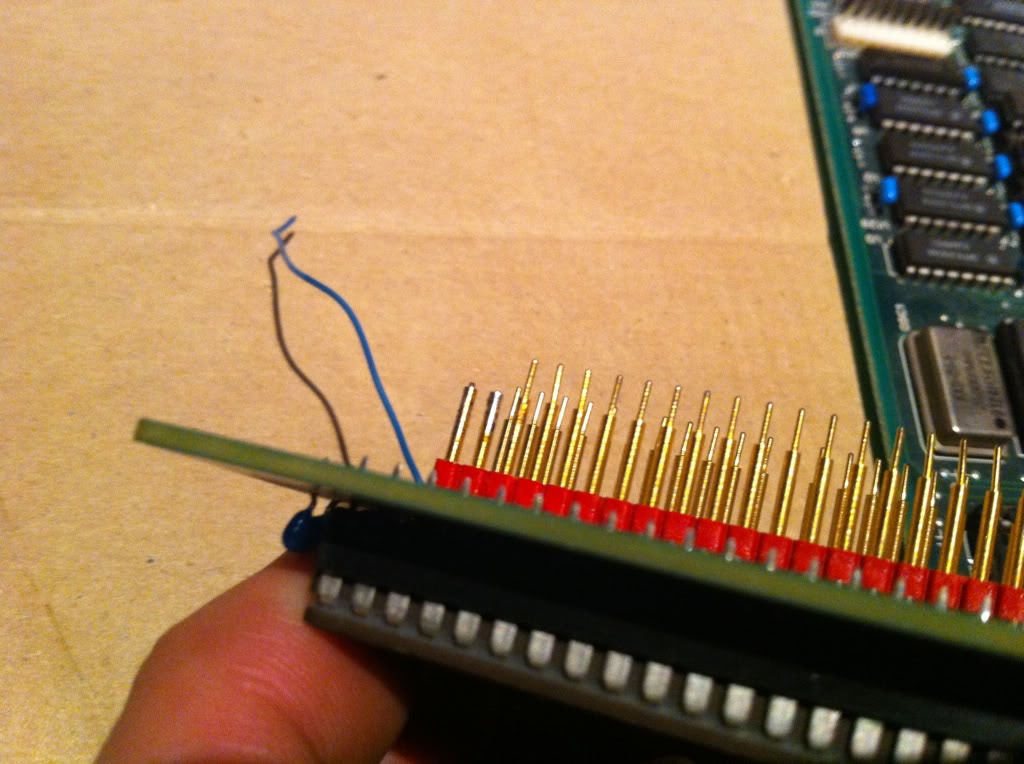
and one of the pieces were still stuck i the socket.
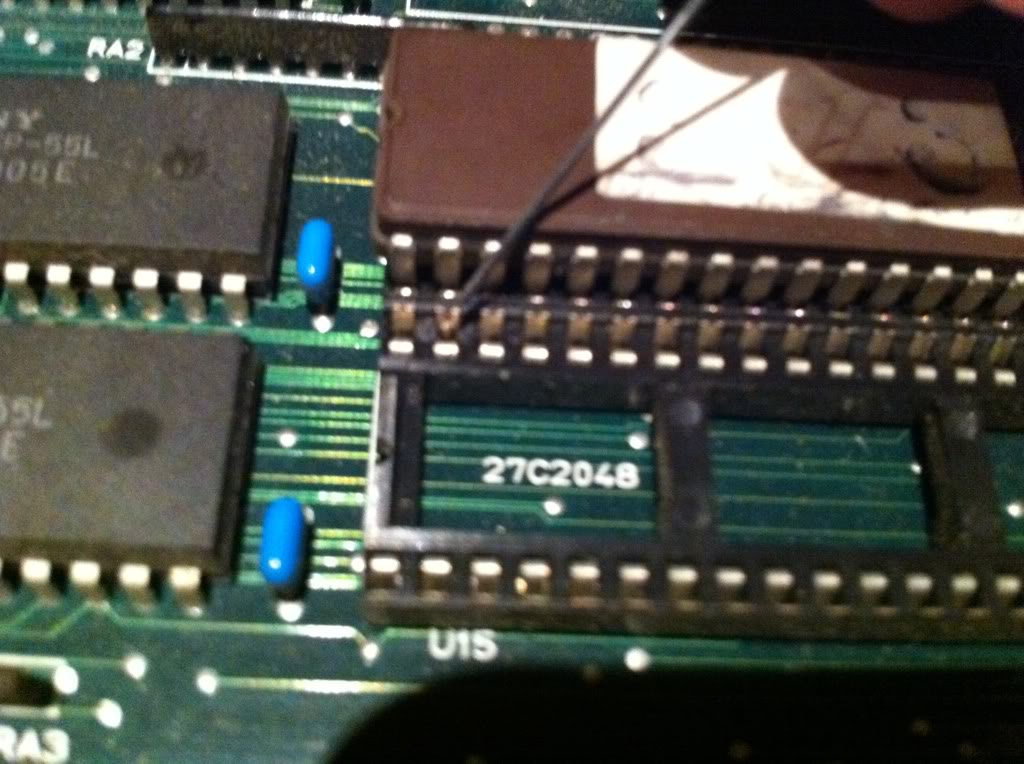
I managed to remove that with 2 needles and alot of patience.
Now my first plan was to saw a bit of the 2 broken pins and pacthing them with 2 pins of header strip by soldering them on.
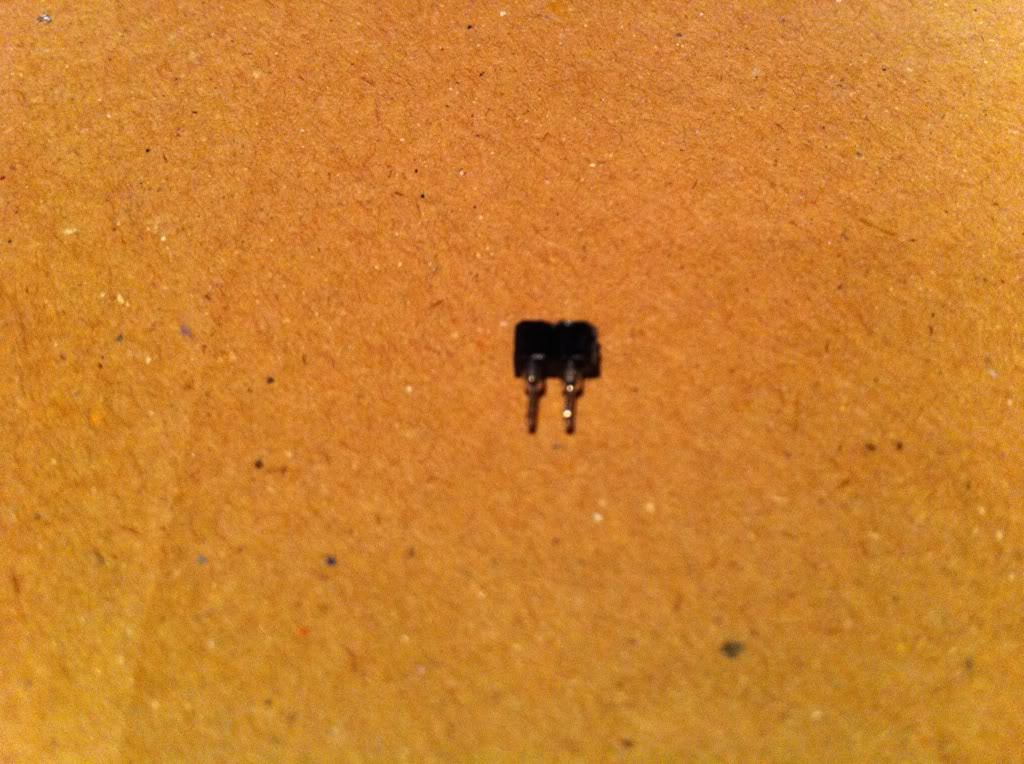
But I must have been too eager when sawing and wiggled the pins too much, cause they broke off at the end soldered to the sub board, also taking the pin beside them in the fall with them };-(
So that plan was out. I then remembered that I had a strip of these from a batch of scraped components I got from a shop once
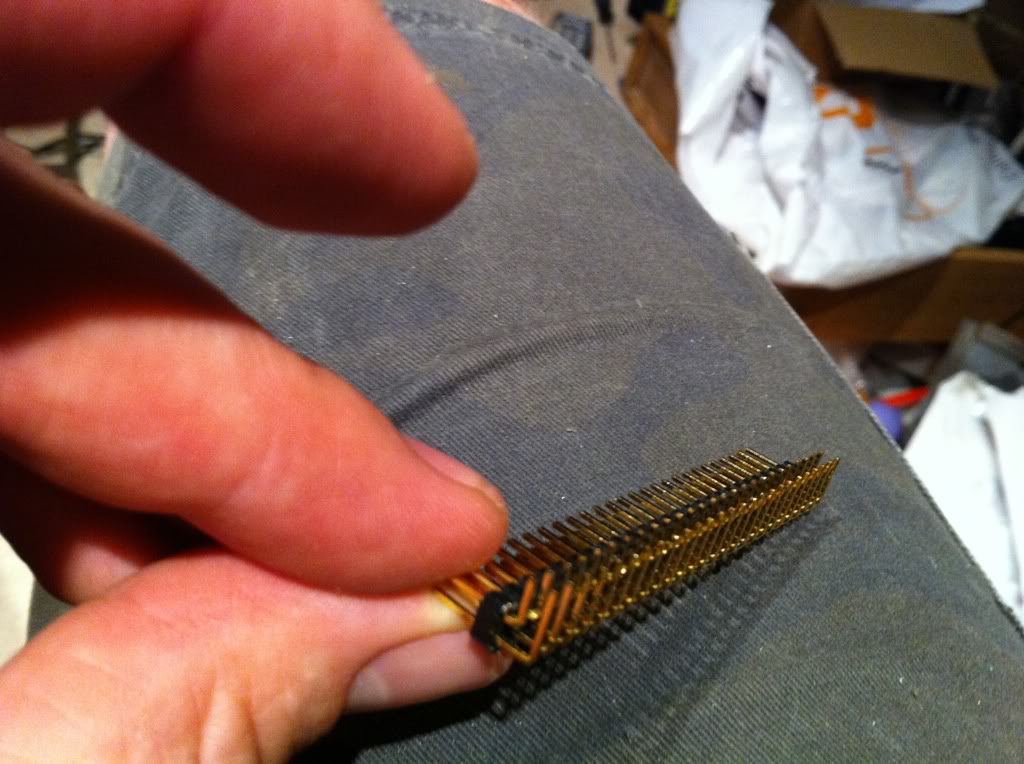
I straightened 3 of them out and pulled them out of the socket. Cleaned the holes on the sub board, soldered them in, and cut them down to the right lenght.
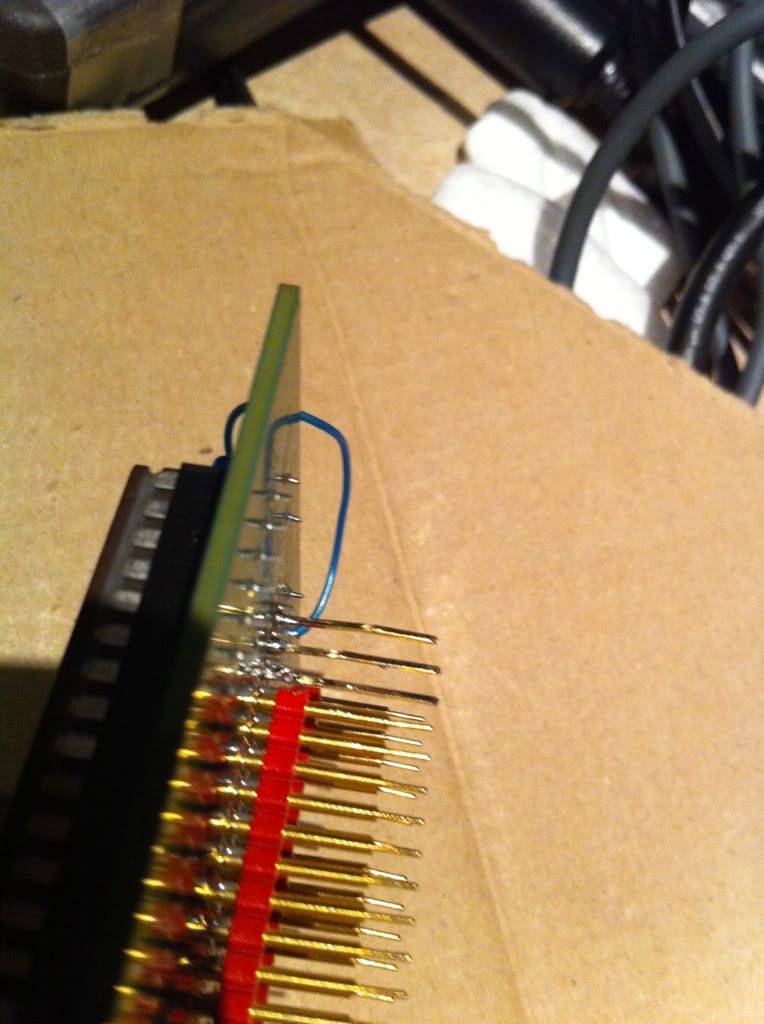
Now I had to deal with the loose wire. Putting the sub board back in place, the lenght of the wire gave my an obvious radius on the board to investigate. I quickly found a pin on a socketed IC with a blob of solder on it
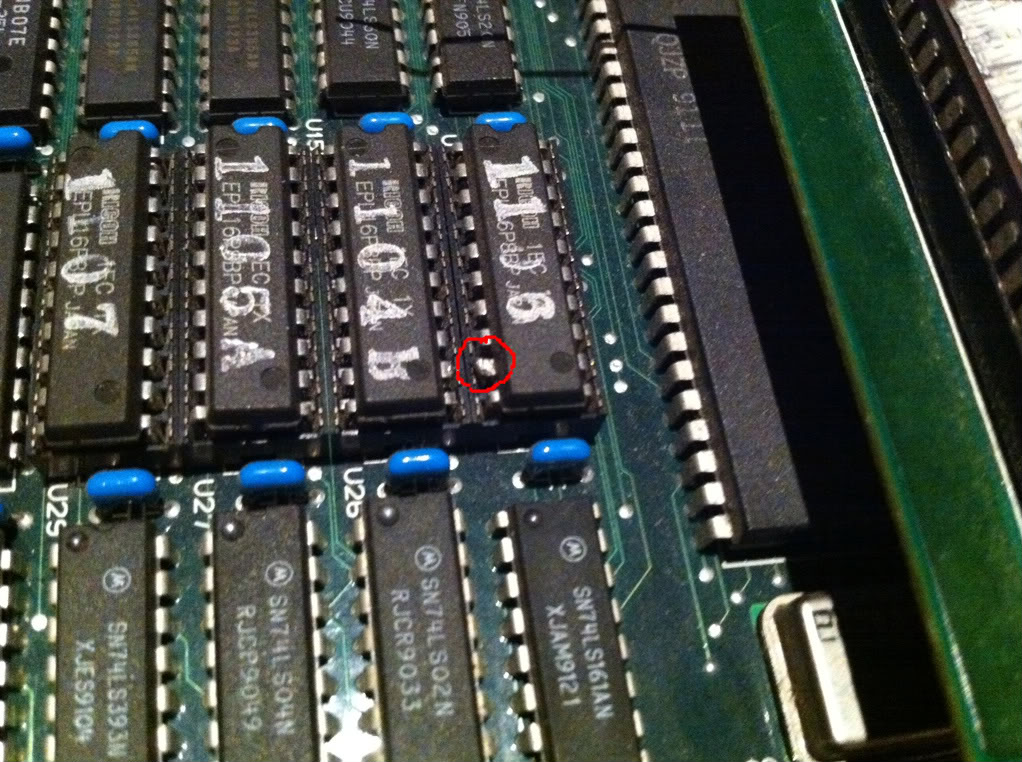
Tried connecting the board just pressing the wire against this pin, and viola:
File:Pcb repair turbo force 9.jpg
Case closed.
Actually it's a great vert shmup only using 1 button; smart bombs can be picked up, but are fired immediately upon pick up. The board also have a molex for a 3th controller so you could play 3 players simultaneously; I'd like to have a try at that some day };-P
