PCB Repair Logs Wonderboy 3 Monster Lair: Difference between revisions
mNo edit summary |
mNo edit summary |
||
| (15 intermediate revisions by the same user not shown) | |||
| Line 5: | Line 5: | ||
<tr class="> | <tr class="> | ||
<td colspan="2" class="" style="text-align:center;">[[Image:monsterland_marquee.jpg|200px]]</td> | <td colspan="2" class="" style="text-align:center;">[[Image:monsterland_marquee.jpg|200px]]</td> | ||
</tr> | |||
<tr class=""> | |||
<th scope="row" style="text-align:left; white-space: nowrap;">Manufacturer</th> | |||
<td class="" style="">[[PCB_Manufacturers_Sega|Sega]]</td> | |||
</tr> | |||
<tr class=""> | |||
<th scope="row" style="text-align:left; white-space: nowrap;">Year</th> | |||
<td class="" style="">1989</td> | |||
</tr> | </tr> | ||
<tr class=""> | <tr class=""> | ||
<th scope="row" style="text-align:left; white-space: nowrap;">PCB Image</th> | <th scope="row" style="text-align:left; white-space: nowrap;">PCB Image</th> | ||
<td class="" style=""> | <td class="" style="">[http://wiki.aussiearcade.com.au/index.php/File:Pcb_repair_wonderboy_in_monsters_lair_4.jpg Wonderboy 3 PCB]</td> | ||
</tr> | </tr> | ||
<tr class=""> | <tr class=""> | ||
<th scope="row" style="text-align:left; white-space: nowrap;">Pin Out</th> | <th scope="row" style="text-align:left; white-space: nowrap;">Pin Out</th> | ||
<td class="" style=""> | <td class="" style="">Reserved</td> | ||
</tr> | </tr> | ||
</table></p> | </table></p> | ||
Latest revision as of 10:51, 7 February 2013
Wonderboy 3 - Monster Lair
 |
|
| Manufacturer | Sega |
|---|---|
| Year | 1989 |
| PCB Image | Wonderboy 3 PCB |
| Pin Out | Reserved |
Repairer: GameDude
Forum Thread: Wonderboy 3 Monster Lair PCB Repair
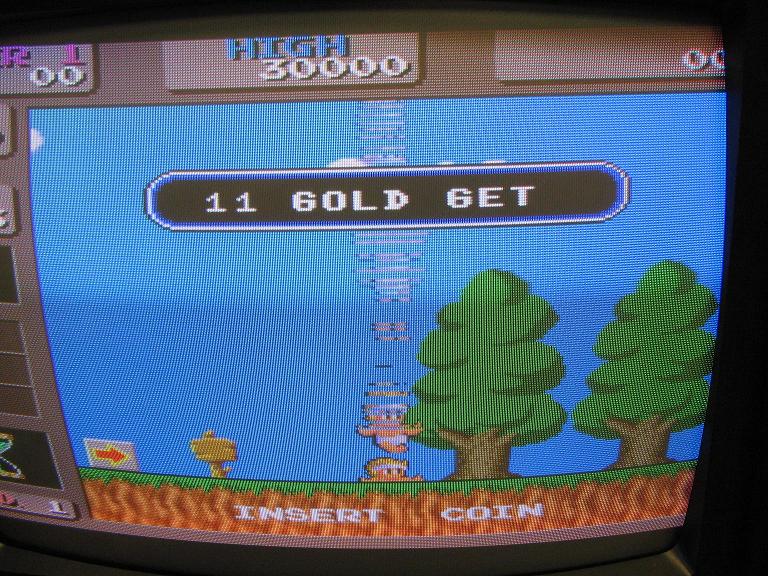
Problem was with sprites.

when cold all was good and when warm the sprites all glitched up into a single column up the screen.
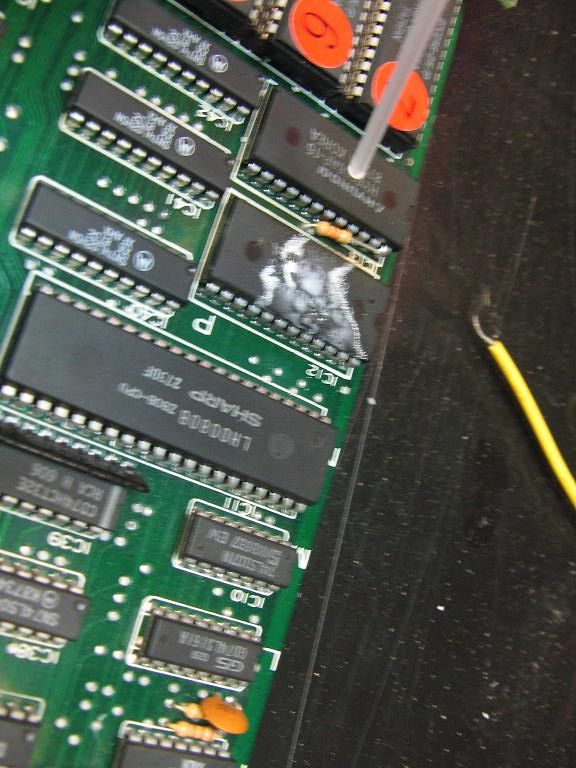
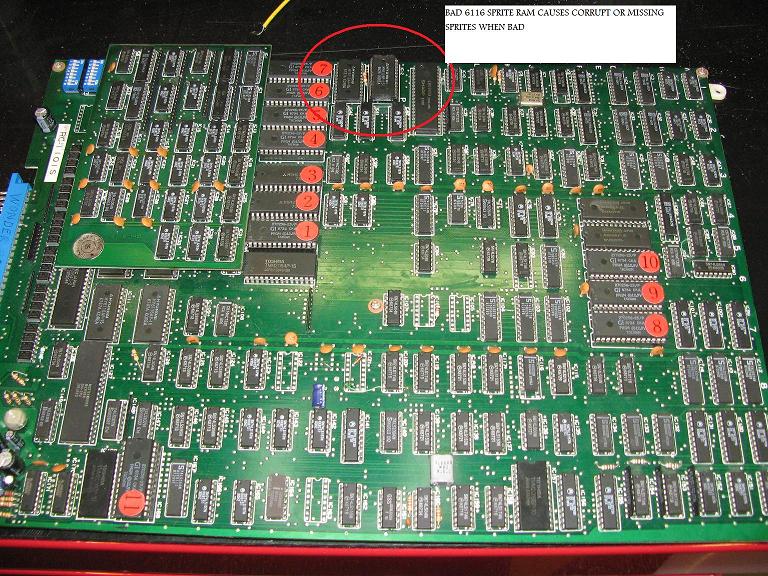
To find the correct ram location for sprites I opted for the not so tactful method of shorting two data pins on each ram until I found screen corruption that matches the problem. Its a rough guide but handy if you know what to look for.

When looking for ram faults in this way one thing to remember is NOT to short power pins!! only short data or address pins with another next to that pin, also doing this to ram running game code or ram for audio will probably reset the PCB so dont bother doing this to ram close to the main CPU.
It only took a few minutes to suss the bad ram out and I then used a method of cold spray and hot air from a rework station to isolate which ram in the bank was bad.

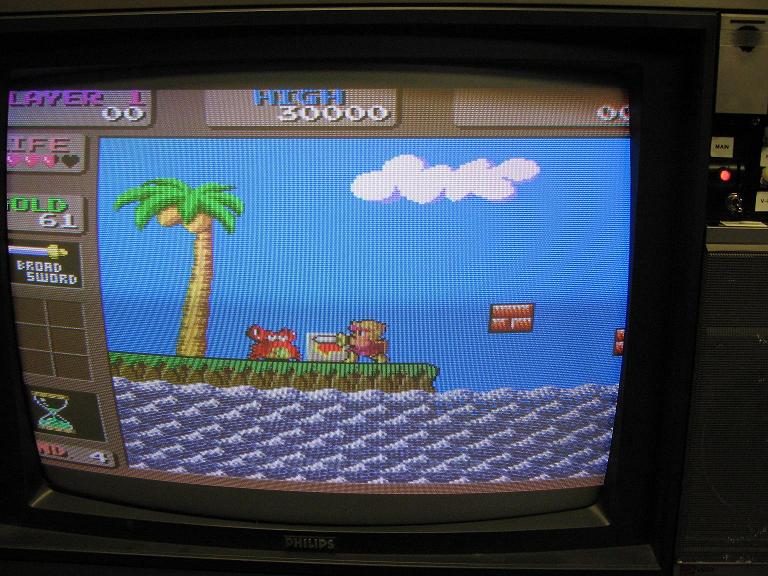
It turns out freezing IC12 would correct the sprites and heating would make it fail, a quick desolder socket and replacement 6116 ram and all is now good!

One more thing is to make sure your PCB has good power, I have seen many home brew harnesses that do not have enough wire connected to enough pins to carry enough current for the whole PCB and the same type of fault is merely down to not enough power at the far end of the PCB.