PCB Repair Logs Smash TV: Difference between revisions
Created page with "==Smash TV== <p><table class="infobox vevent" style="width:22em;" cellspacing="5"> <caption class="summary" style=""><b>Smash TV</b></caption> <tr class="> <td colspan="2" cla..." |
mNo edit summary |
||
| Line 18: | Line 18: | ||
'''Forum Thread:''' [http://www.aussiearcade.com.au/showthread.php/48001-Smash-TV-Repair-Log Smash TV PCB Repair]<br> | '''Forum Thread:''' [http://www.aussiearcade.com.au/showthread.php/48001-Smash-TV-Repair-Log Smash TV PCB Repair]<br> | ||
<br> | <br> | ||
Bought Woka's faulty Smash TV board recently... | |||
...it was sold as totally dead, but when it arrived it was very much alive. | |||
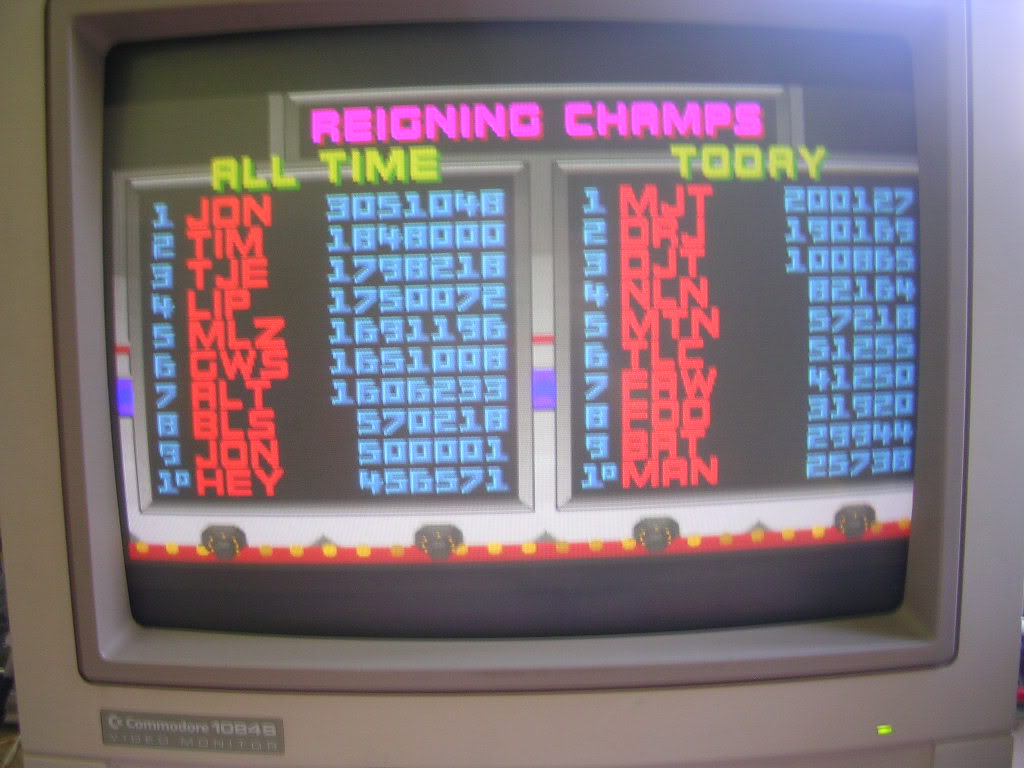
On boot it would give the following screen for about 20 seconds... | |||
<br> | |||
<br> | |||
[[File:Pcb repair smash tv 1.jpg]] | |||
<br> | |||
<br> | |||
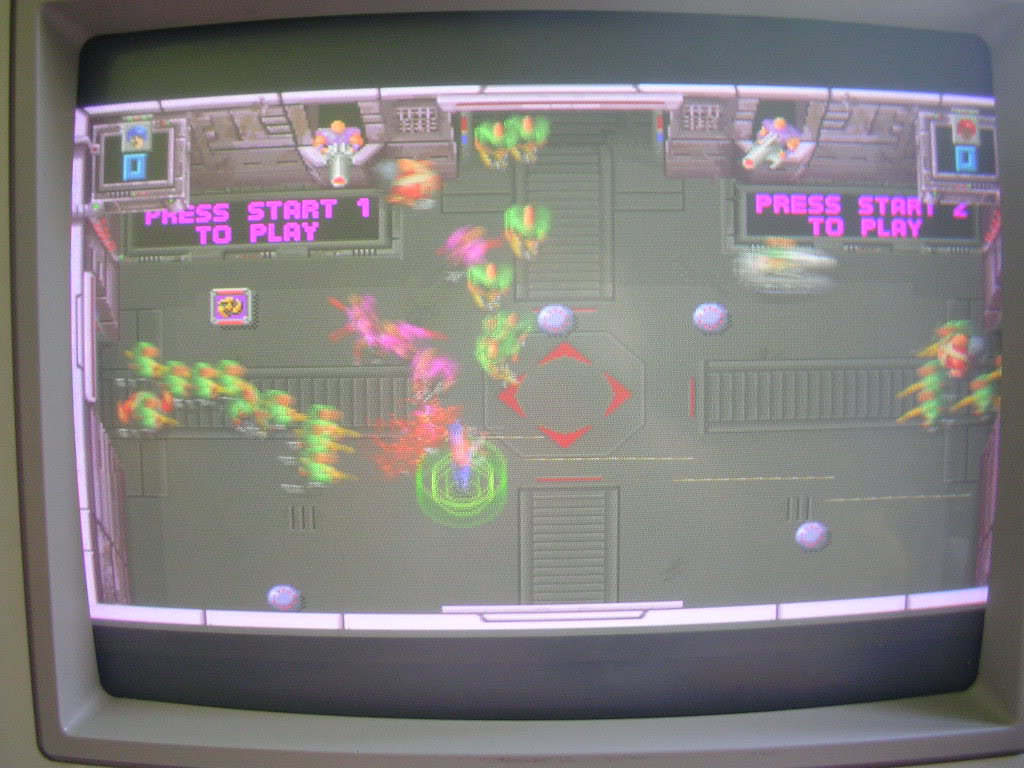
...then progress to the splash screen. | |||
<br> | |||
<br> | |||
[[File:Pcb repair smash tv 2.jpg]] | |||
<br> | |||
<br> | |||
In reality it was much more washed out and constantly shimmering, this photo is with the contrast ramped up and the brightness turned down, but it proved the board was mostly OK. | |||
When it got to the game demo it was a total mess. | |||
The game does have a test mode that should be showing where the faults were, but as the video was a mess this wasn't overly helpful. | |||
Again this screen was constantly flickering and it is hard to work out which of the chip icons are actually red as most of them have red corruption present. | |||
The most likely candidate area for the fault was the video RAM, which on this board is a bank of 12 4461 type DRAM chips. For some reason 4 of the locations had machined pin sockets installed from the factory, | |||
<br> | |||
<br> | |||
[[File:Pcb repair smash tv 3.jpg]] | |||
<br> | |||
<br> | |||
and two of the original MT brand chips had already been replaced with Ti variants. | |||
<br> | |||
<br> | |||
[[File:Pcb repair smash tv 4.jpg]] | |||
<br> | |||
<br> | |||
What these sockets let me do was to shuffle the 4 chips around, and pull each one in turn. One of the MT chips was quickly identified as the source of the constant flickering and shimmering so it was retired. | |||
I have some old boards from Stu in my scrap pile that had the exact same MT chips on them so I whipped one out to swap in place of the one that had been causing all the shimmering, and got this. | |||
<br> | |||
<br> | |||
[[File:Pcb repair smash tv 5.jpg]] | |||
<br> | |||
<br> | |||
Progress! Now the diagnostic output was readable and most of the chips that looked like they were being flagged red before were now green. Only 4 of the DRAM chips were being flagged as bad. The chip at U12 was a location with a socket present so I pulled that chip and swapped it with its neighbour and rebooted. This time the fault was flagged at U13 and U12 was green, so the fault was with the DRAM chip itself. Another one came off the scrap board and was dropped in. | |||
Two down, three to go, all on the bottom row of DRAMs... | |||
<br> | |||
<br> | |||
[[File:Pcb repair smash tv 6.jpg]] | |||
<br> | |||
<br> | |||
By this point the game was starting to look healthier too! | |||
<br> | |||
<br> | |||
[[File:Pcb repair smash tv 7.jpg]] | |||
<br> | |||
<br> | |||
So the first of the three was U28, it got de-soldered... | |||
<br> | |||
<br> | |||
[[File:Pcb repair smash tv 8.jpg]] | |||
<br> | |||
<br> | |||
... and the chip swapped into one of the sockets in place of a known good chip. The fault went with the DRAM chip again, with 4 chips marked as bad as U28 was now unpopulated. So I took another DRAM from the scrap board, put that into one of the socketed locations and powered up, this allowed me to test the scrap board DRAMs before I soldered them into this board. The scrap chip was good so it was soldered into U28. | |||
<br> | |||
<br> | |||
[[File:Pcb repair smash tv 9.jpg]] | |||
<br> | |||
<br> | |||
The error message "RAM CHIPS BAD" was now legible on the screen | |||
Three down, two to go, just U30 and U31. | |||
So U30 and U31 were taken off the board.. | |||
<br> | |||
<br> | |||
[[File:Pcb repair smash tv 10.jpg]] | |||
<br> | |||
<br> | |||
and I powered up again, this time the screen really cleaned up without the bad data coming from those chips. | |||
<br> | |||
<br> | |||
[[File:Pcb repair smash tv 11.jpg]] | |||
<br> | |||
<br> | |||
So I de-soldered another one from the scrap board, swapped it into one of the socketed locations to test it and then soldered it in at U30. | |||
<br> | |||
<br> | |||
[[File:Pcb repair smash tv 12.jpg]] | |||
<br> | |||
<br> | |||
Four down and one to go - U31. | |||
Yet another chip from the scrap board went in and the last error was gone. | |||
<br> | |||
<br> | |||
[[File:Pcb repair smash tv 13.jpg]] | |||
<br> | |||
<br> | |||
[[File:Pcb repair smash tv 14.jpg]] | |||
<br> | |||
<br> | |||
The game is now perfect again! | |||
<br> | |||
<br> | |||
[[File:Pcb repair smash tv 15.jpg]] | |||
<br> | |||
<br> | |||
[[File:Pcb repair smash tv 16.jpg]] | |||
<br> | |||
<br> | |||
[[File:Pcb repair smash tv 17.jpg]] | |||
<br> | |||
<br> | |||
Finally - the culprits... | |||
<br> | |||
<br> | |||
[[File:Pcb repair smash tv 18.jpg]] | |||
<br> | |||
<br> | |||
... looking at the numbers on the chips it is likely that the MT brand ones that were in the sockets were not the original ones as they are not the same batch as the ones I de-soldered. Also for the sake of consistency I replaced the TMM4461 DRAMs with MT ones from the scrap board as the board would have originally had a matching set. | |||
Not only is the board now fixed, but I have a board that can test 4461s for me, which is a trick my EPROM reader can't do! | |||
Woka said that this board used to work fine, just failed one day, the only thing I can think of that would take out 5 DRAM chips in one hit would be static damage, the VRAM section is close enough to the edge to be zapped when handling the board and DRAMs do tend to be far more static sensitive than SRAM type RAM that is more common on arcade gear. | |||
<br> | <br> | ||
<br>[[PCB_Repair_Index|Back to PCB Repair Index]] | <br>[[PCB_Repair_Index|Back to PCB Repair Index]] | ||
Revision as of 09:33, 6 September 2012
Smash TV
 |
|
| PCB Image | Reserved |
|---|---|
| Pin Out | Reserved |
Repairer: Womble
Forum Thread: Smash TV PCB Repair
Bought Woka's faulty Smash TV board recently...
...it was sold as totally dead, but when it arrived it was very much alive.
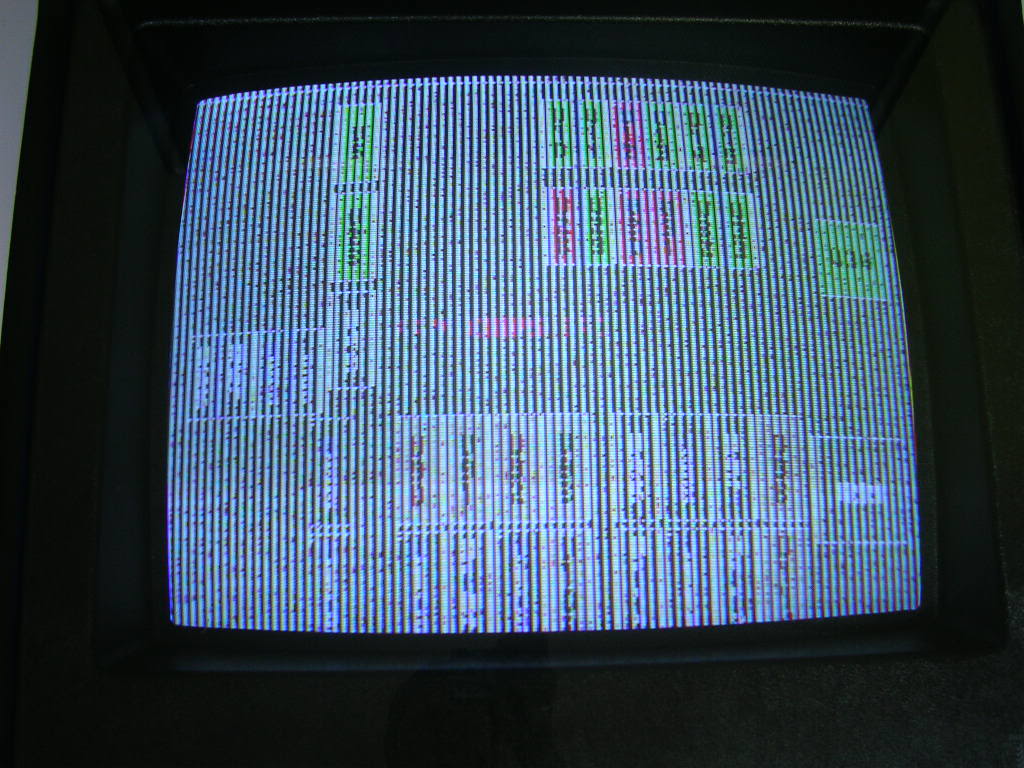
On boot it would give the following screen for about 20 seconds...
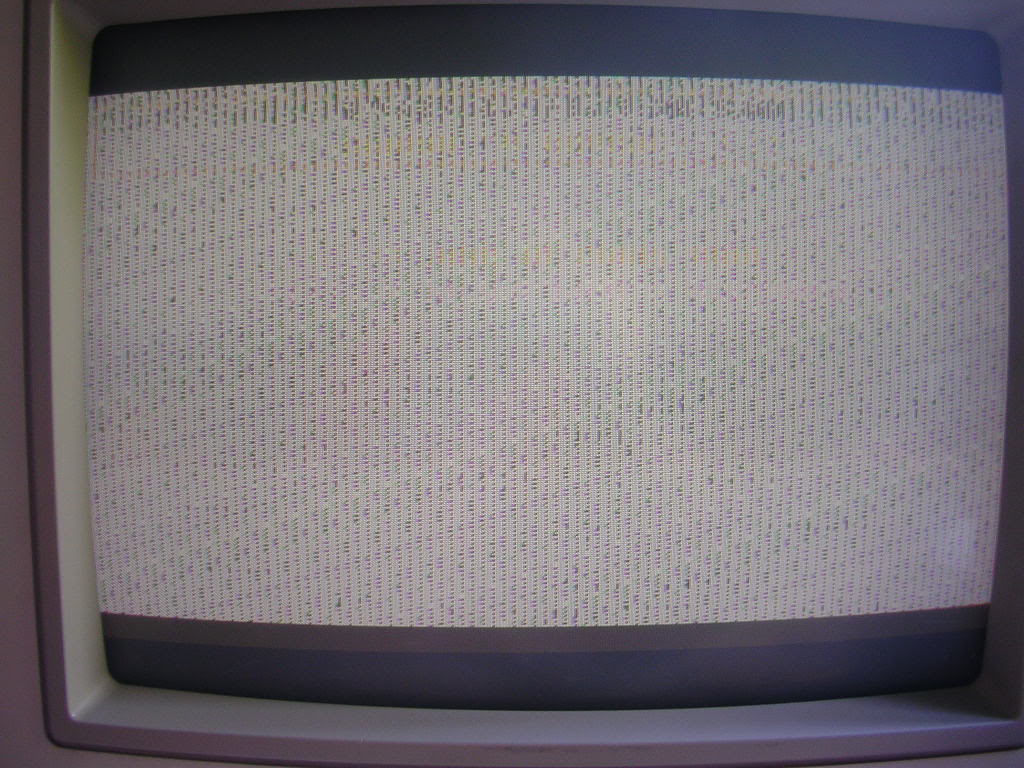
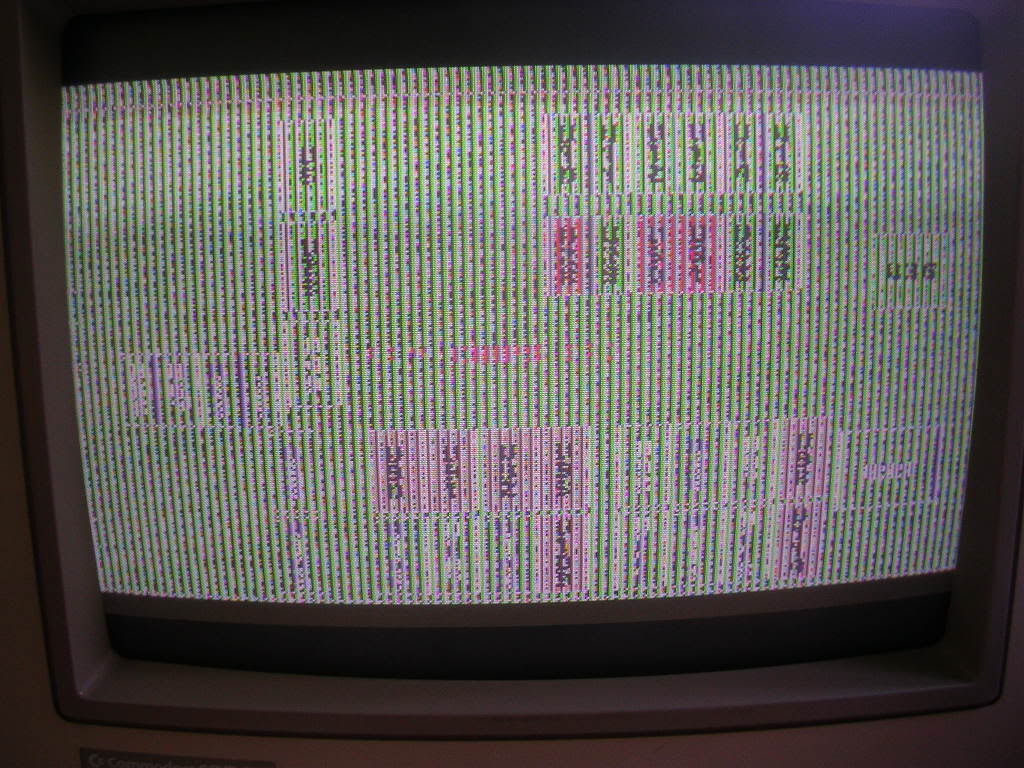
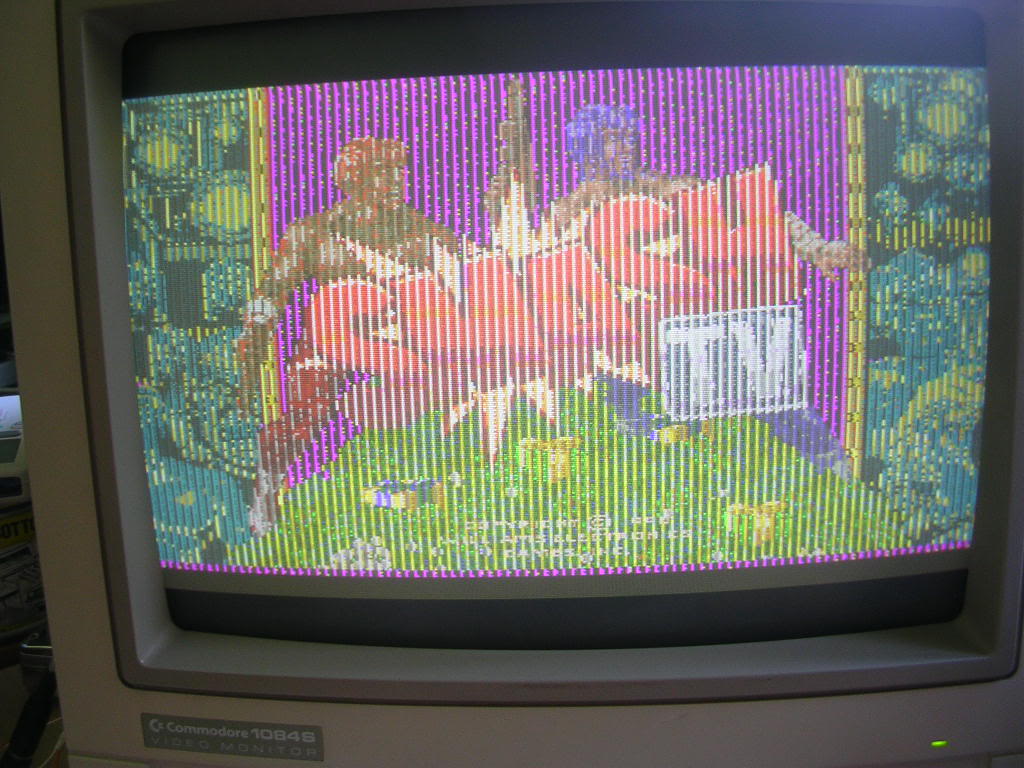
...then progress to the splash screen.
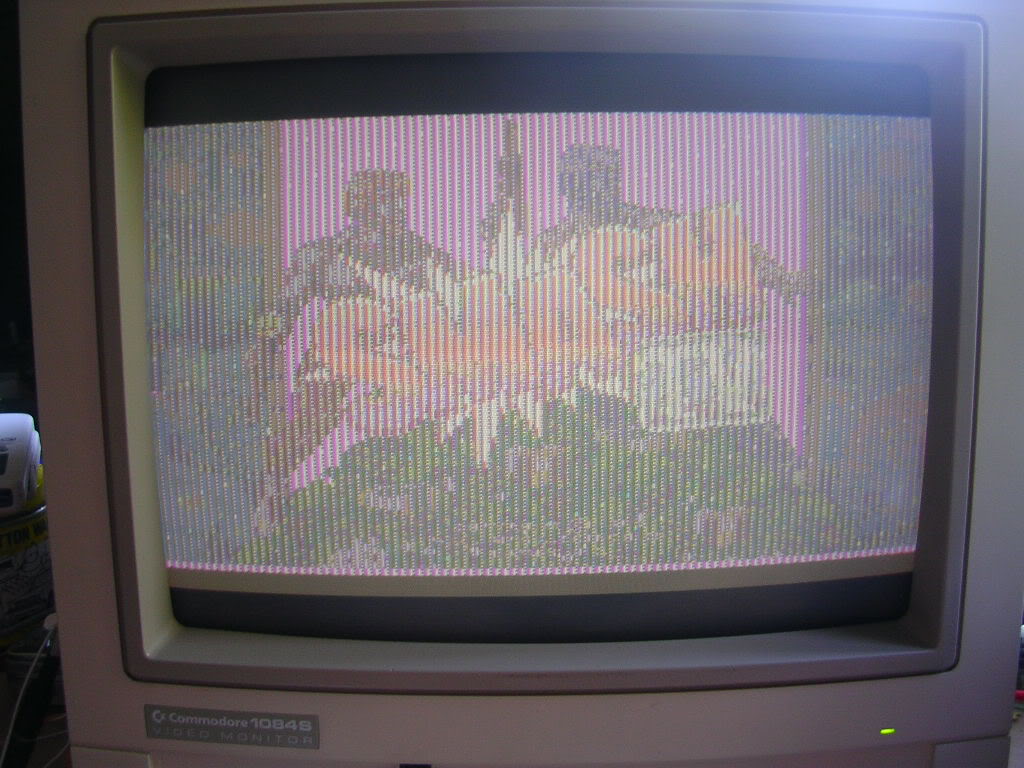
In reality it was much more washed out and constantly shimmering, this photo is with the contrast ramped up and the brightness turned down, but it proved the board was mostly OK.
When it got to the game demo it was a total mess.
The game does have a test mode that should be showing where the faults were, but as the video was a mess this wasn't overly helpful.
Again this screen was constantly flickering and it is hard to work out which of the chip icons are actually red as most of them have red corruption present.
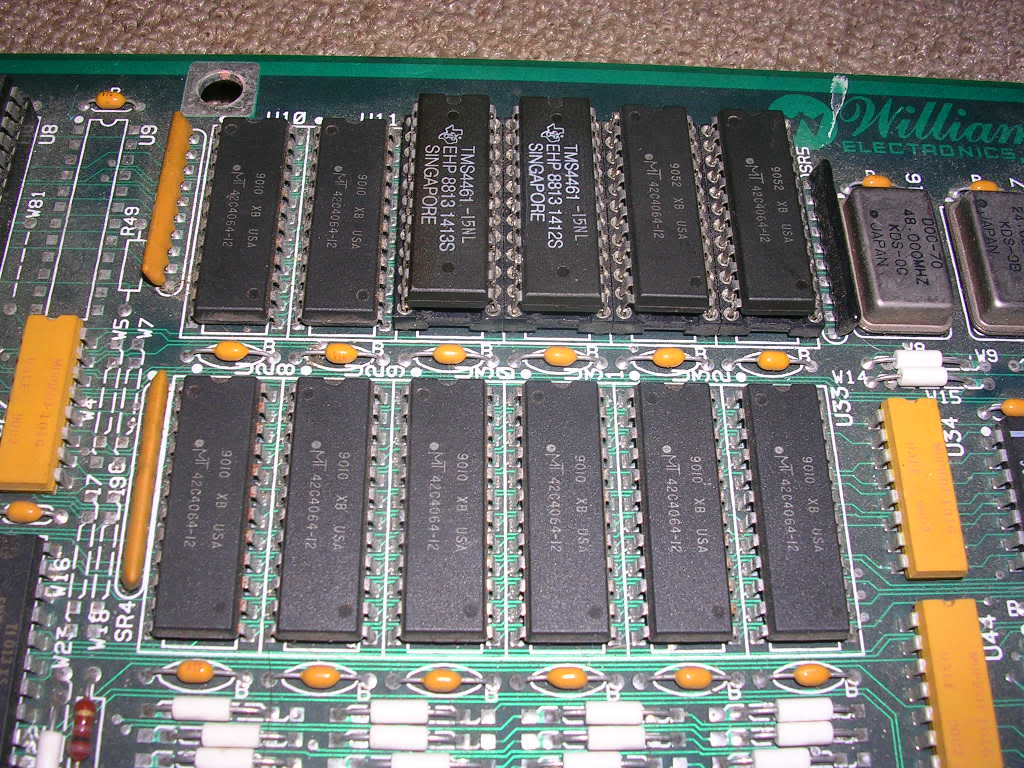
The most likely candidate area for the fault was the video RAM, which on this board is a bank of 12 4461 type DRAM chips. For some reason 4 of the locations had machined pin sockets installed from the factory,
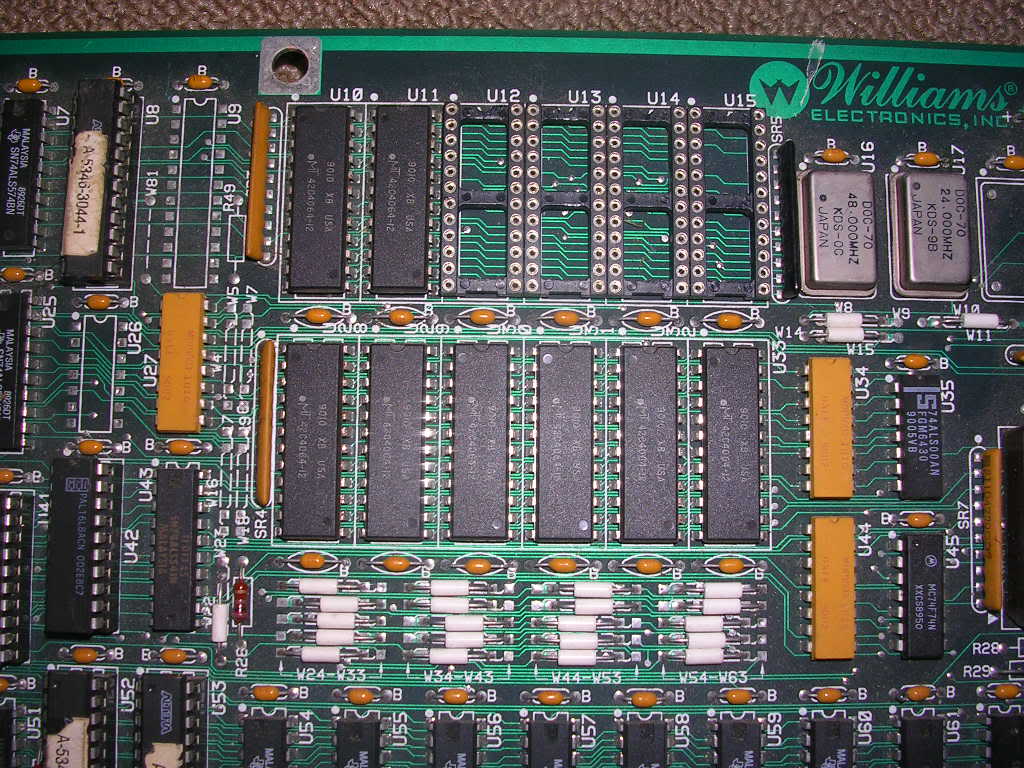
and two of the original MT brand chips had already been replaced with Ti variants.
What these sockets let me do was to shuffle the 4 chips around, and pull each one in turn. One of the MT chips was quickly identified as the source of the constant flickering and shimmering so it was retired.
I have some old boards from Stu in my scrap pile that had the exact same MT chips on them so I whipped one out to swap in place of the one that had been causing all the shimmering, and got this.
Progress! Now the diagnostic output was readable and most of the chips that looked like they were being flagged red before were now green. Only 4 of the DRAM chips were being flagged as bad. The chip at U12 was a location with a socket present so I pulled that chip and swapped it with its neighbour and rebooted. This time the fault was flagged at U13 and U12 was green, so the fault was with the DRAM chip itself. Another one came off the scrap board and was dropped in.
Two down, three to go, all on the bottom row of DRAMs...
By this point the game was starting to look healthier too!
So the first of the three was U28, it got de-soldered...
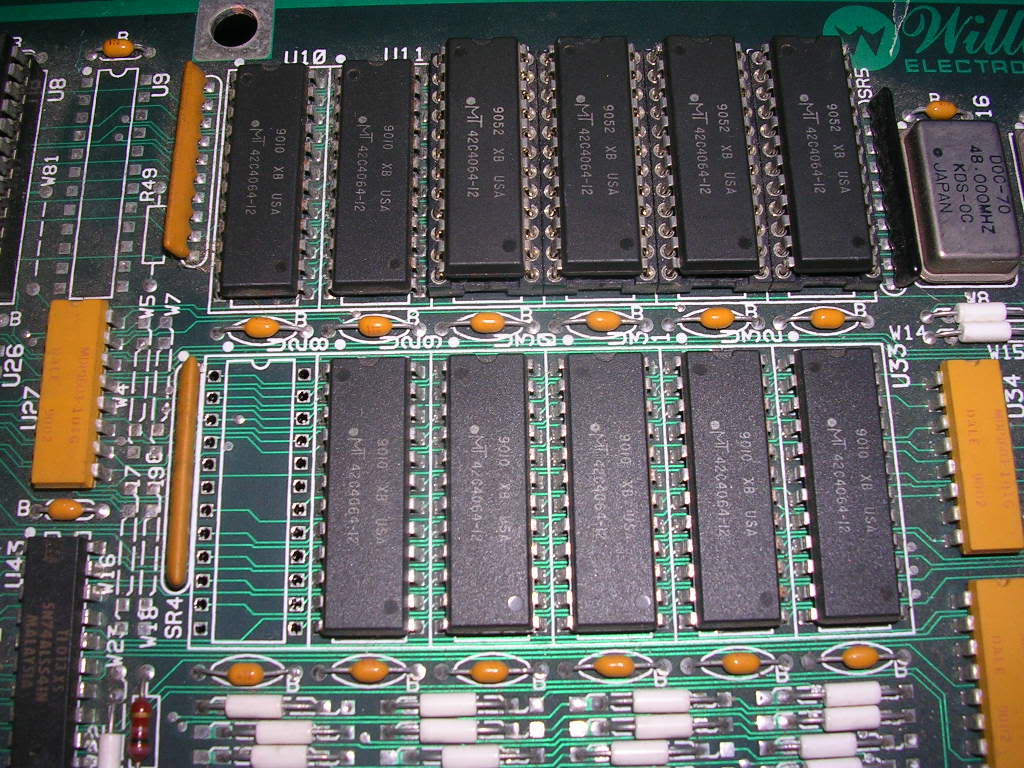
... and the chip swapped into one of the sockets in place of a known good chip. The fault went with the DRAM chip again, with 4 chips marked as bad as U28 was now unpopulated. So I took another DRAM from the scrap board, put that into one of the socketed locations and powered up, this allowed me to test the scrap board DRAMs before I soldered them into this board. The scrap chip was good so it was soldered into U28.
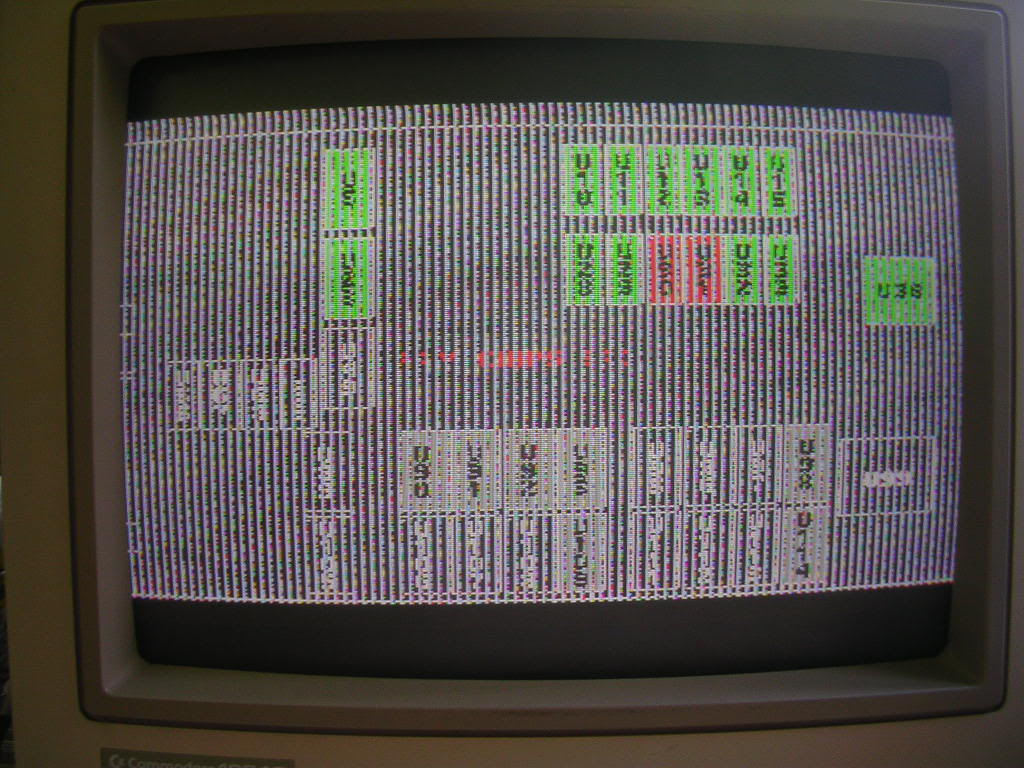
The error message "RAM CHIPS BAD" was now legible on the screen
Three down, two to go, just U30 and U31.
So U30 and U31 were taken off the board..
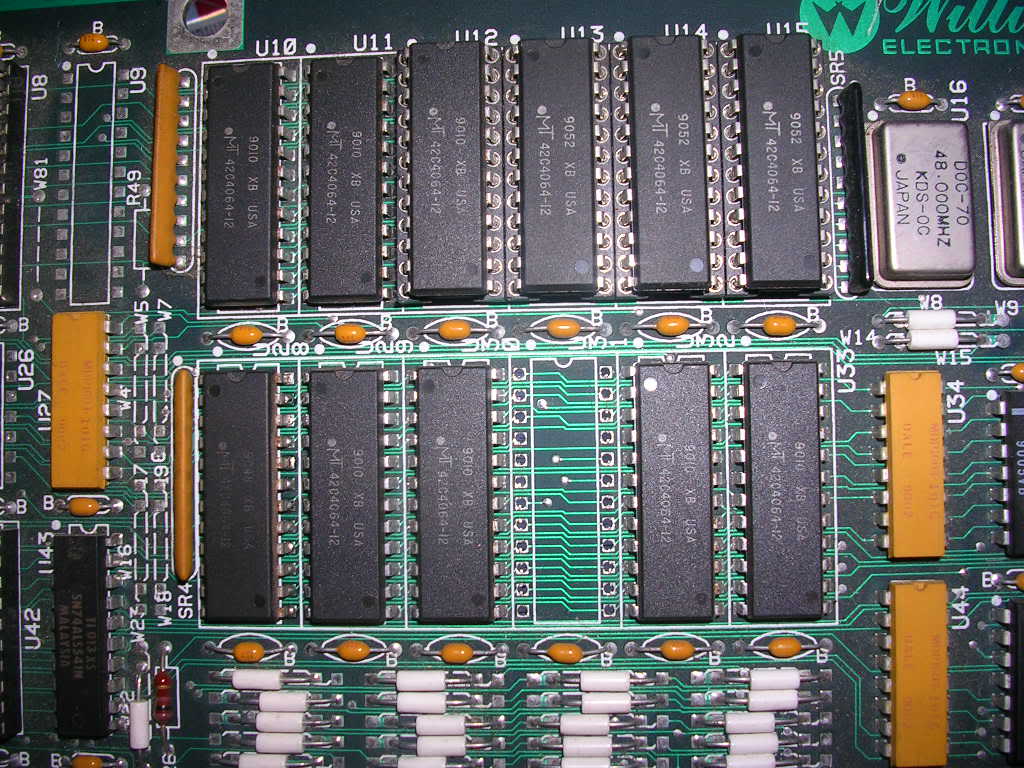
and I powered up again, this time the screen really cleaned up without the bad data coming from those chips.
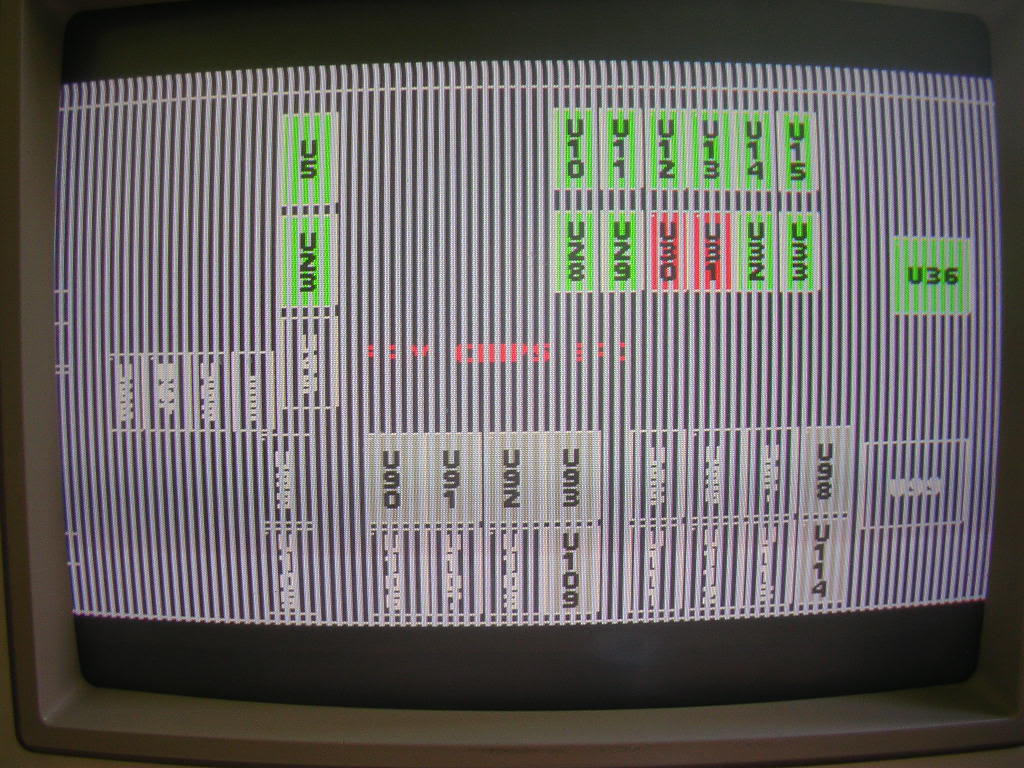
So I de-soldered another one from the scrap board, swapped it into one of the socketed locations to test it and then soldered it in at U30.
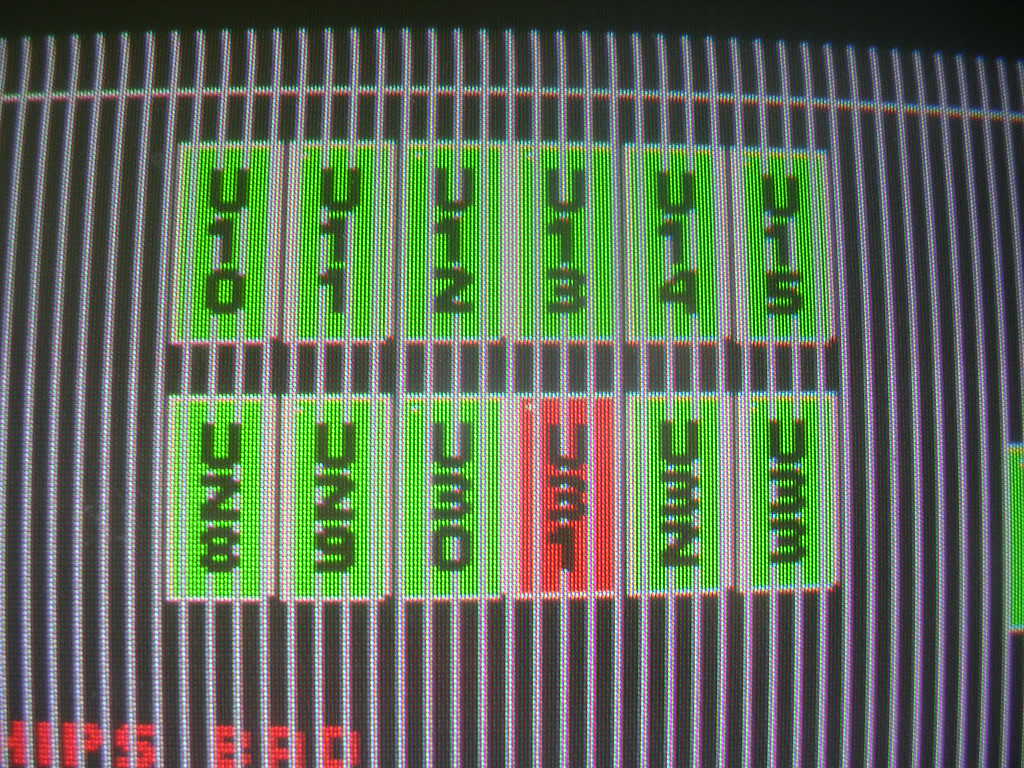
Four down and one to go - U31.
Yet another chip from the scrap board went in and the last error was gone.
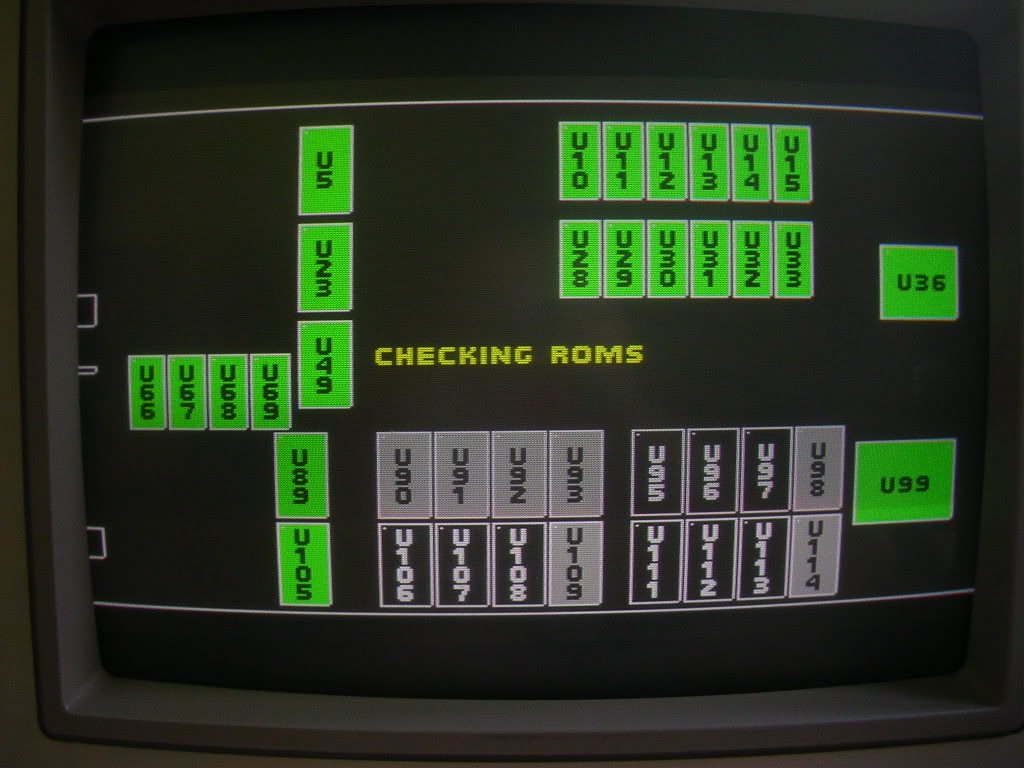
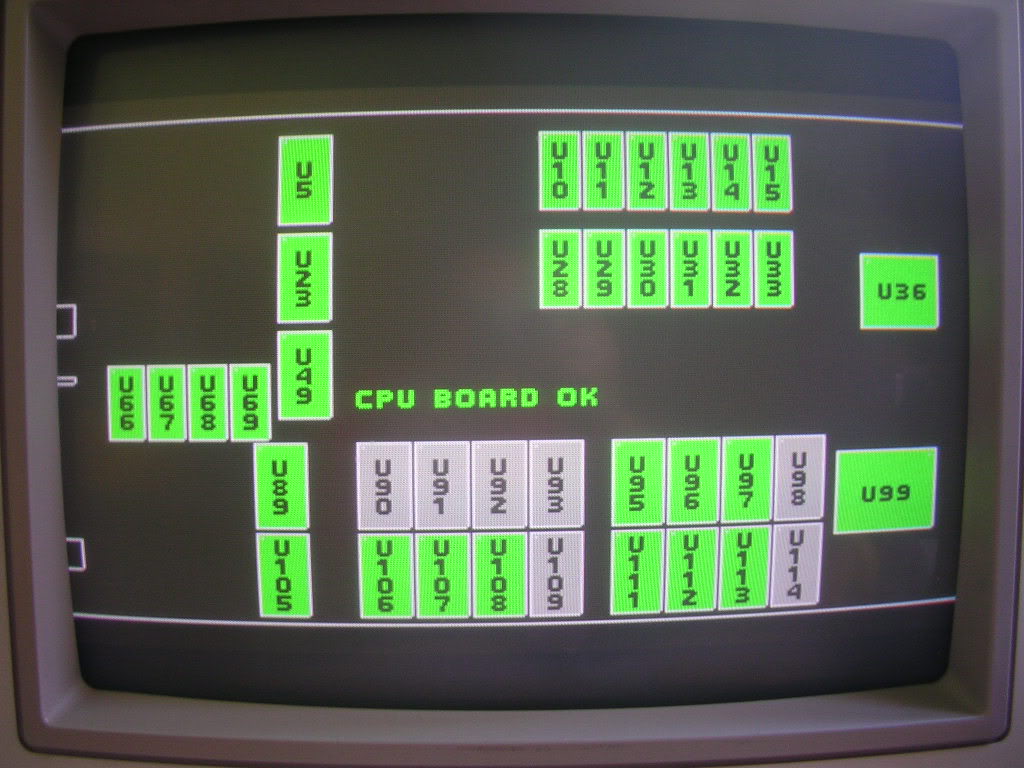
The game is now perfect again!
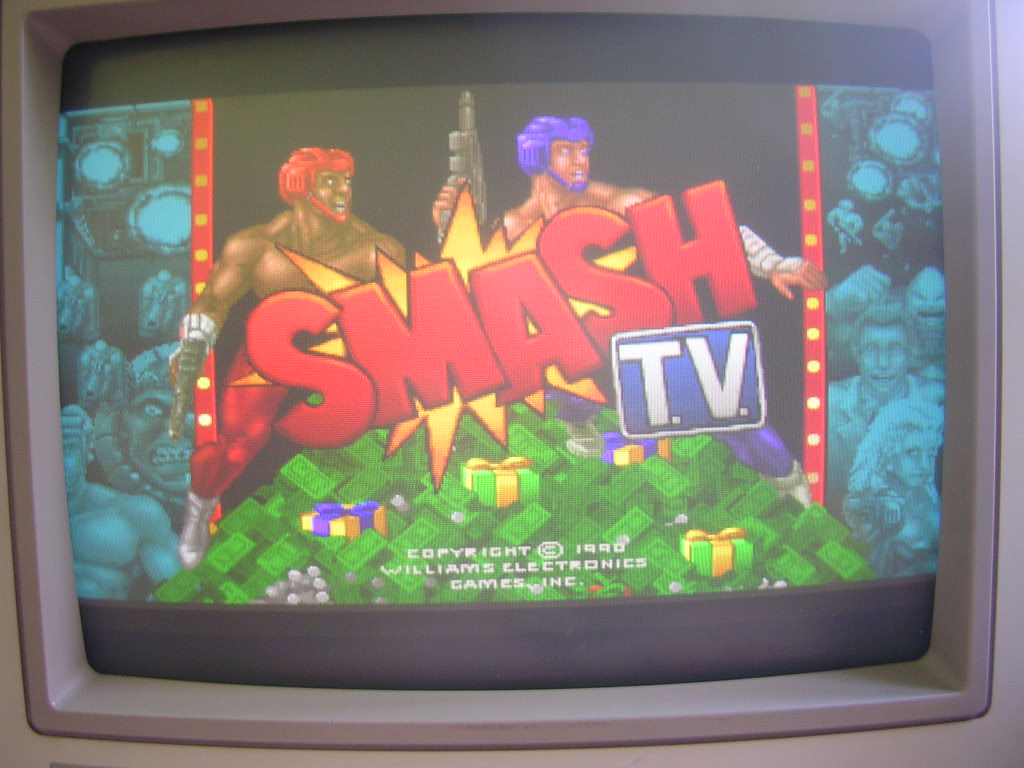
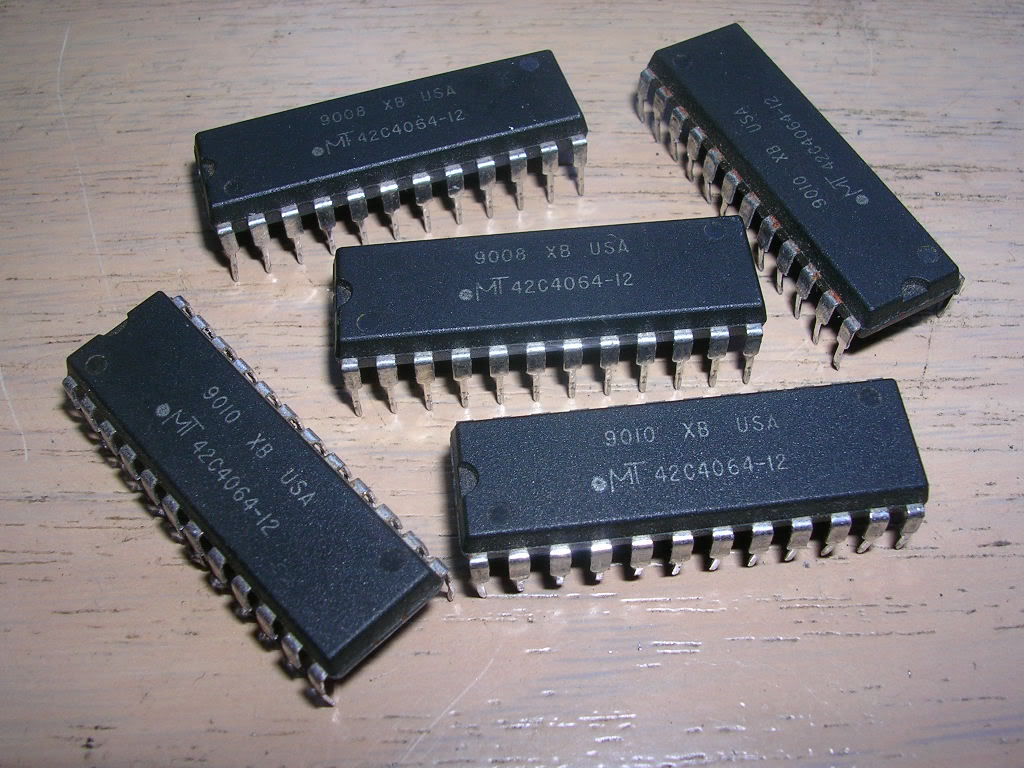
... looking at the numbers on the chips it is likely that the MT brand ones that were in the sockets were not the original ones as they are not the same batch as the ones I de-soldered. Also for the sake of consistency I replaced the TMM4461 DRAMs with MT ones from the scrap board as the board would have originally had a matching set.
Not only is the board now fixed, but I have a board that can test 4461s for me, which is a trick my EPROM reader can't do!
Woka said that this board used to work fine, just failed one day, the only thing I can think of that would take out 5 DRAM chips in one hit would be static damage, the VRAM section is close enough to the edge to be zapped when handling the board and DRAMs do tend to be far more static sensitive than SRAM type RAM that is more common on arcade gear.
