PCB Repair Logs Missing In Action
Missing In Action
 |
|
| Manufacturer | Konami |
|---|---|
| Year | 1989 |
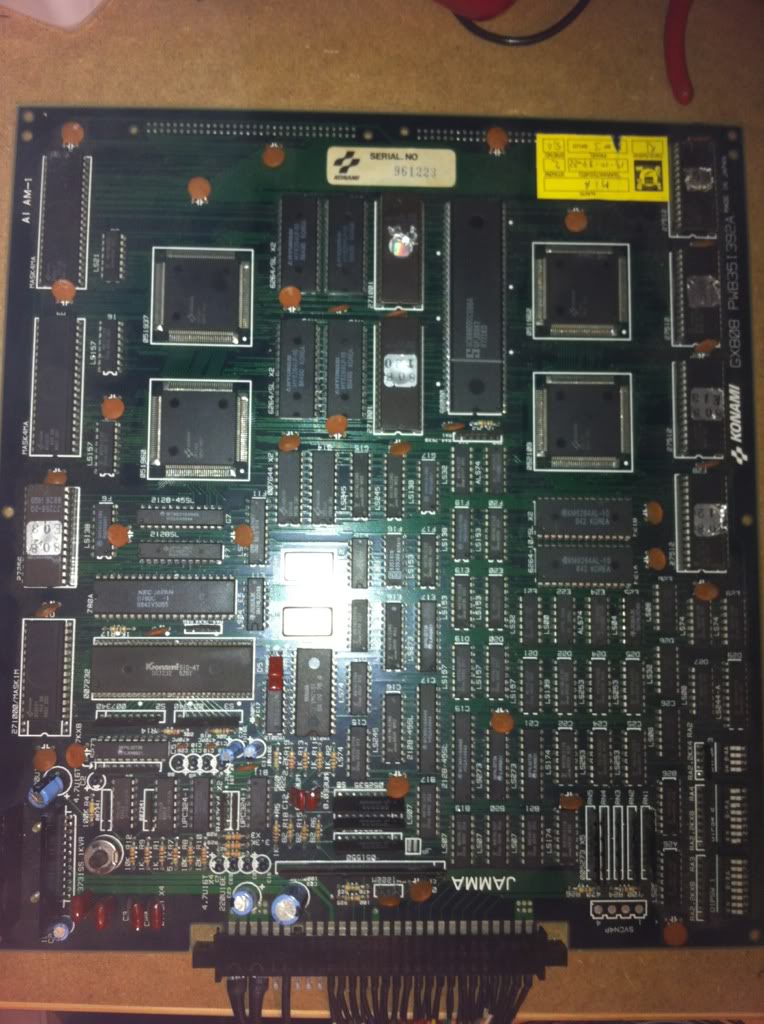
| PCB Image | M.I.A. PCB |
| Pin Out | Jamma |
Repairer: Elgen
Forum Thread: M.I.A. PCB Repair
Now this board, an original Konami Missing in Action (M.I.A.), I snapped up cheap in a batch of 7 non-working boards paying about 100DKK (~$19~£12) each. Standard Konami GX-; only one PCB and quite many custom ICs.
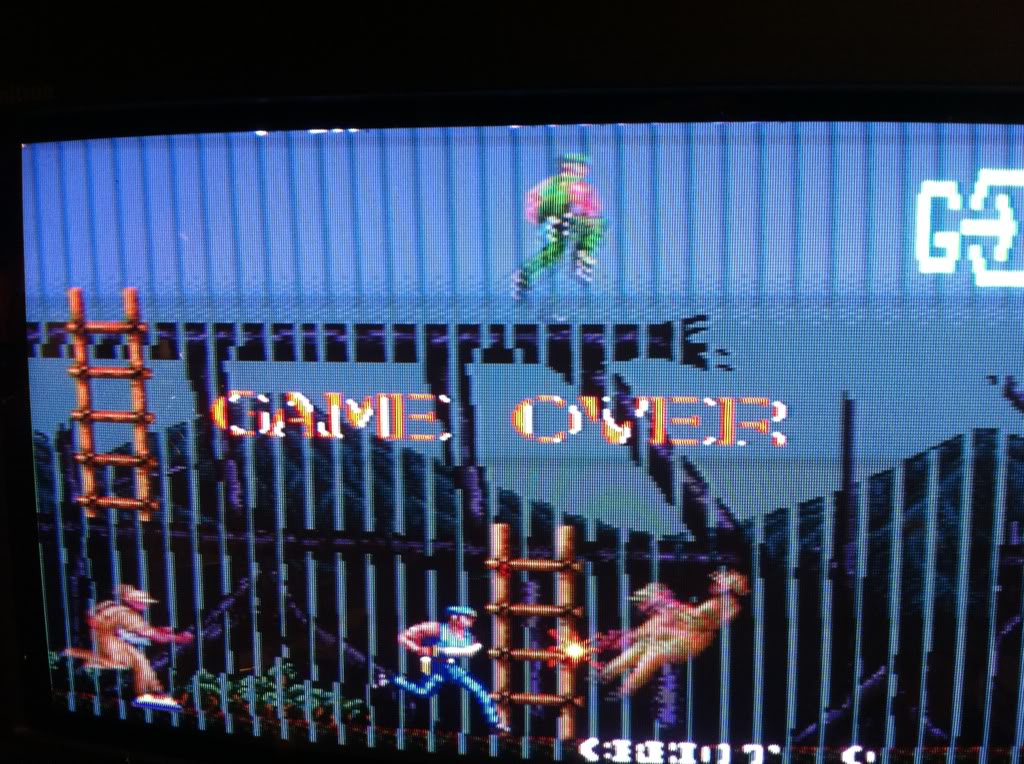
The problem with this baby was, that one (or maby more; a bit hard to tell) of the background layers and all the text had vertical stribes, where the graphics was just simply missing (in action, ha! ha! };-P).
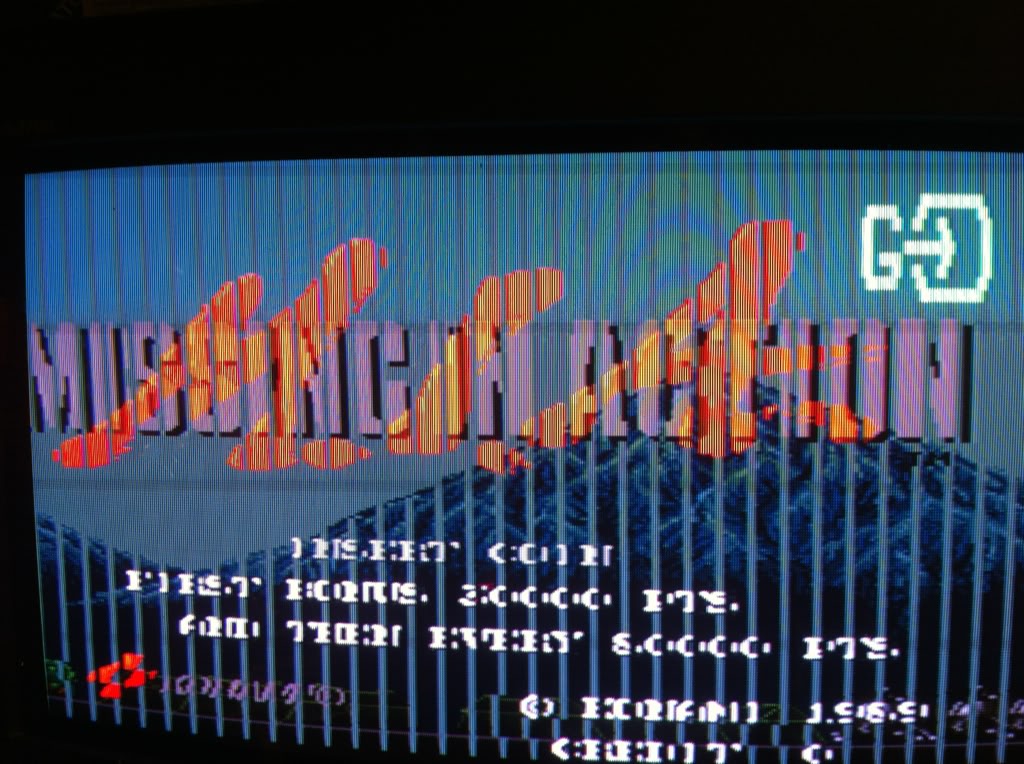
Even in test mode it was same-same!
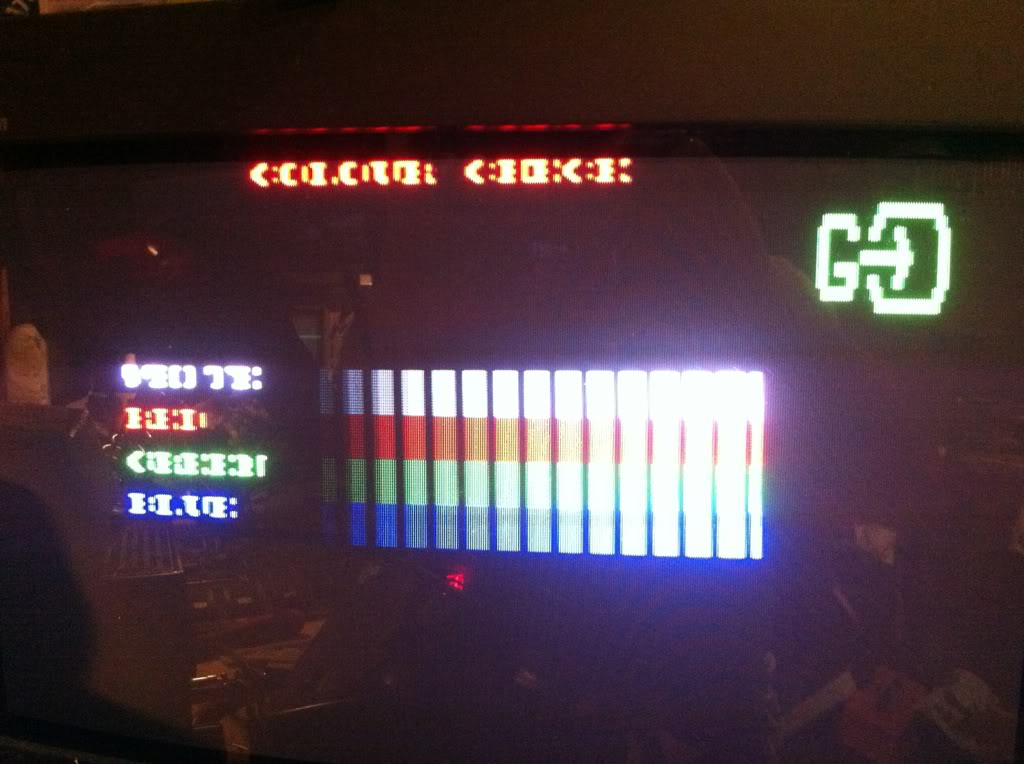
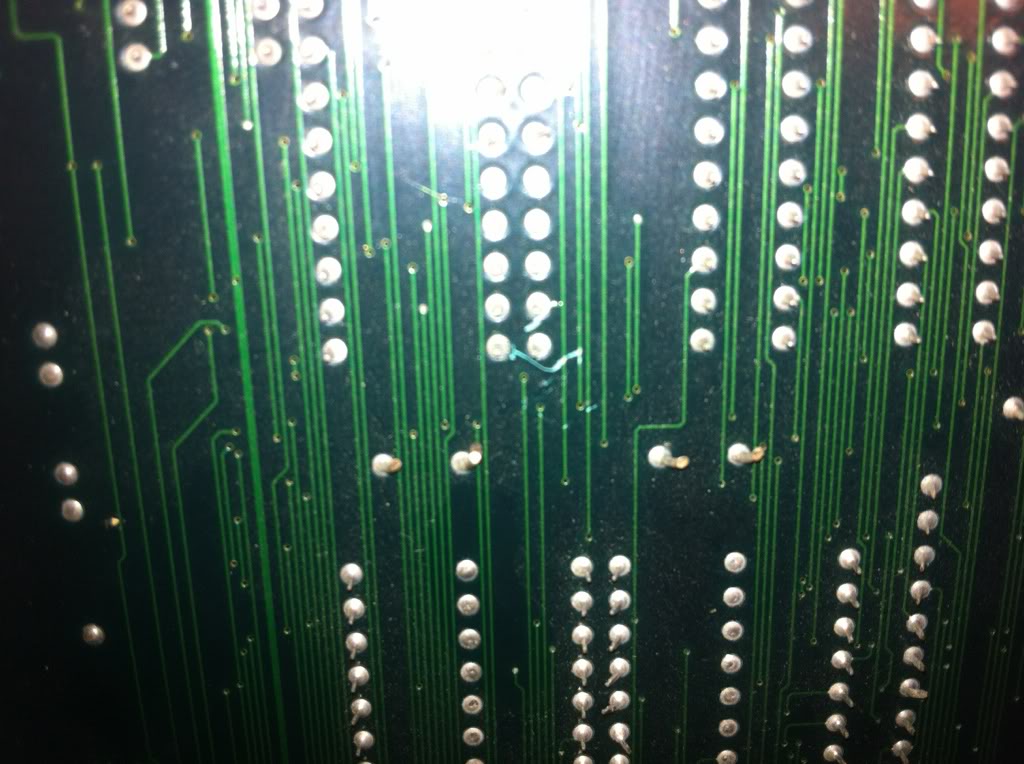
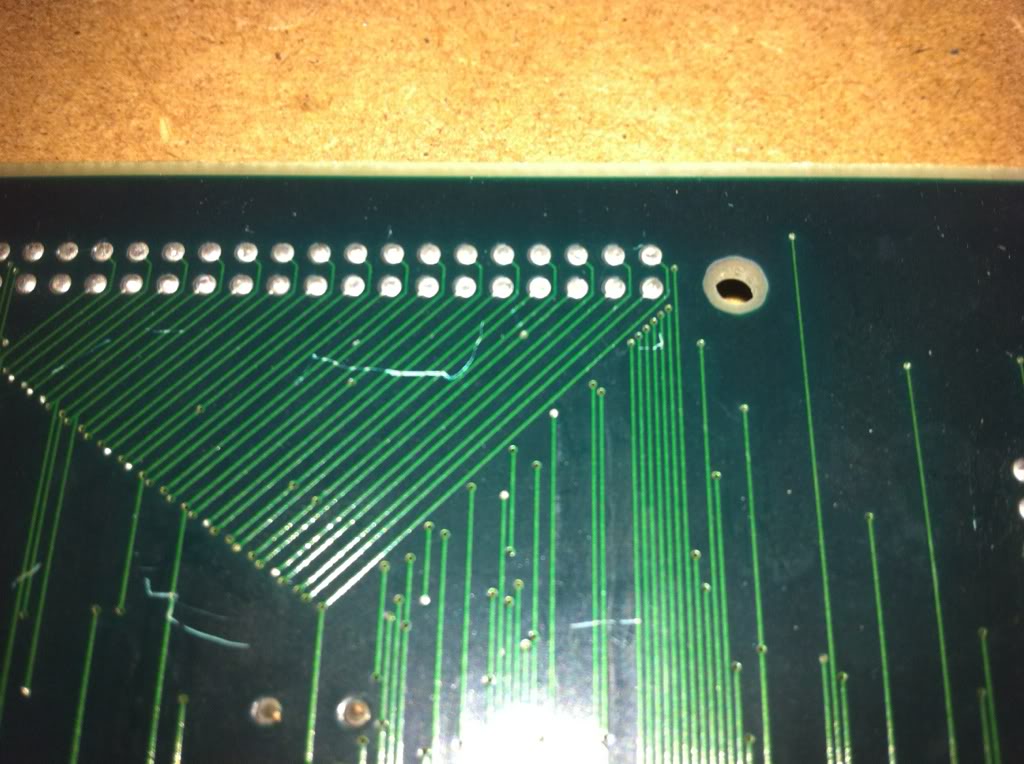
Now the board have had a rough time at some point; quite alot of scratches on the solderside.
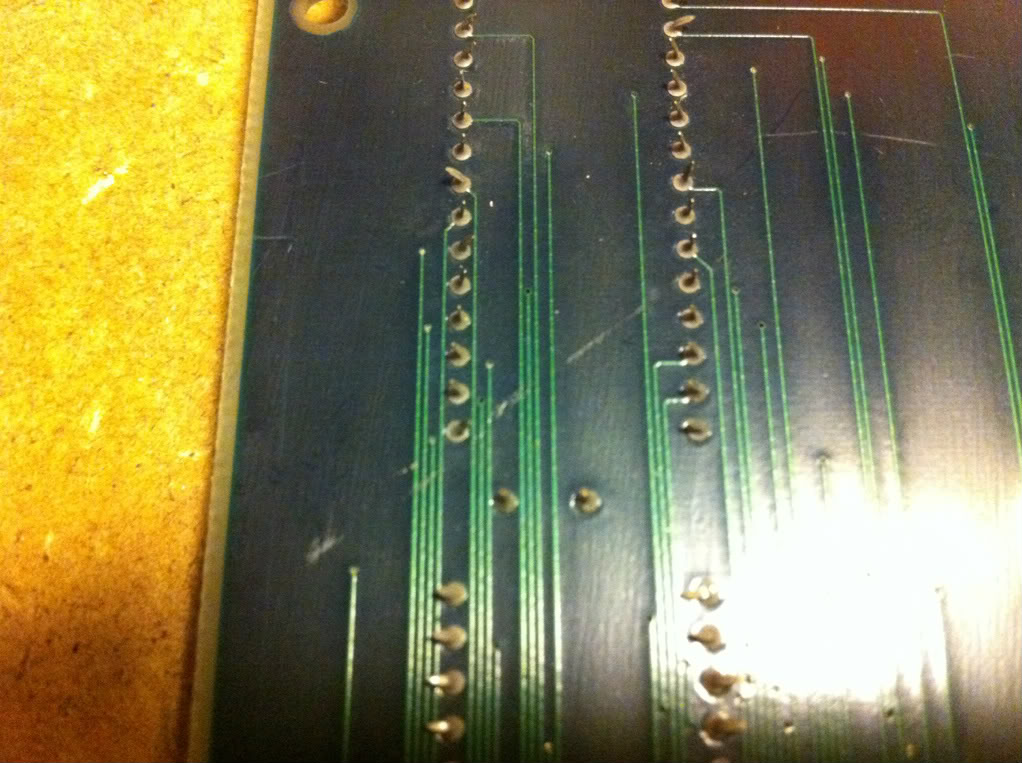
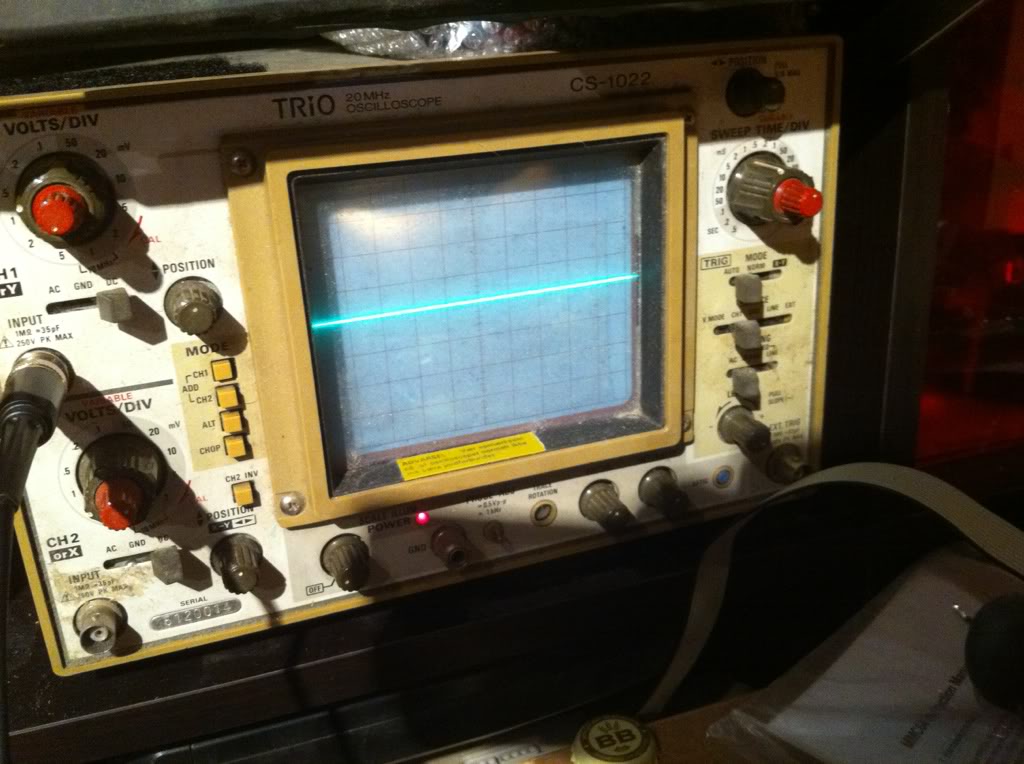
But as the tracks and vias on the GX-boards are quite thin, it wasn't possible to test for continuity without desoldering some ICs in order to follow the tracks around on the component side. As I was a bit too tired for that, I gave the scratched tracks the benefit of the doubt, and started poking all the SRAMs with the scope. But everthing seemed quite healthy on both address and data lines.
I then started shortning adjecent pins on some of the TTLs near the SRAMs involved in the graphics rendering. That did stir the picture up a bit, but nothing that was so obvious, that it was worth investigating further.
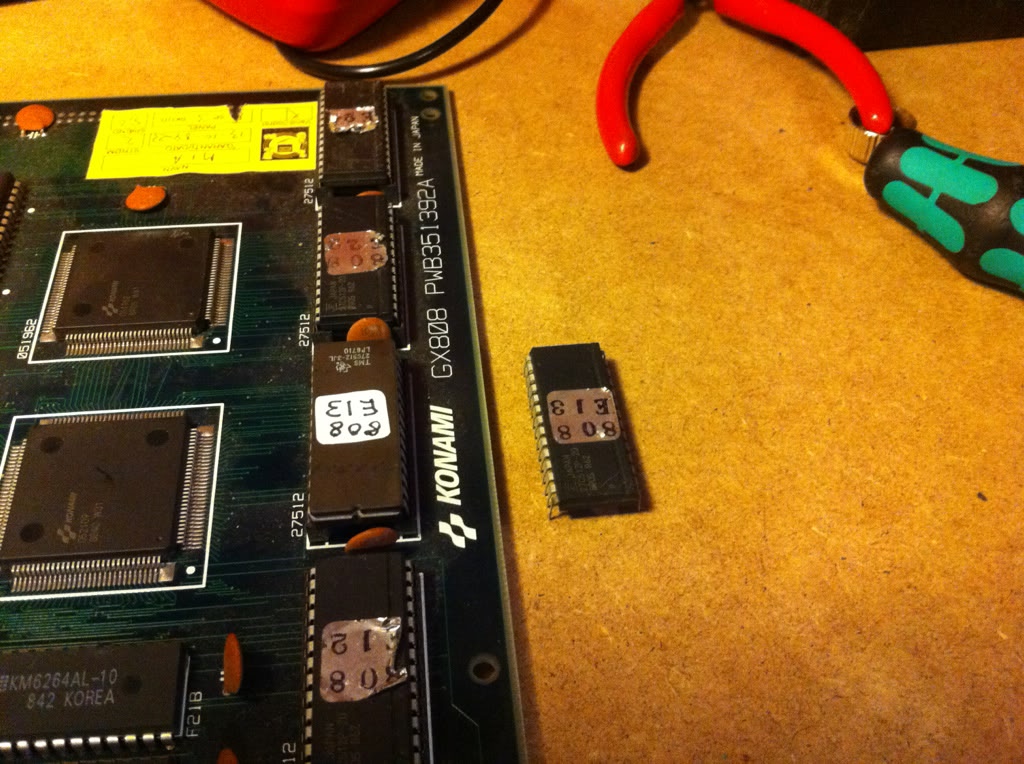
Now had a closer look at the 4 PROMS in the top right corner of pic1. By removing them one at the time and trying to boot (and it actually did; that 'self-test' at start-up isn't worth a flying hoot on this boad };-P), it was obvious, that these contained the graphics for the game. Poking each data and address pin on them, I found that pin 18 (Q4) on the PROM labeled "808 E13"
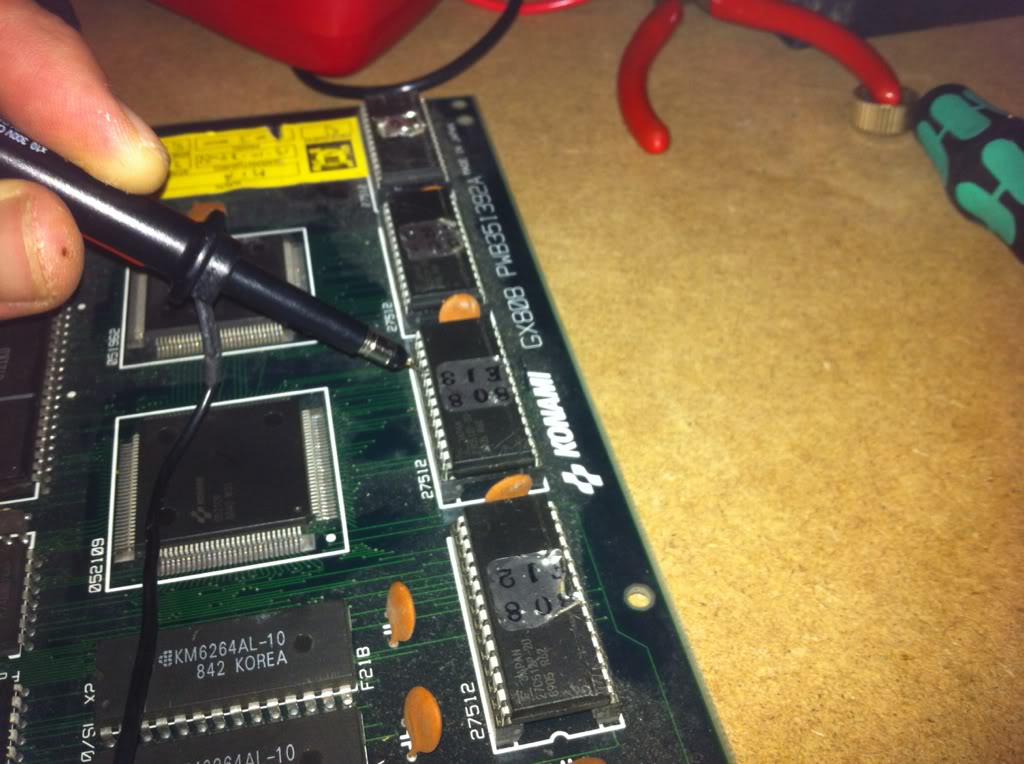
The corresponding pins on the 3 other members of that "PROM-family" was extremely active...so I decided to try and dump it with the Top2005+. But when trying to do so I got this:
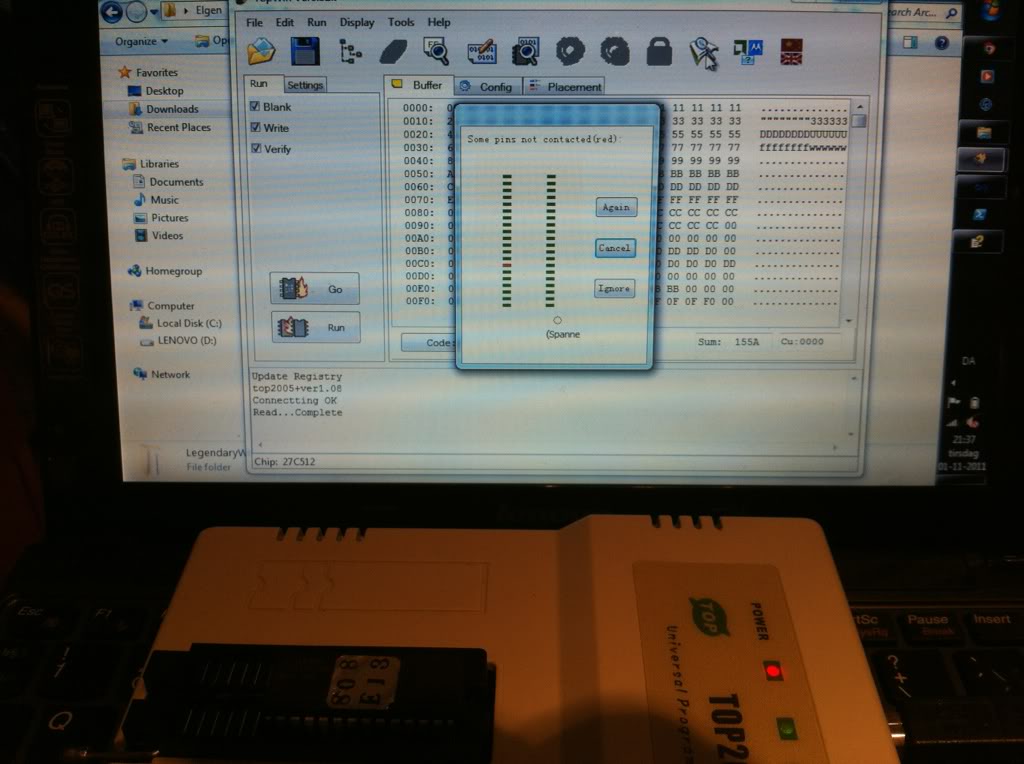
Pulling and reinserting the IC a few times gave the same result. This was quite art, as this was not pin 18, but something WAS clearly wrong with this mother frakker. Ahaaaa (his cried out loud!).
Now the PROM is an 27C512, so found a nice TexasInstruments TMS27C512 EPROM from a scrap board. Ripped the window sticker off and removed the remaining glue from the window with rubbing alcohol and an old tooth brush. I was quite eager, as I had never had a chance to use the Top2005+ to actually program an EPROM before.
So into the eraser for 3mins it went
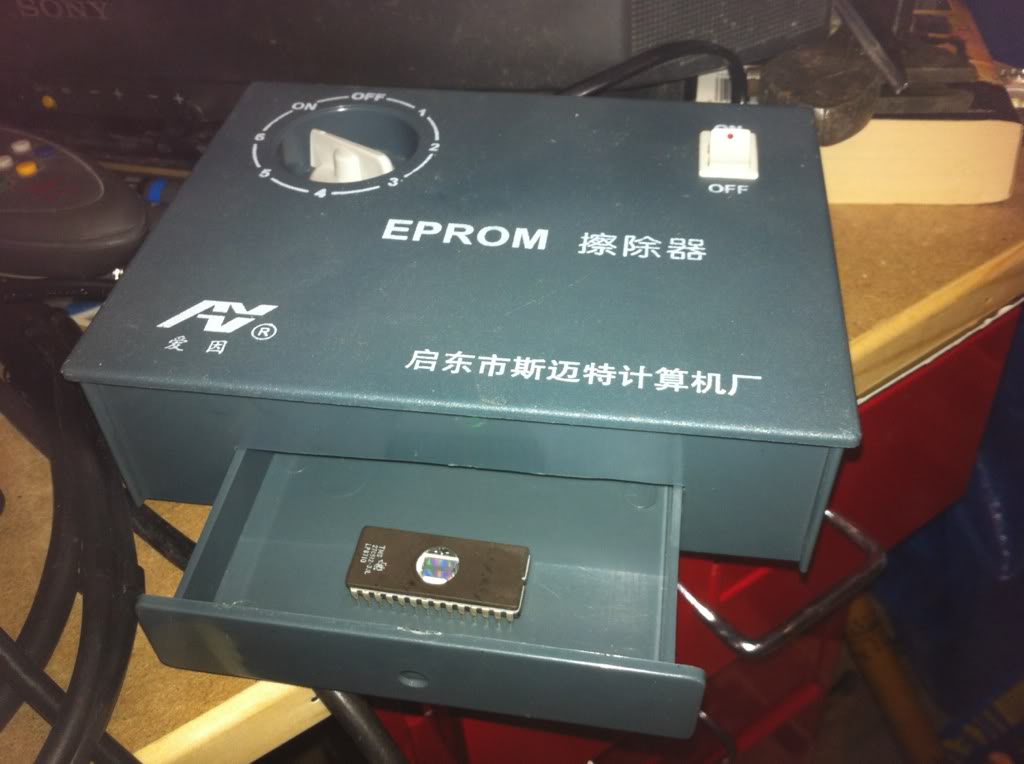
Checked it in the Top, and as it was now filled with all nice 1's, 3mins seemed to be enough. Now downloaded the MAME ROM and programmed the right image to the newly erased EPROM.
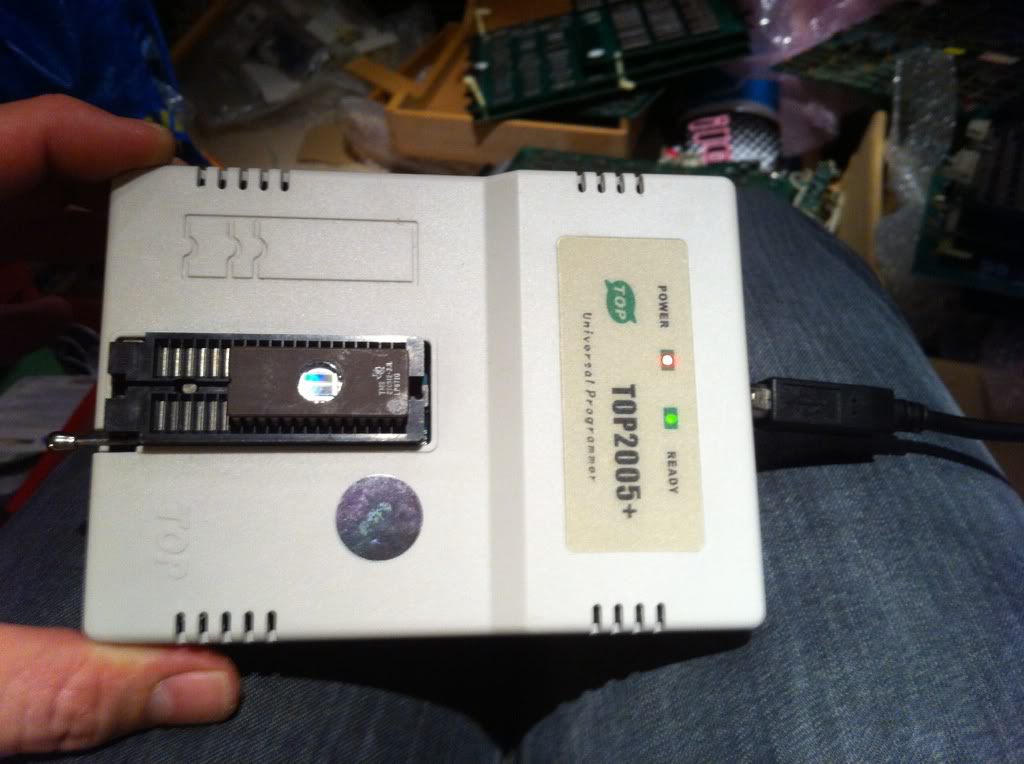
Verified the IC, slammed into the socket aaaaaaand:
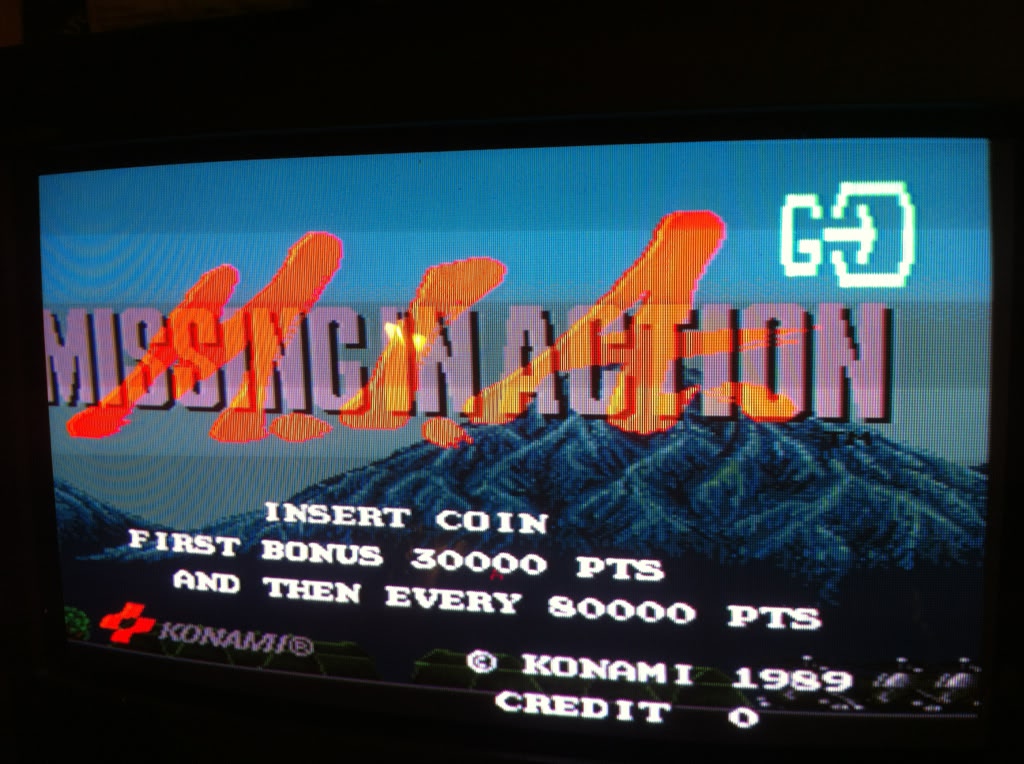
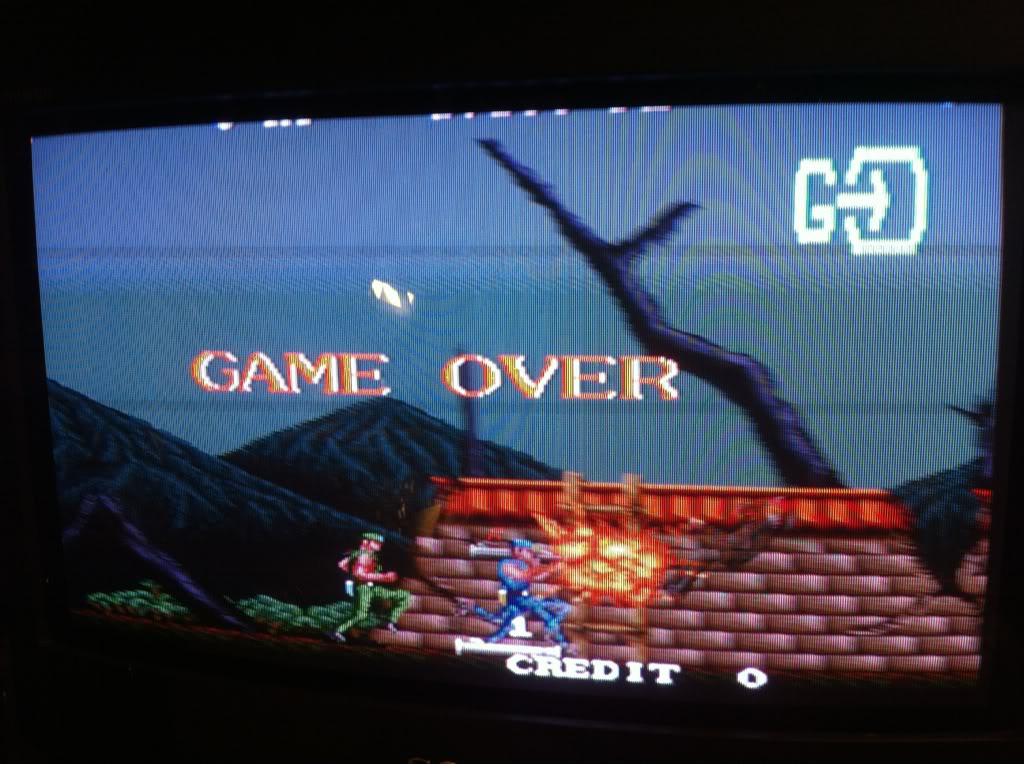
TADAAAAAA!!!!! };-P
Now wrote a nice little label to put on the window of the EPROM, and the board is as good as new.
