PCB Repair Logs Gate Of Doom
Gate Of Doom
 |
|
| Manufacturer | Data East |
|---|---|
| Year | 1990 |
| PCB Image | Gate Of Doom PCB |
| Pin Out | Jamma Pinout |
Repairer: Womble
Forum Thread: Gate Of Doom PCB Repair
Picked up a faulty Gates of Doom PCB from Data East, had never heard of this one before but outside of the US it is apparently known as Dark Seal, which did ring a very faint bell.
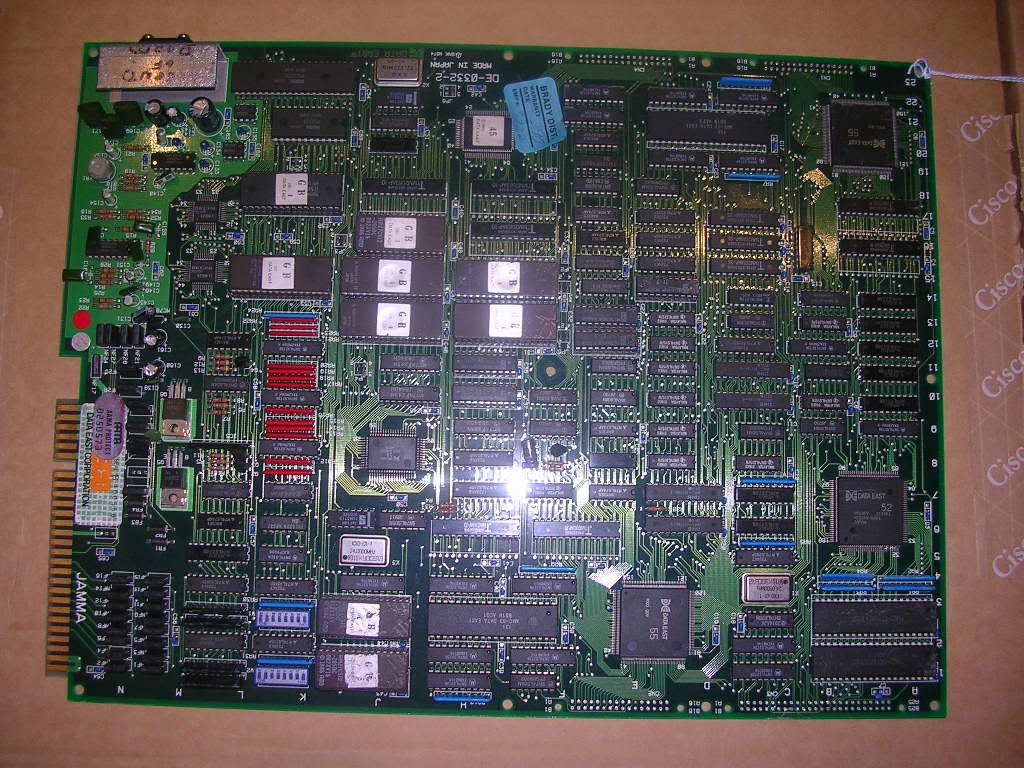
It was sold as running except the character sprites were just coloured blocks, and that is what I got on my arcade cabinet when I fired it up for a quick test. However on my test bench I got this...
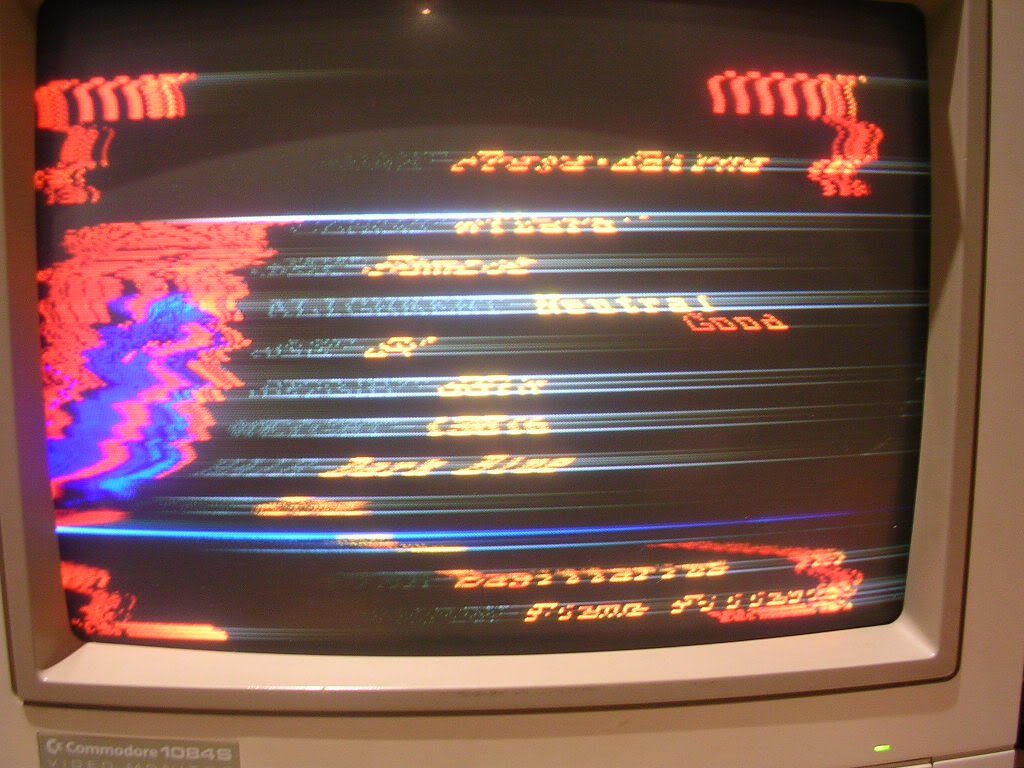
... the classic sign of missing video ground, ie you can see the game running but the screen is very unstable and the colours are dimmed and rather oily. My cabinet clearly has video ground tied directly to PCB ground but my test bench expects video ground on the video ground JAMMA pin, even if it is common with system ground.
I had a quick look over the board when I got it before I could power it up and it looked in pretty good condition, however this is a bit of a lesson in how easy it is to miss things when you are just scanning over things. The missing video ground was caused by the fact that this board was totally missing two of the filters on the input lines and another one was barely holding on. One of the missing ones was in the video ground path so without it the the video ground was totally disconnected (the three empty pads with stumps above the blue cap)...
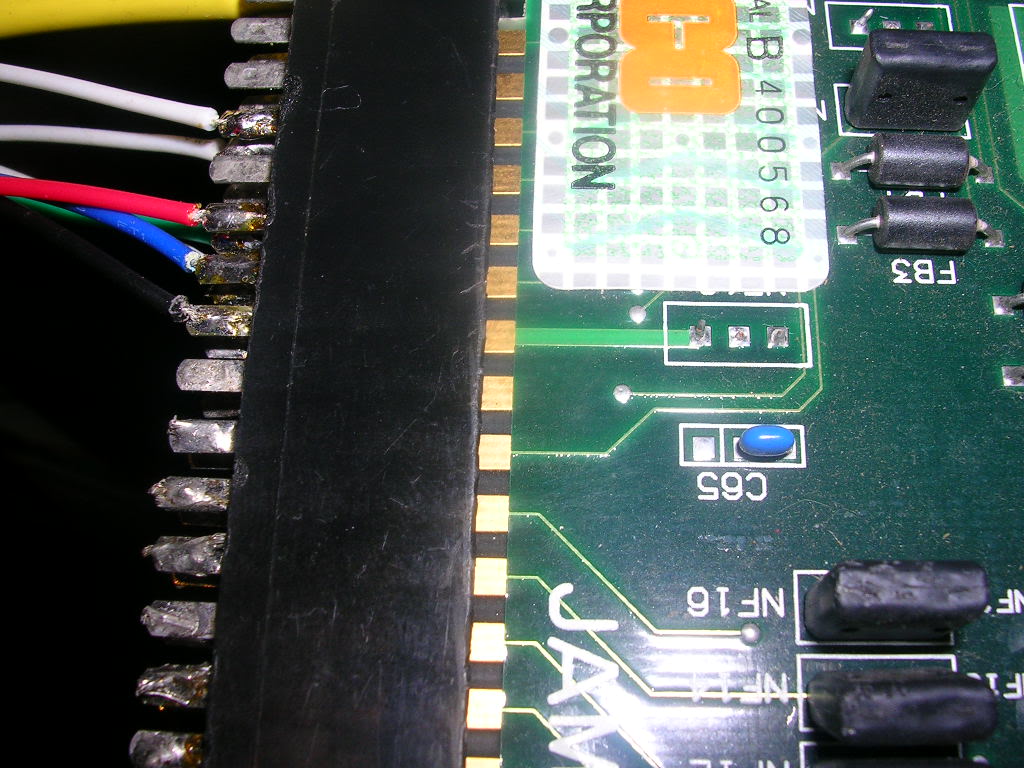
... so the holes and stumps were cleaned out ...
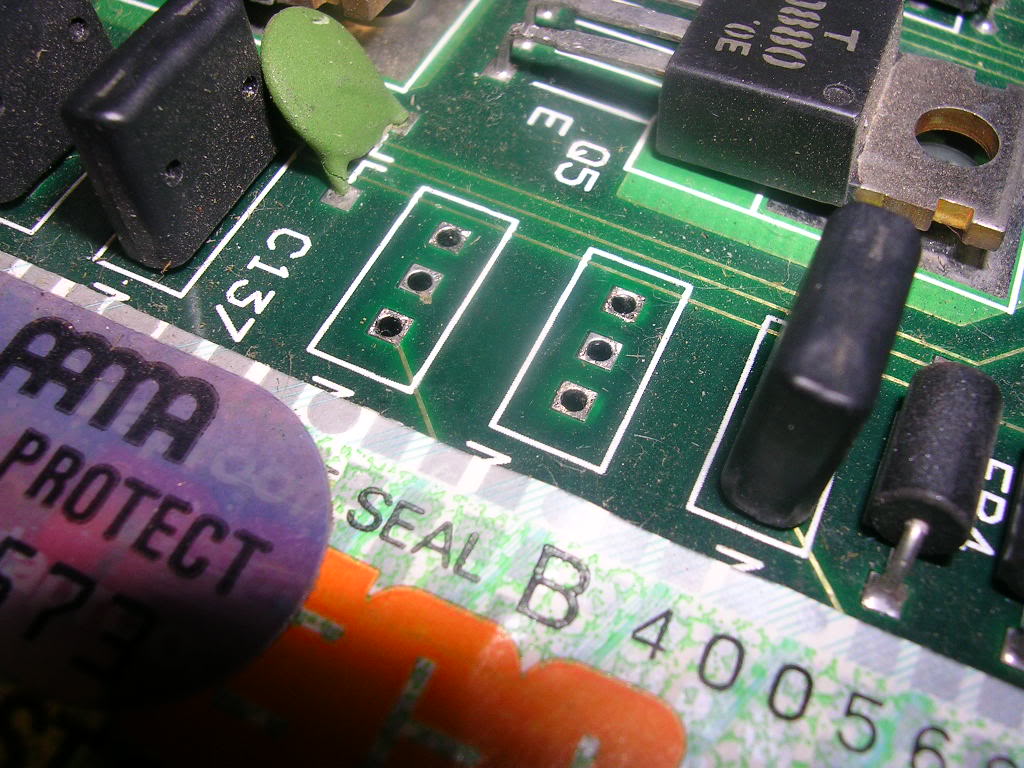
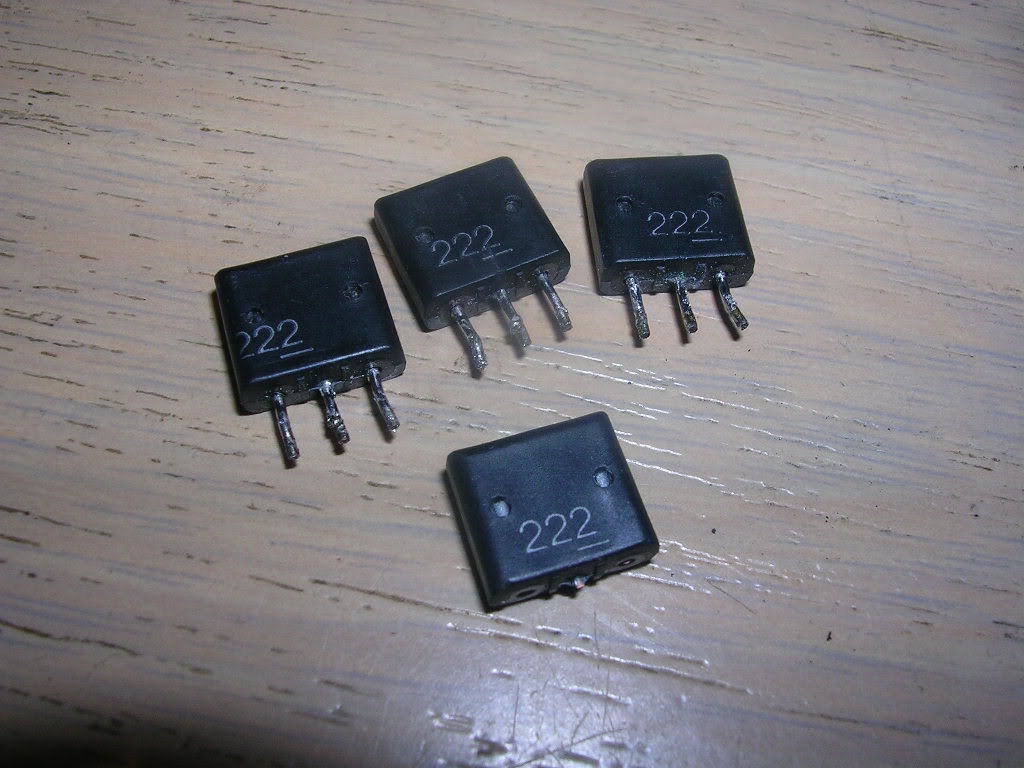
... and a trio of non-mashed ones was taken off a scrap Data East board, identical parts too as the board is from the same year as the scrap donor.
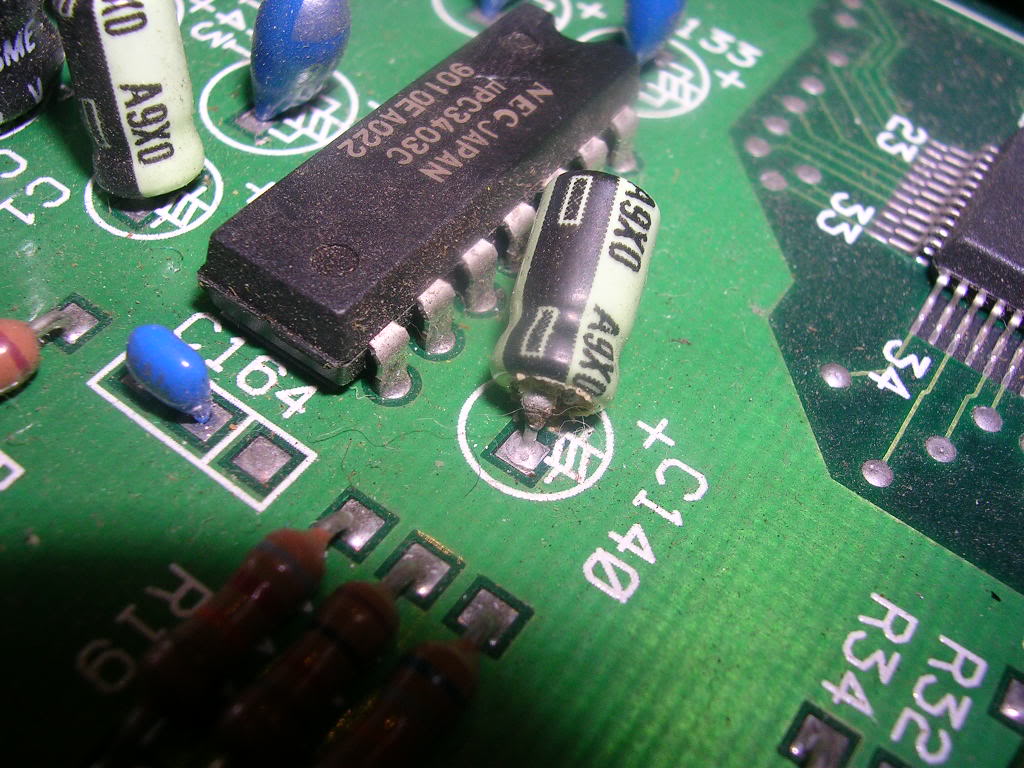
I also replaced a couple of bashed caps in the amp section while I was desoldering, both had been bent to one side tearing one of their legs out ...
Once video ground was restored, so was the image on the screen...
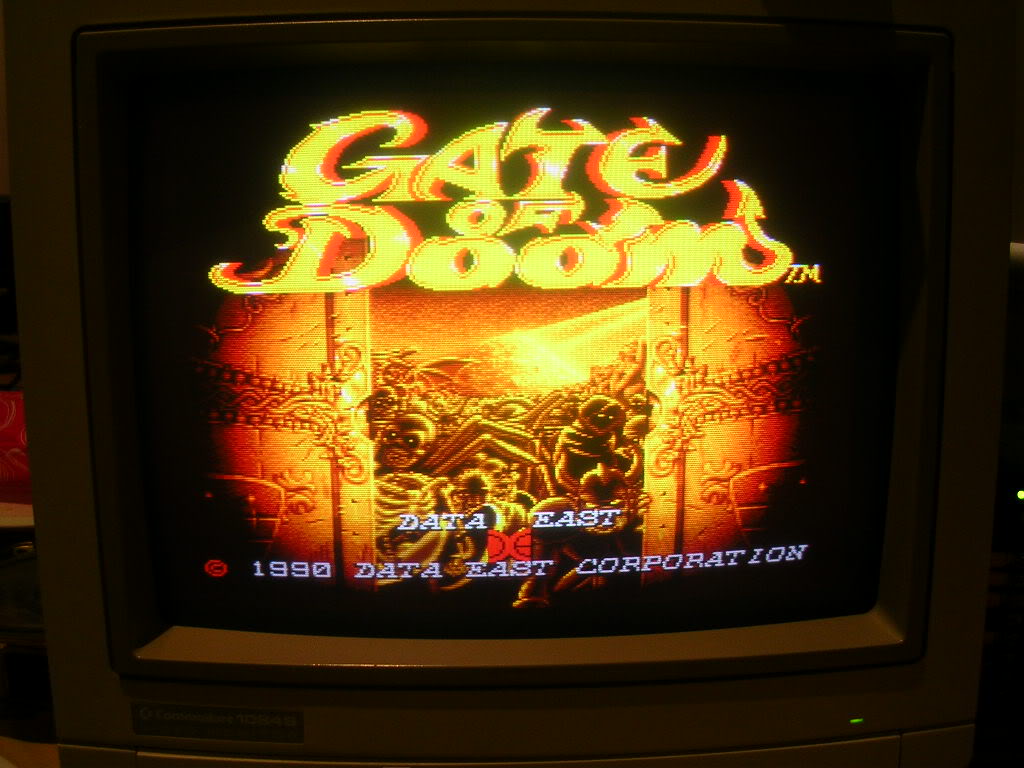
... and when the board cycled through its attract mode the fault became clear...
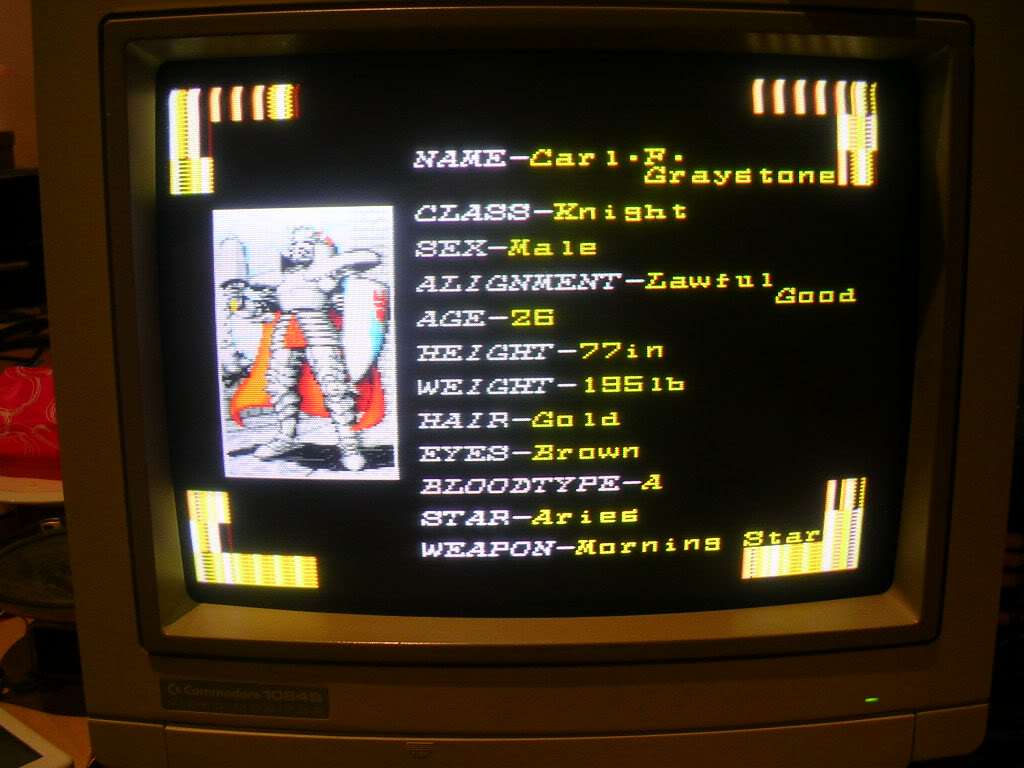
... check out the corner "decorations", rather corrupt, and once the game demo started...
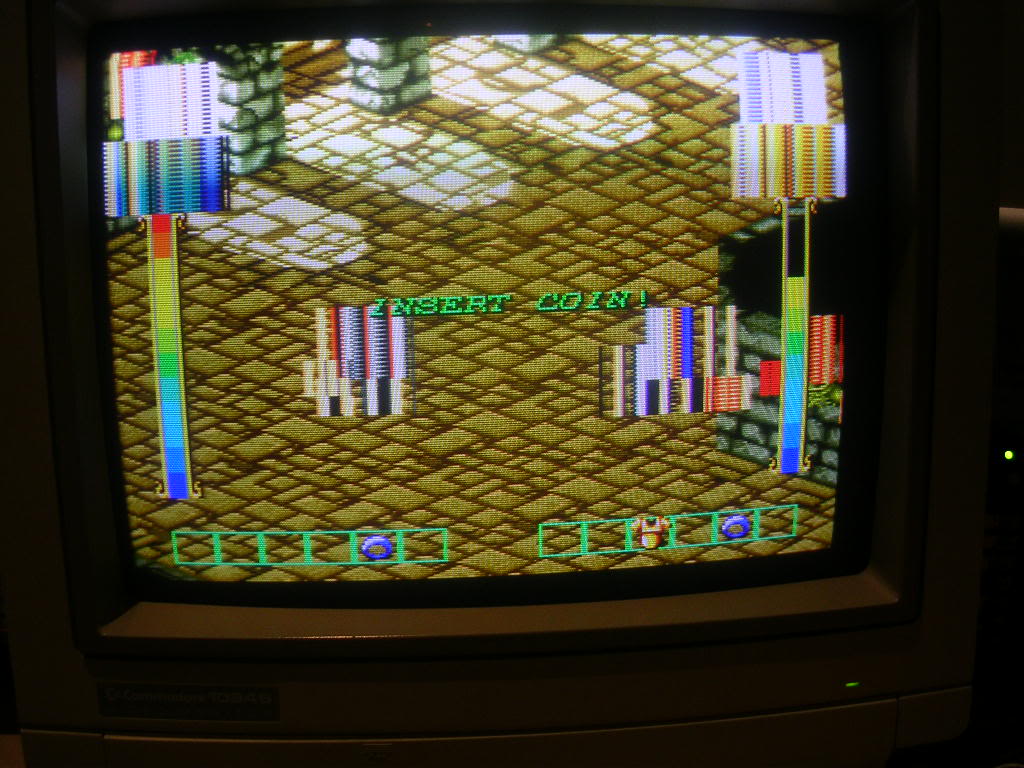
... the seller wasn't wrong!
So I set about working out what the various RAMs and ROMs were doing with the scope by briefly shorting a couple of data lines together to see the effect. I tracked down system RAM (not hard as it is right by the CPU) and the character RAM, as in the text characters and had moved on to what my chief suspect for the fault was...
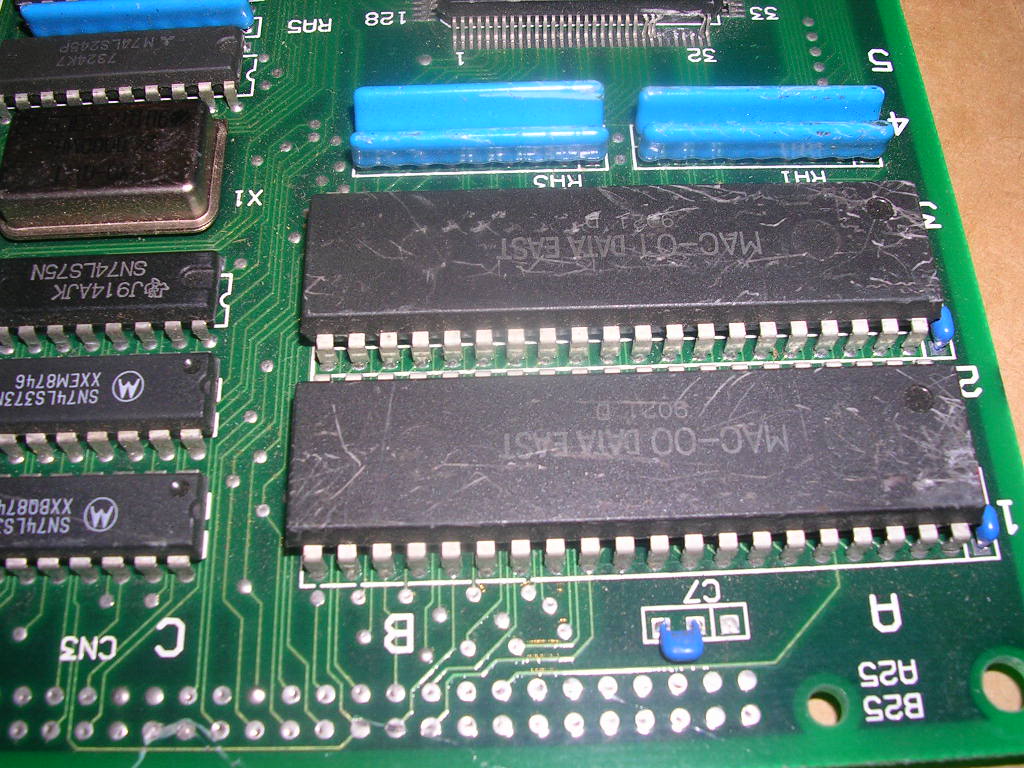
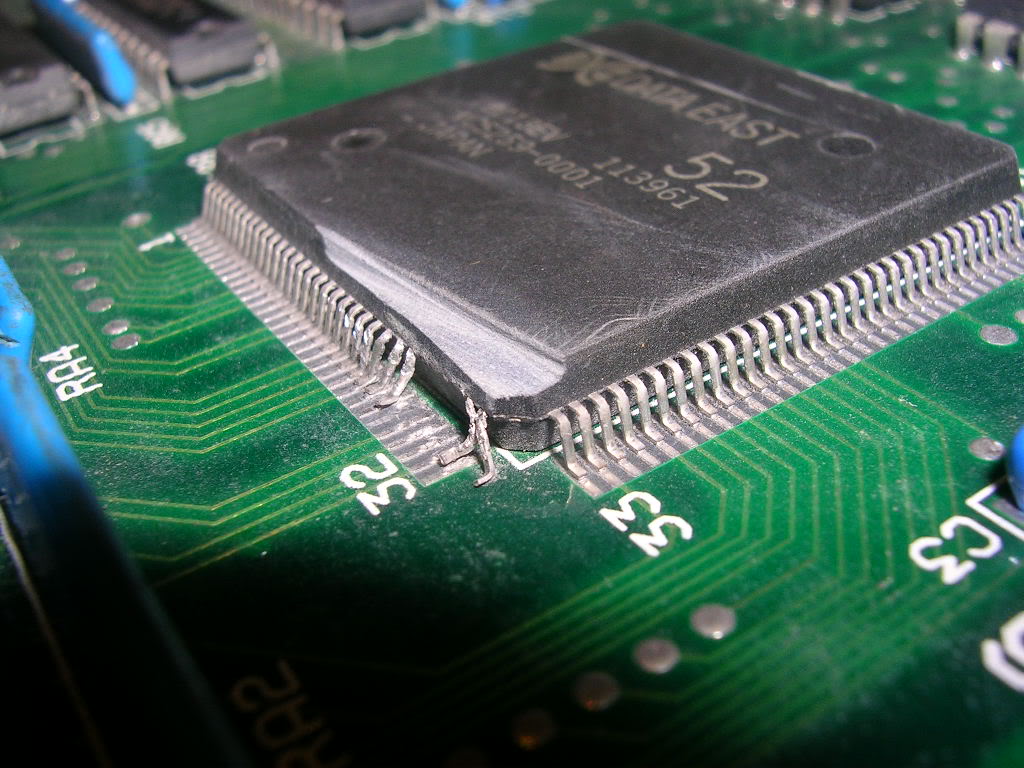
... the rather battered looking mask ROMs. I had even started to probe the data lines before I noticed the state of the 128 pin custom chip just in shot at the top of the frame, rather damaged!
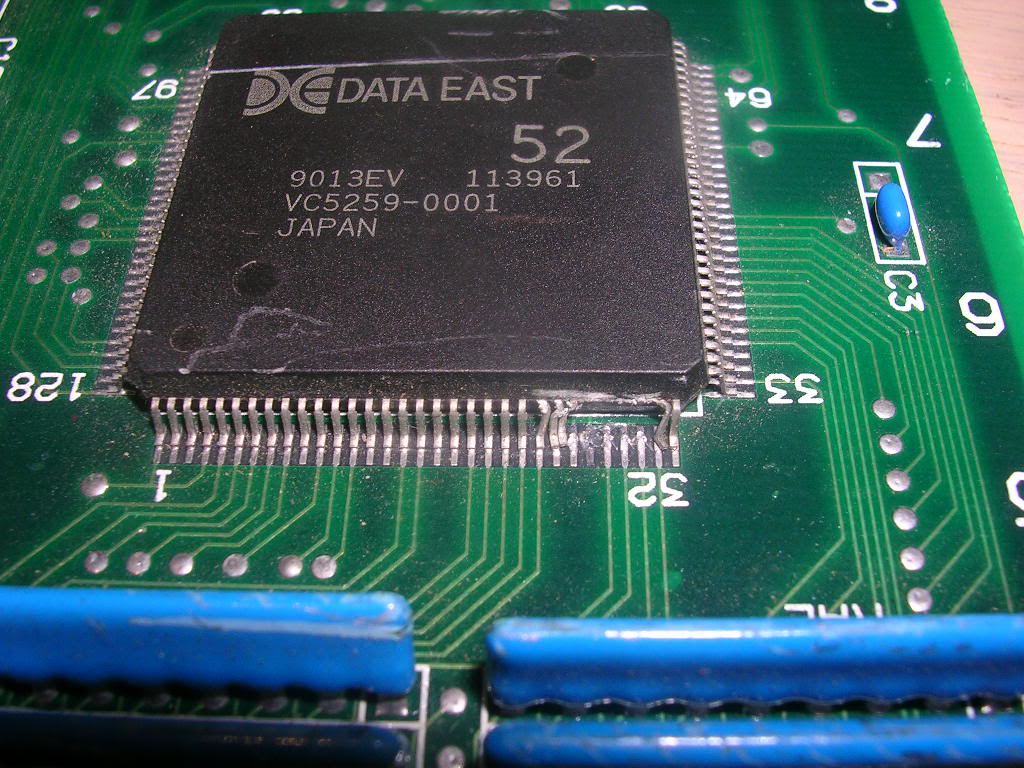
My first thought was to replace the entire chip, but for that I would need something to replace it with and this is not a very common chip. I had a quick look online but couldn't find anywhere to buy a salvaged one, and what info I could find suggested that only a few games used this chippery before Data East moved on to more modern gear. It was certainly not a chip I had on any scrap board and I didn't rate my chances of finding one easily.
That left two options, give up on the board, or try to repair the original chip, not quite as impossible as it sounds. Firstly I had to work out if it was likely to be dead or not, usually when I find a custom chip that has this sort of damage the gods have decreed that it is the 5V pins that get mashed into other pins which would likely blow the shite out of the chip. In this case of the three pins bent together to the left of the missing pins the gods had struck again, the righter-most pair are both 5V pins. The middle one was still soldered in place and it connected direct to 5V, the right pin was totally free from its pad but the pad was also connected to 5V, so the fact these two pins were touching was not a problem, thankfully the left pin was not actually touching the middle pin. The gap between it and the middle pin was minute but this meant the chip could be ok.
So, time for some violence, the actual brains of the chip is right in the middle of the chip, all that comes to the edge are the tracks which become the legs once they are outside the chip casing, so with some very careful filing you can removed the edge of the chip body and expose the metal tracks where the legs used to join, then with some micro soldering you can hook up everything that was damaged.
The most dangerous part is actually getting the first cut made which you can use to guide the file...
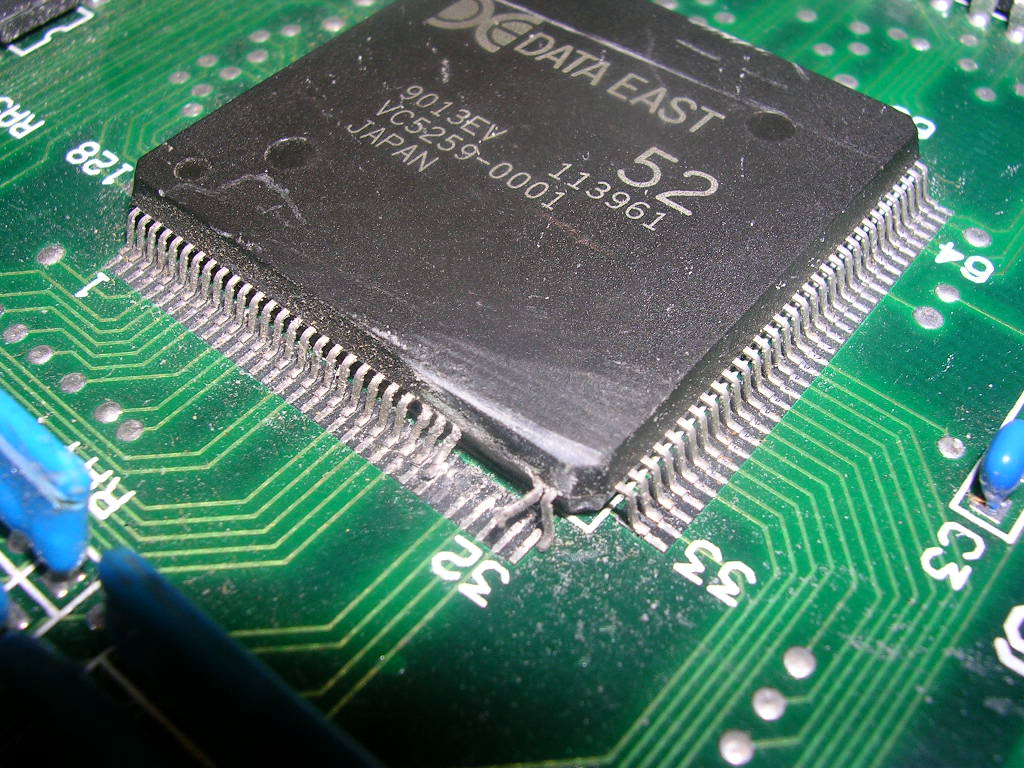
... then you slowly work deeper into the chip body, it makes a fair mess and takes time but you do slowly cut down...
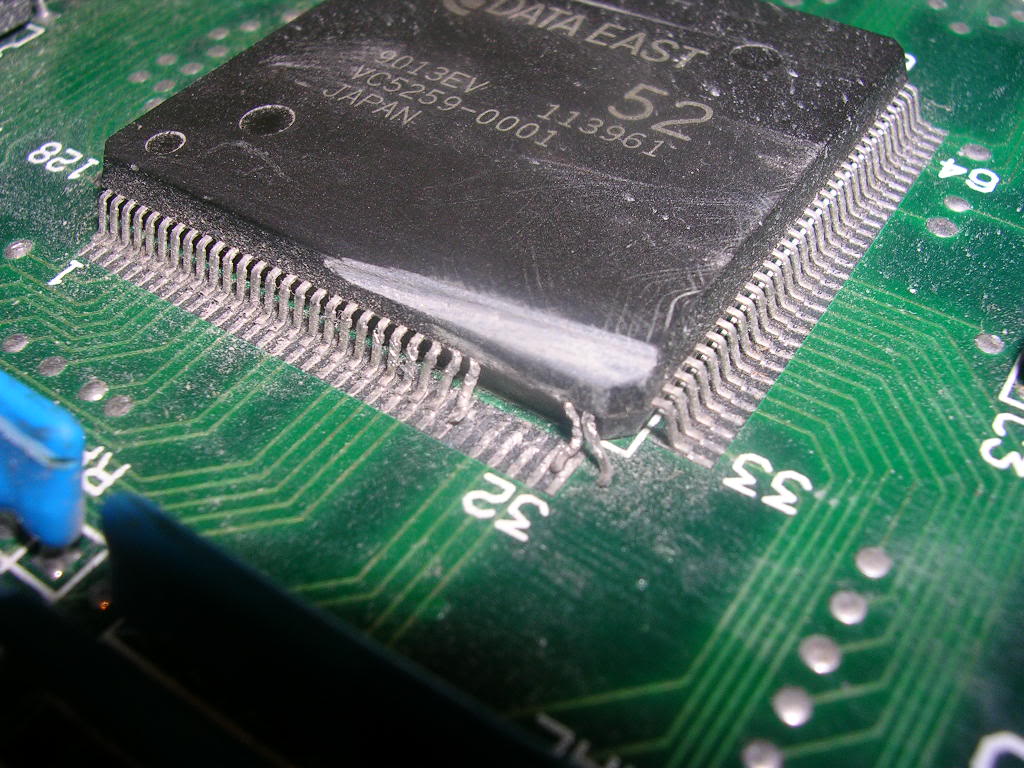
... its clearer with some PCB cleaner sprayed on to wet the dust...
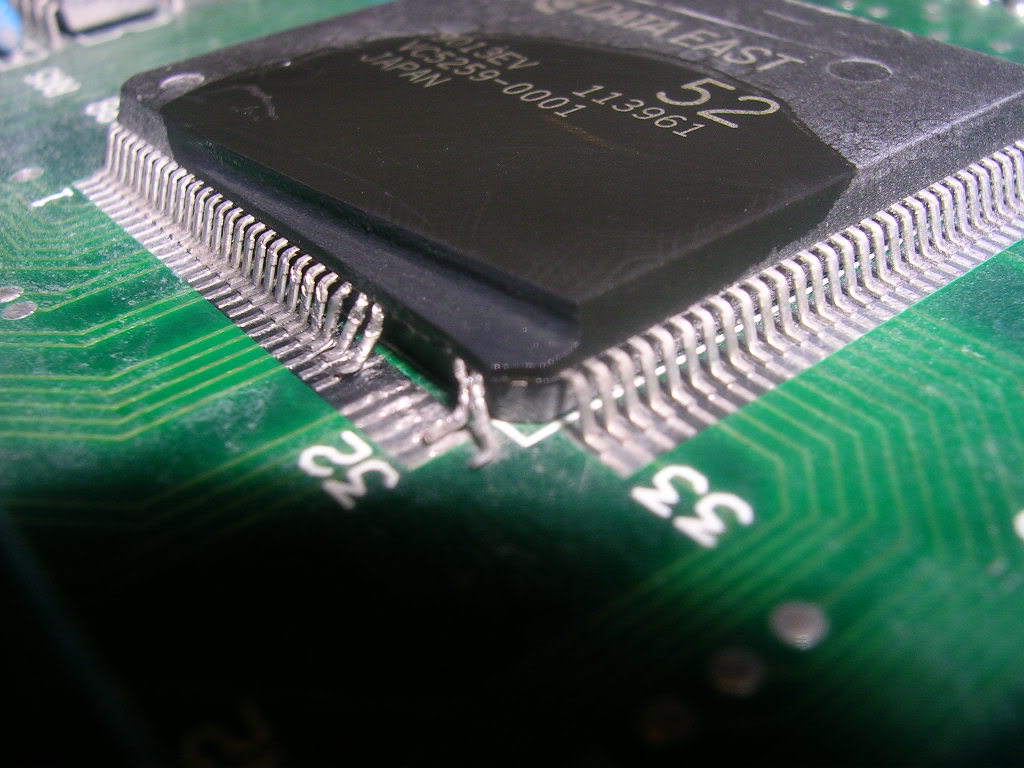
... and finally you strike gold, or whatever the tracks are actually made of...
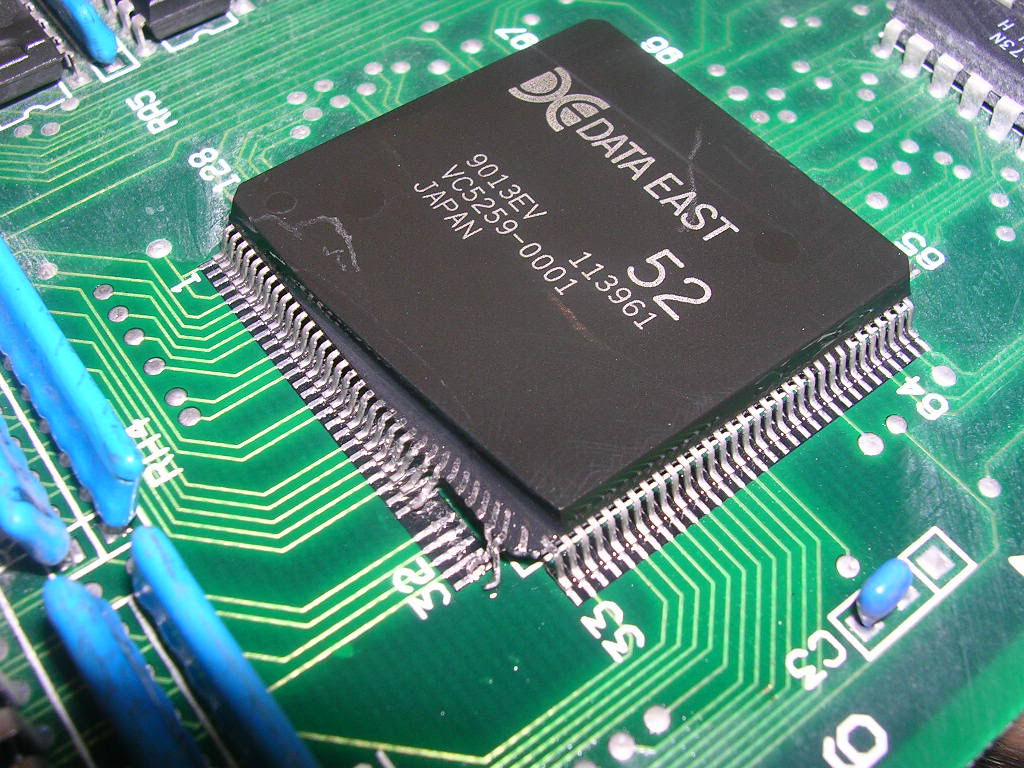
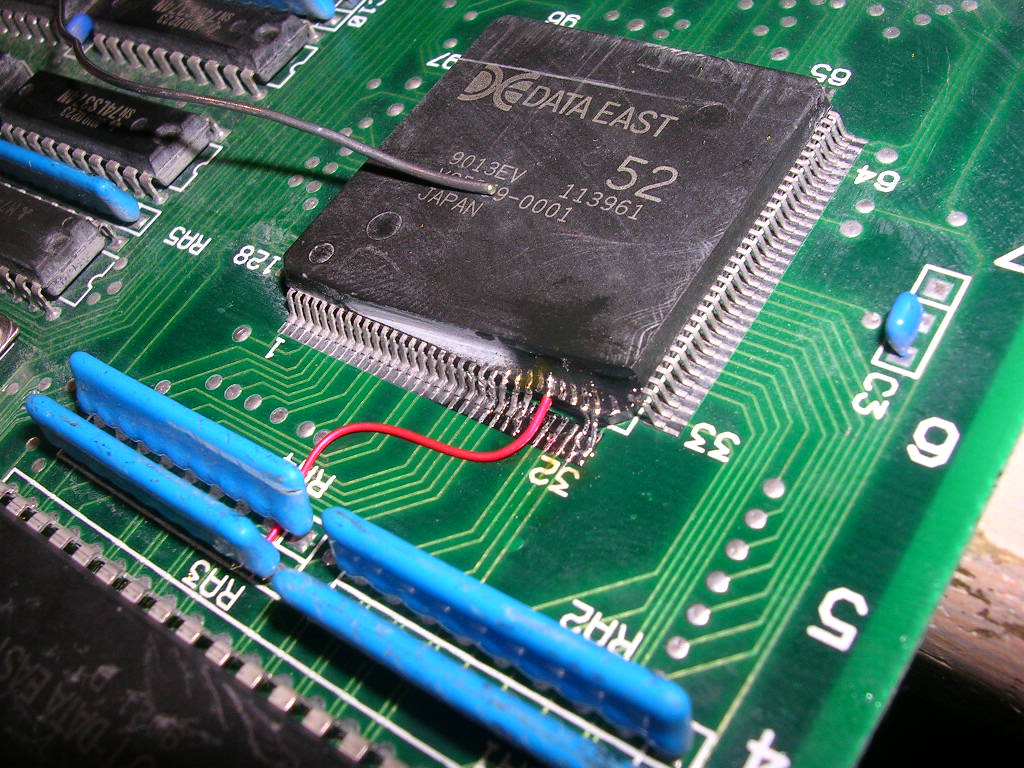
A couple of the remaining legs were salvageable, one missing leg was never used and just went to a blank pad, which left three legs that I needed to replace. All three went to the nearby resistor networks and judging by the fault they are address bus lines for the mask ROMs. So with some very fine hookup wire ...
... I re-connected the chip back to where it had originally connected...
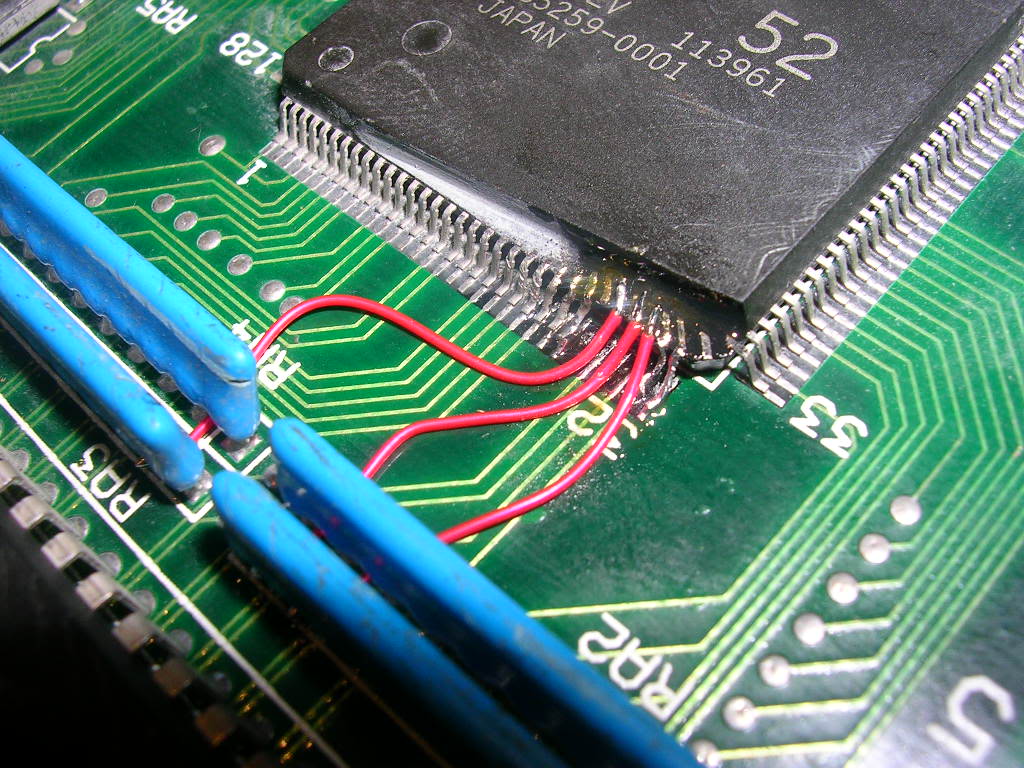
... some liquid flux helped keep the solder from joining everything up again as this was very fiddly, but eventually I had no cross continuity.
Time to power up, and wait an age for attract mode to cycle round to where it was bad before...
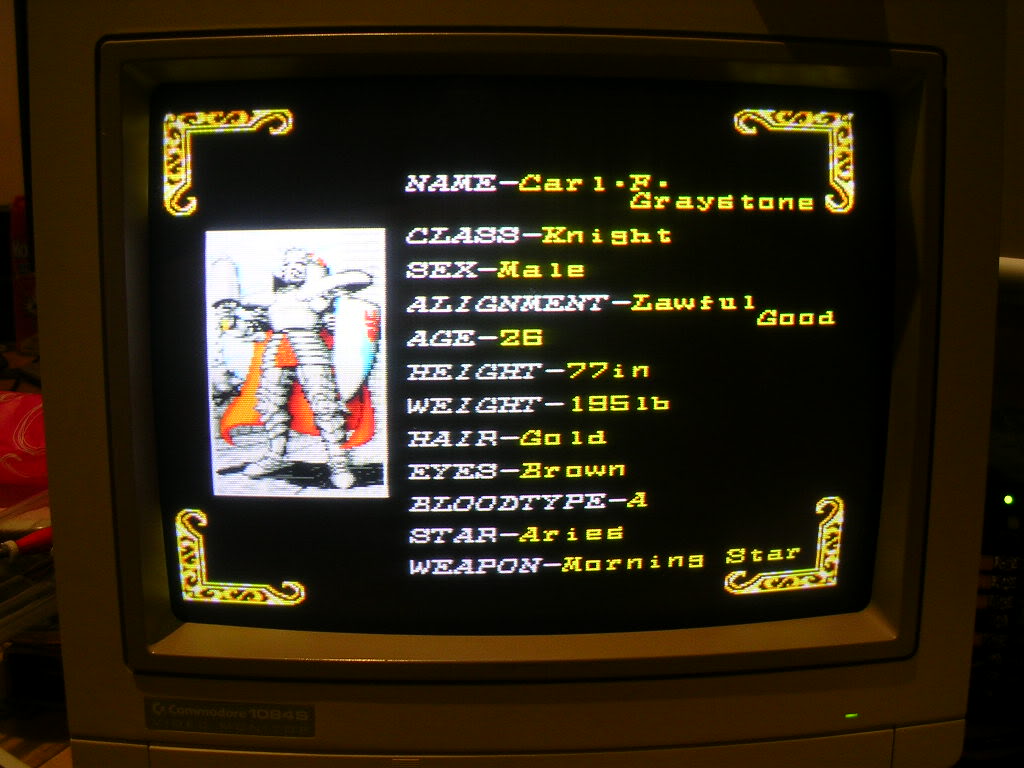
corner decorations were back...
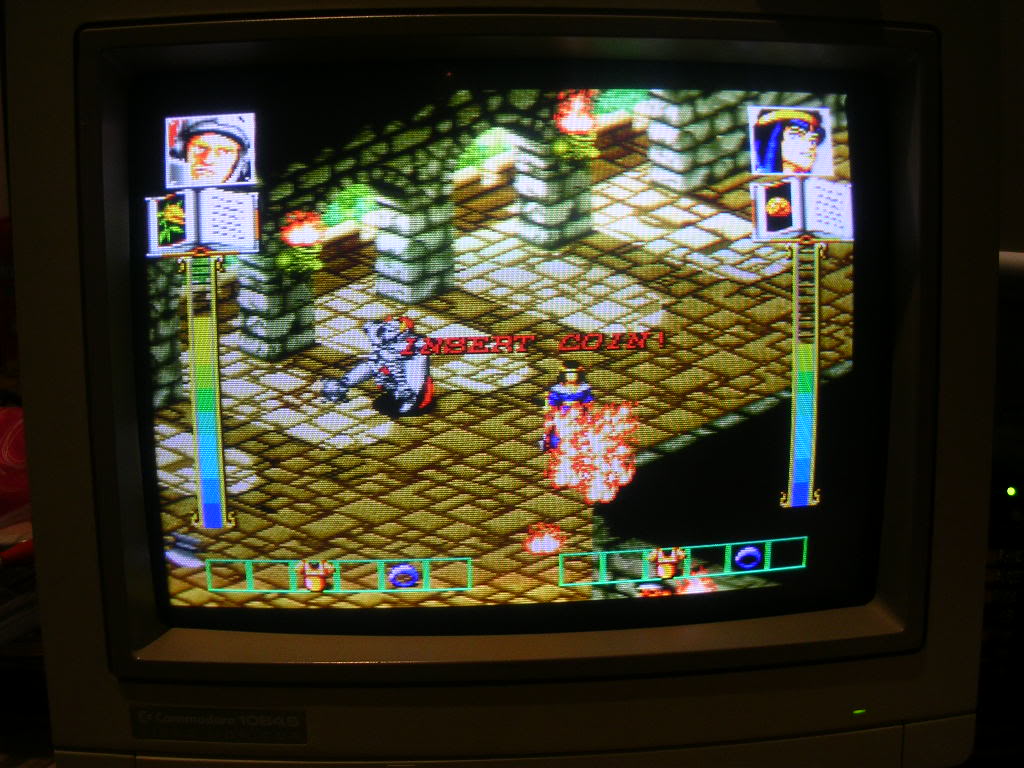
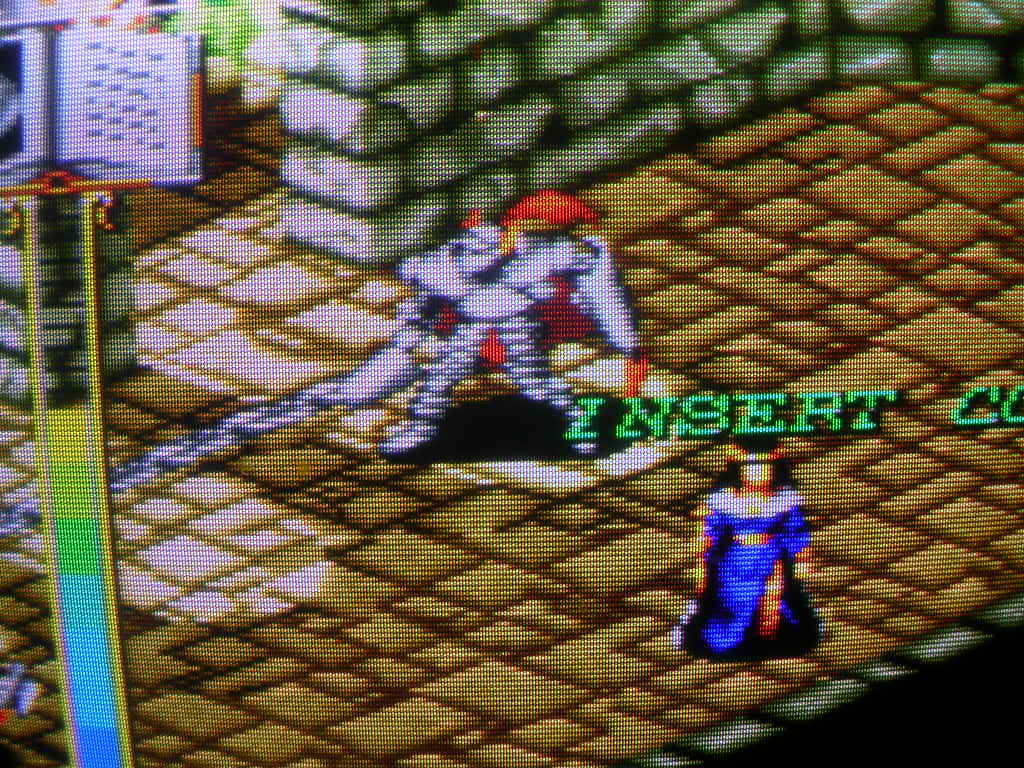
...as were the sprites
All that was left was to add some PCB lacquer to the exposed chip edge to seal everything back away from the air again and she's fixed.
