PCB Repair Logs Nemesis
Nemesis
 |
|
| Manufacturer | Konami |
|---|---|
| Year | 1985 |
| PCB Image | Reserved |
| Pin Out | Nemesis |
Board 1
Repairer: Arcade King
Forum Thread: Nemesis PCB Repair
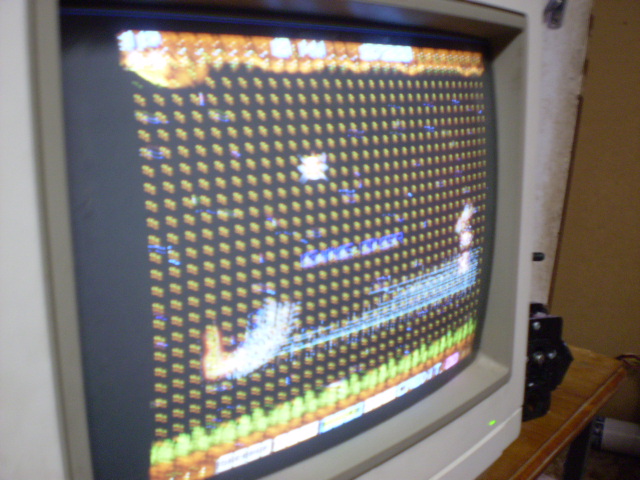
Problem: Was fixing a mates nemesis when I decided to pull mine out and test it, what you know bloody graphics problems, basically coloured dots and lines running vertically down the screen.
Put the board away it was doing my head in and came back to it from time to time, problem increased to a error on startup saying Character Ram BAD, when pcb was cold it would boot but after it warmed up if you switched it back off and on again you would get the error. PCB is 2 layers so first thing I did was used Woka's pcb to determin which side was at fault, result bottom video pcb.
Nextswapped over all the customs, all fine.
Fix: The character Ram consists of 8 4416 Drams, I ended up socketing the lot and using my Konami Jail Break (which is the only other pcb i have that uses 4416's) and testing each ram. 4 out of the 8 rams were poo.
Problem: Game loads to crosshatch then resets. This happened while working on the above.
Fix: bad 74ls04 @ 22E Video PCB
Notes:
This pcb has so much different types of ram on it its crazy.
Character ram: 8 4416's
Scroll Ram: 2 6116's D22 and 25
Vram1: TC5533 @ A15 and C15
Vram2: TC5533 @ D15
Sprite: 16x 4164
Sound: 6116 @9A
Program: 6264 @17A and C and 16 A and C
Colour Ram: 6116 @ 14K and 15K
I also reprogrammed my program roms to the set in mame which allows continue, so gay without it.
Board 2
Repairer: Womble
Forum Thread: Nemesis PCB Repair
Had Woka's Konami Nemesis PCB on the bench recently. The fault was the game would play silently, graphically it was fine...
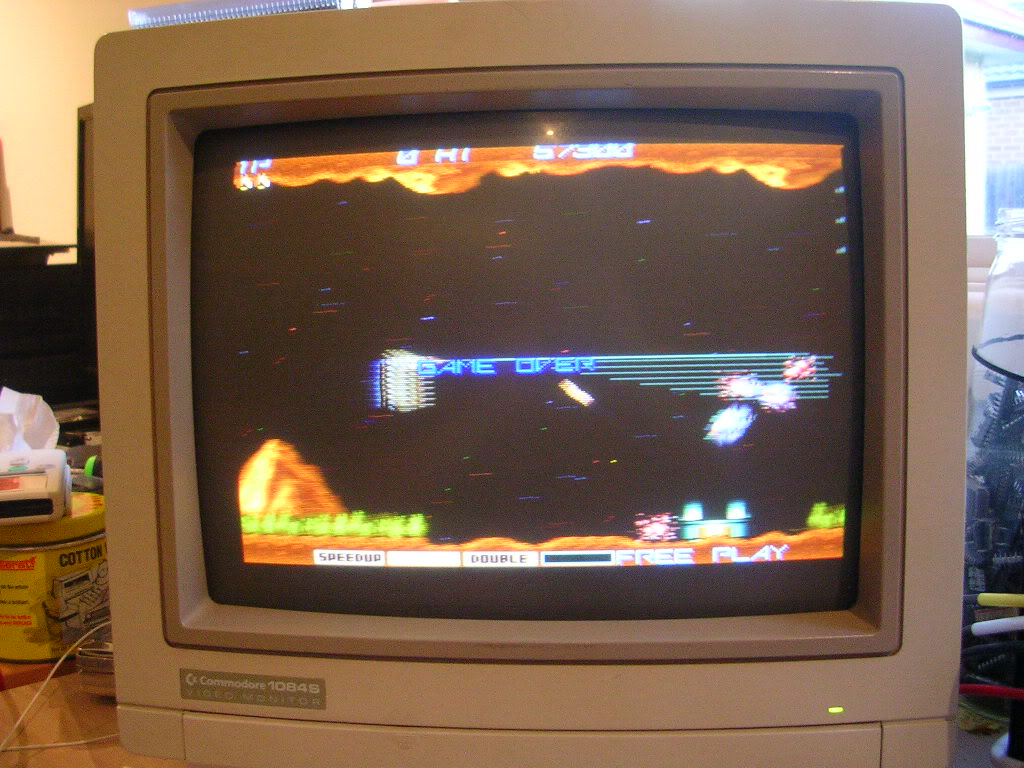
... but had absolutely no sound.
No hiss, no crackle from the volume pot, no "pop" on power up, nothing.
With "no sound" faults there are two places you can start, the CPU on the sound section and work out towards the amp chip, or at the amp chip and work inwards towards the CPU.
Which one to choose depends on how silent the board actually is, usually boards with missing audio are not completely silent, you hear the pop on power up, hiss from the speakers when the volume is cranked up, a faint crackling noise when you adjust the volume, or hum when you jam your fingers hard onto the amp chip or the pins underneath. All of those show that the amp chip is working, at least to an extent. In those cases it is more worthwhile checking out what the audio CPU is doing as the amp is getting no sound to amplify.
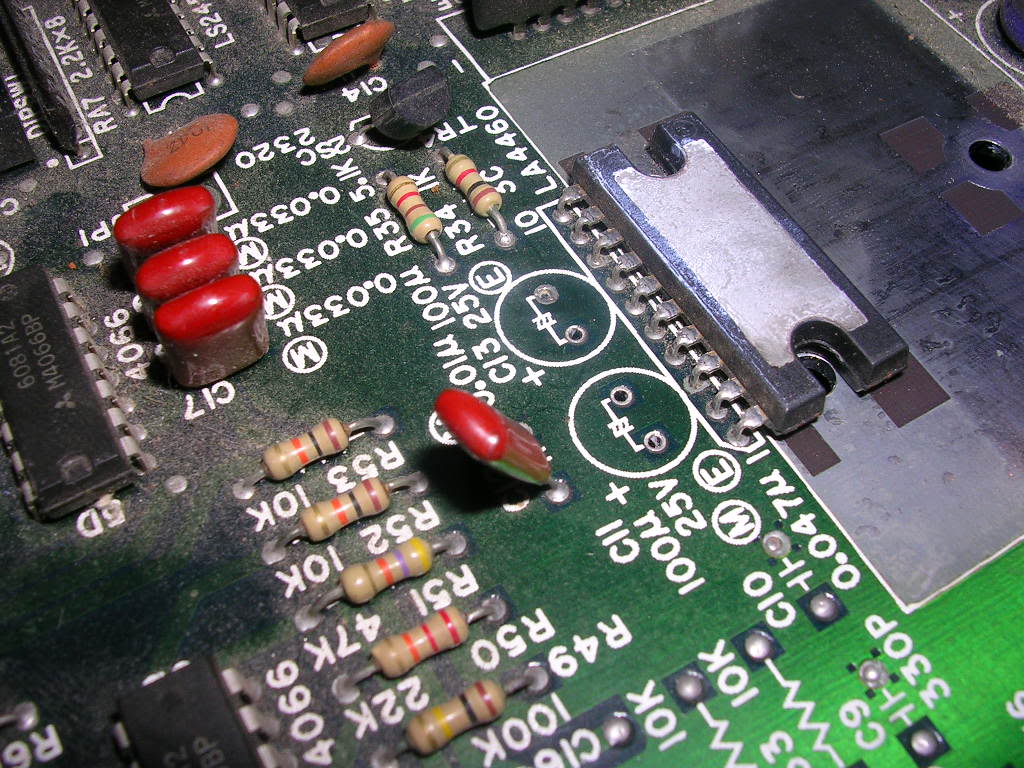
In this case silence really did mean silence, which meant I started at the amp chip itself, an LA4661 chip under the fairly massive heatsink.
The usual check list runs like this...
1) Look up the amp chip datasheet online, the common ones are very easy to find. You need to know where the power is applied, the signal input and the amplified output pins are. Or you can work this out from the board.
2) Check the amp is getting 12V to the 12v pin on the amp chip, not just to the edge connector, in this case it was. The actual voltage is not overly critical, these amp chips are happy with anything from 9 to about 18 volts and in this case it was getting 13.5v. The 12v rail on arcade PSUs is not regulated so the voltage you measure can be a fair way from 12v and the amp will be perfectly happy with that.
3) Check the speakers are connected up to the amp chip outputs correctly, doubly important if there is a homemade harness in the cabling path. In this case the PCB needed a Konami Classic adaptor, which I have, and the speaker was hooked up correctly.
4) By this point the amp chip and heatsink should be warm, if it is stinking hot then that is a fault in itself, almost certainly due to damage to the 12v rail decoupling capacitors. These filter out noise on the 12v line and prevent the amp from oscillating. The largest electrolytic on the PCB is usually the 12v decoupler and can often be damaged, in this case it was fine. Plus the amp on Woka's board was stone cold, another good sign that the amp itself was completely dead.
The simplest way to close the case is to take the input signal hitting the presumed dead amp chip and diverting it to an external amplifier. I made up this cable years ago for this purpose...
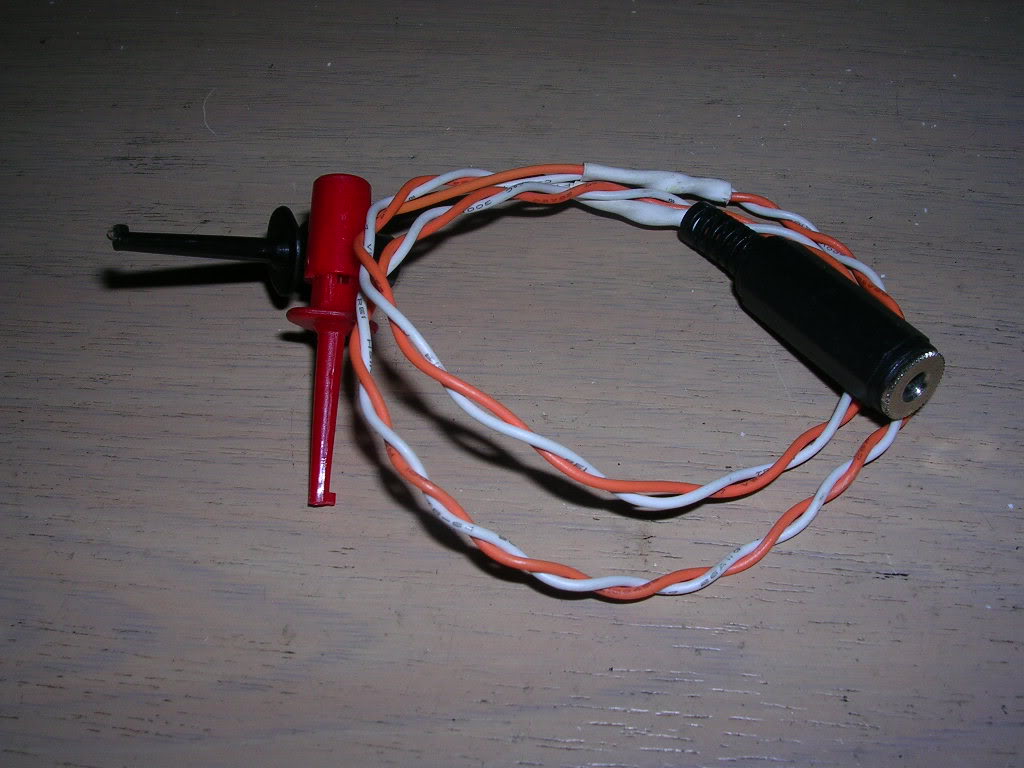
...the two micro clips hook up to the amp ground pin and the audio input pin which lets me squirt the audio into the line input on my PC speakers.
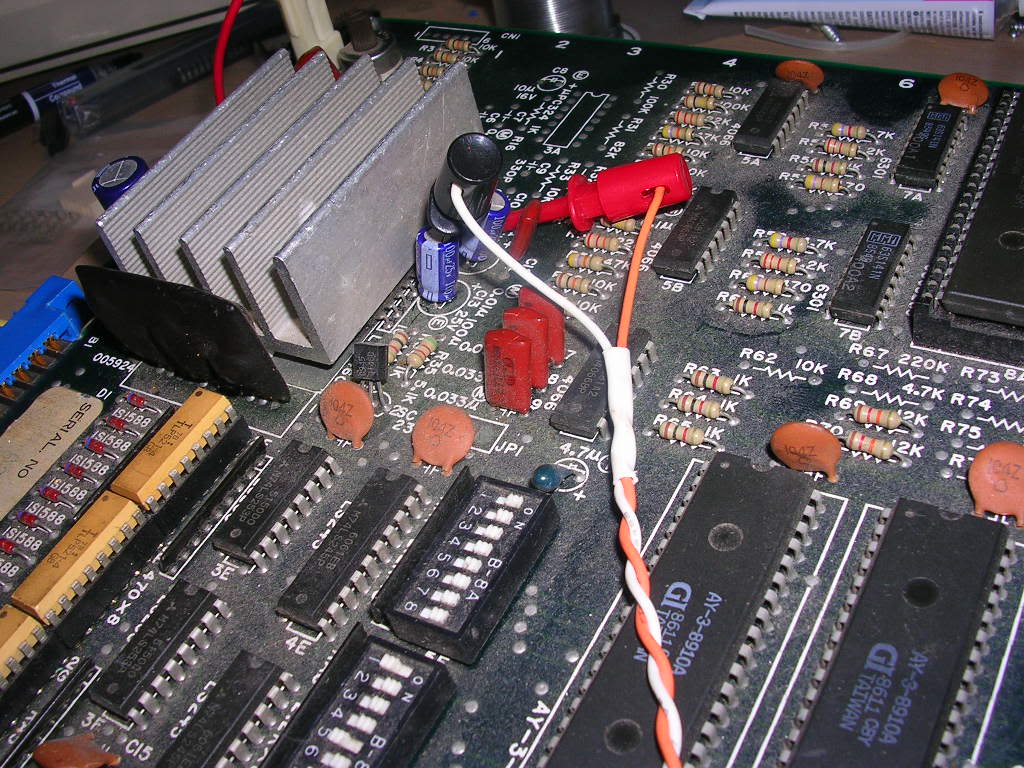
When the board was powered up I had sound! This proves the board is giving out audio, it is getting to the amp chip, and that the onboard amp is doing nothing.
... I also replaced the pair of 25v 100uF electrolytic caps as one of them had an ESR reading that was constantly changing for some reason, the other one was fine, but as they are a pair etc etc.
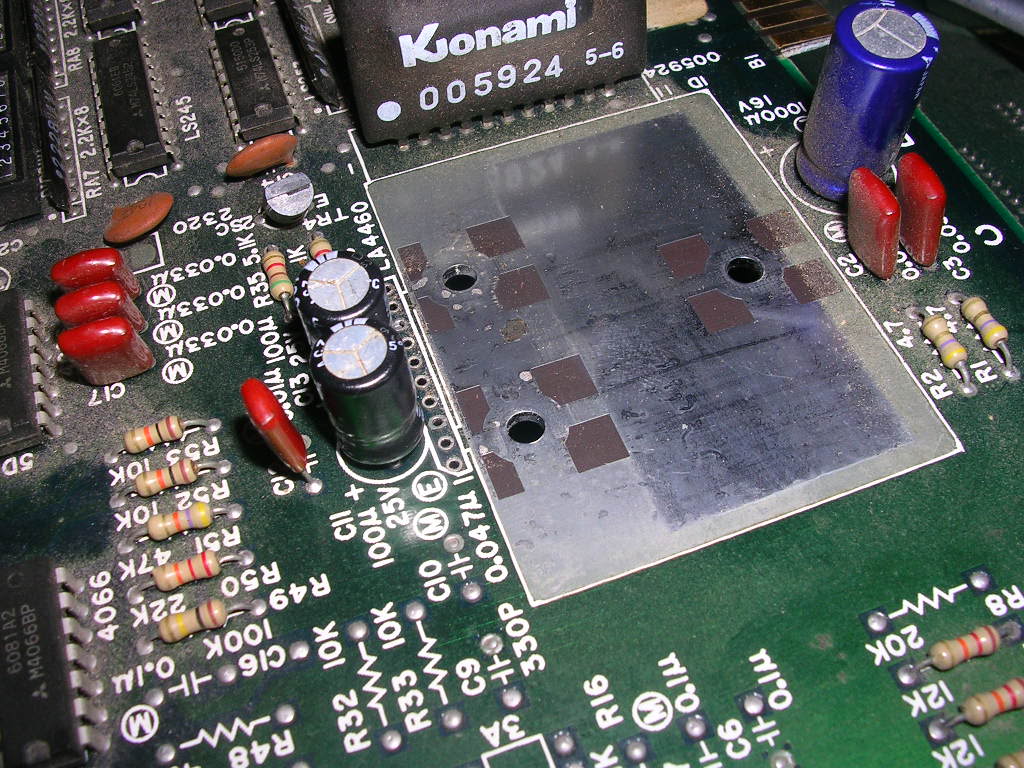
New amp chip installed and heatsink re-attached.
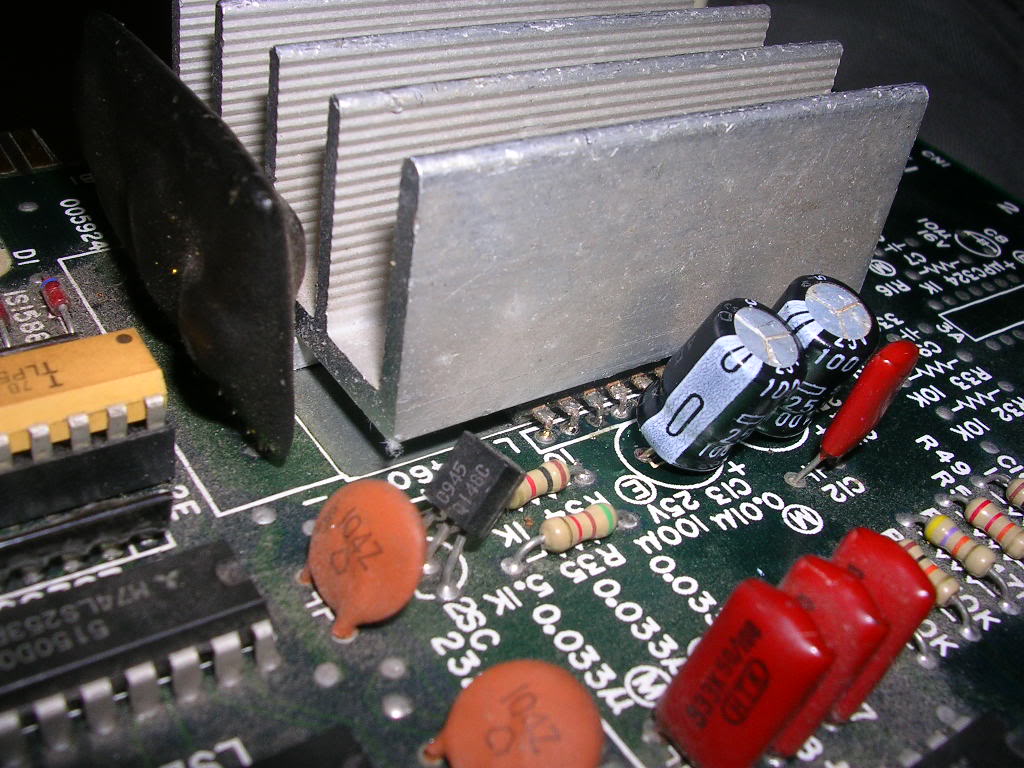
Powered up the game and the audio was back.
The only other problem with this board was major PCB sag, there should be 6 PCB supports and spacers but the ones in the middle were missing. Over time the weight of the upper PCB causes the board to bend, and if it is ever stored with anything on top of it the two PCBs will be pressed together.
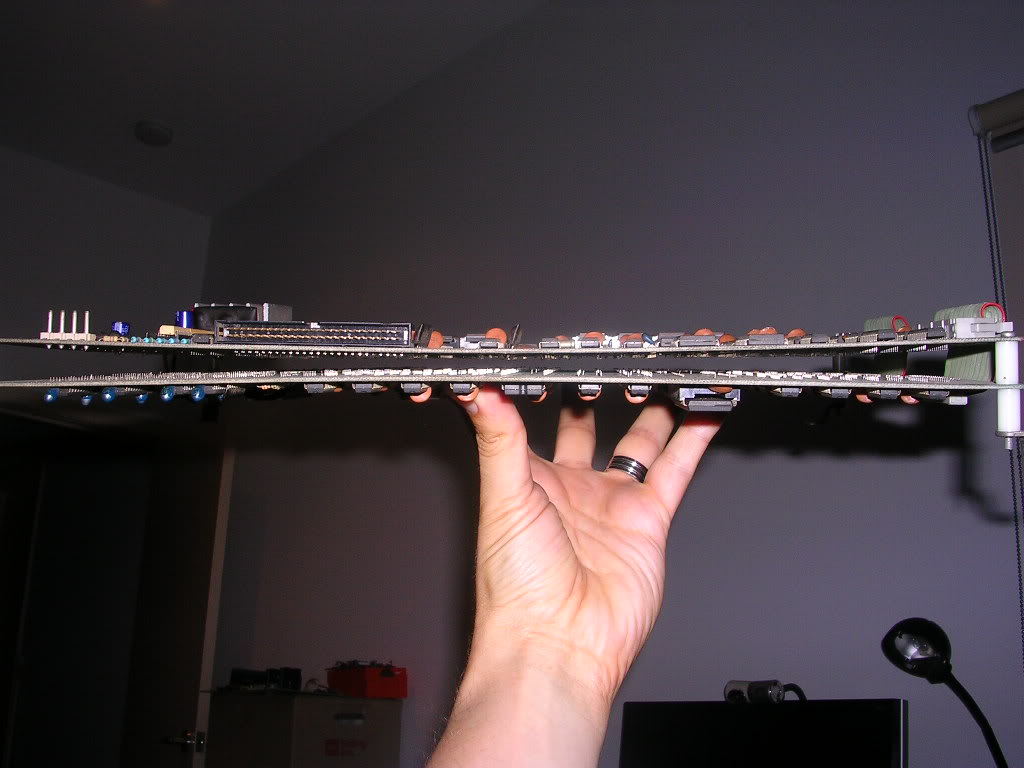
This leads to track damage as the component legs on one PCB scratch the track side of the other PCB. Also if gets so bad that the boards always touch then the next time it is powered up bad things will happen, magic smoke will probably escape, and the board can be wrecked.
A few bits from the scrap box fixed that issue...
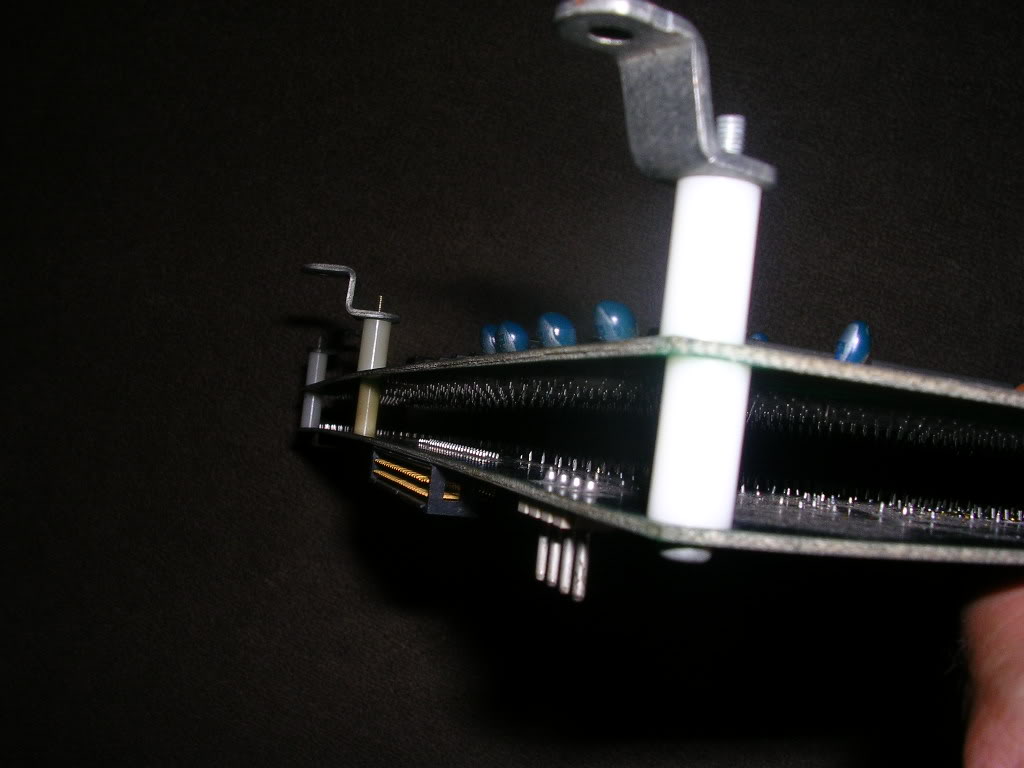
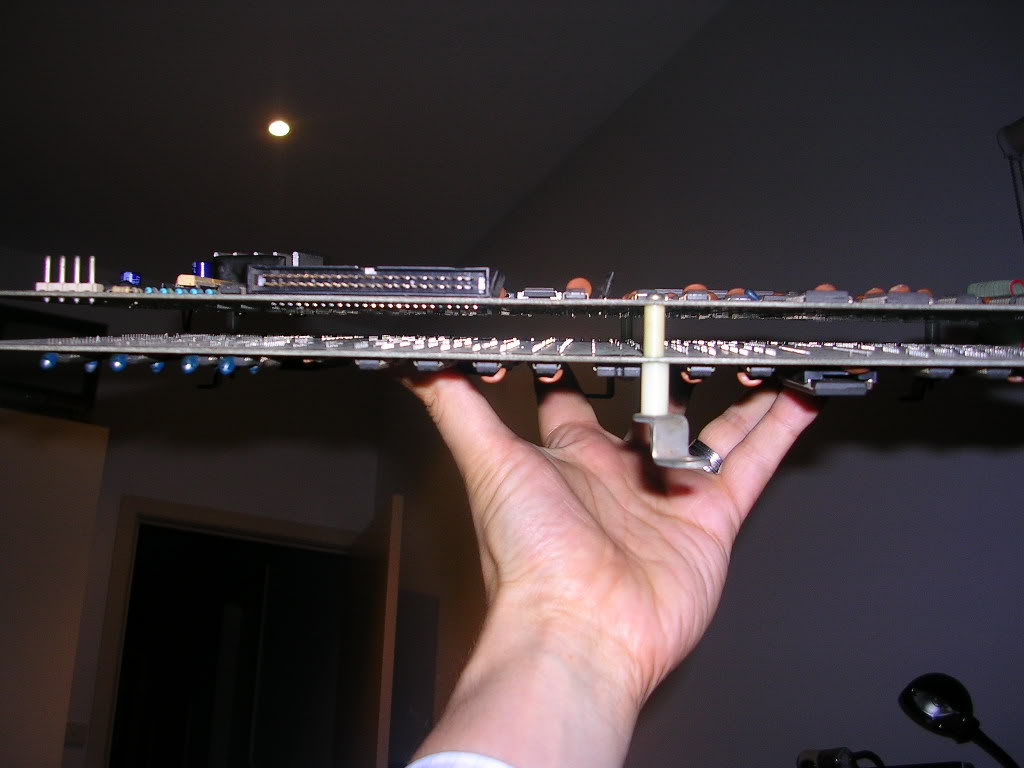
... and the board is ready for the road again.
