PCB Repair Logs Wonderboy 3 Monster Lair Bootleg
Wonderboy 3 - Monster Lair (Bootleg)
 |
|
| PCB Image | Reserved |
|---|---|
| Pin Out | Reserved |
Repairer: Elgen
Forum Thread: Wonderboy 3 Monster Lair (Bootleg) PCB Repair
http://elgensrepairs.blogspot.dk/2013/01/sega-wonder-boy-iii-monster-lair-bootleg.html
This board actually started out as an unknown. I traded an original working 1942 (as I don't like the game, and didn't play it) for 4 defective boards and some cash with a fellow collector from spille-maskiner.dk. Three of them was: Miss Pacman, 1942 and Psychic5 (all bootlegs), but he was unable to identify the last one (clearly also a bootleg). So I read 3 of the PROMs and ran MAMEs romident on them
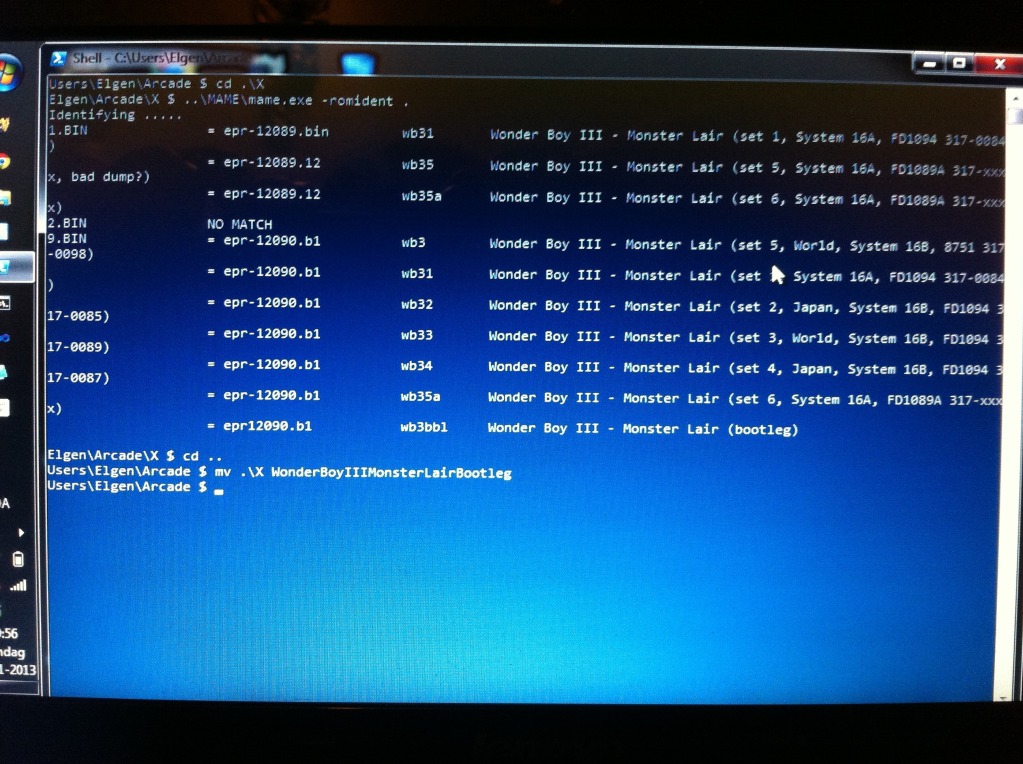
SWEET! I haven't got this game, and ever since beeing a little boy, I've loved this game; mainly because it's 2-player but also because of the super-cute graphics and the nice mix of platform and shmup. Now let's see if we can get it up'n'runnin'.
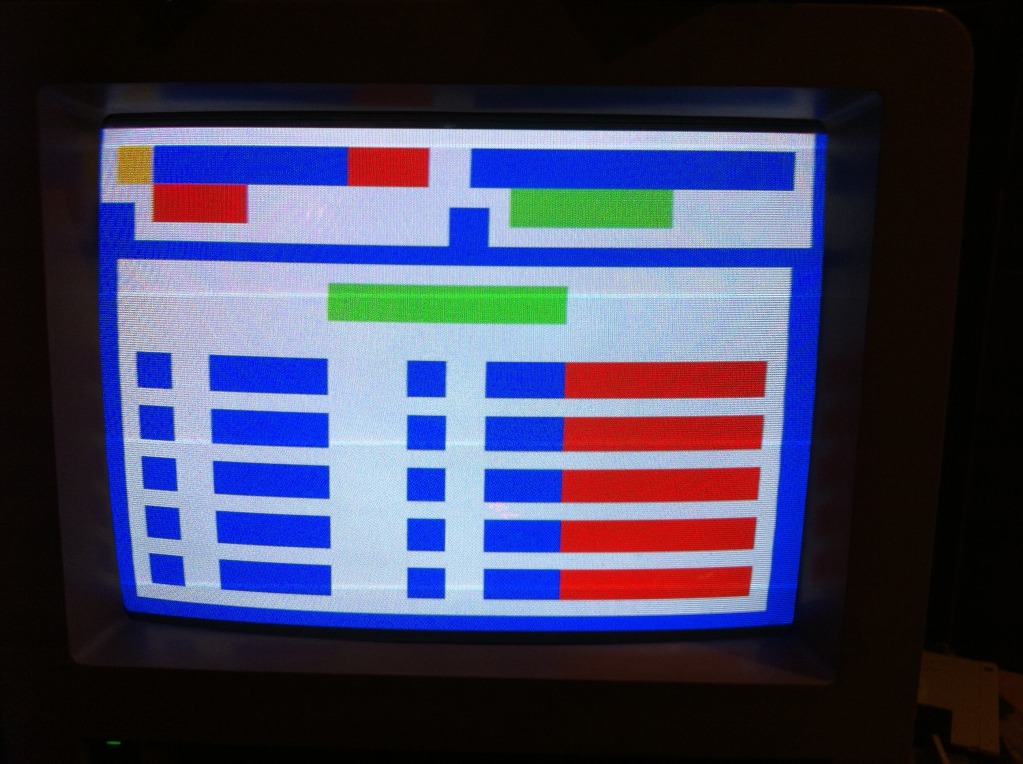
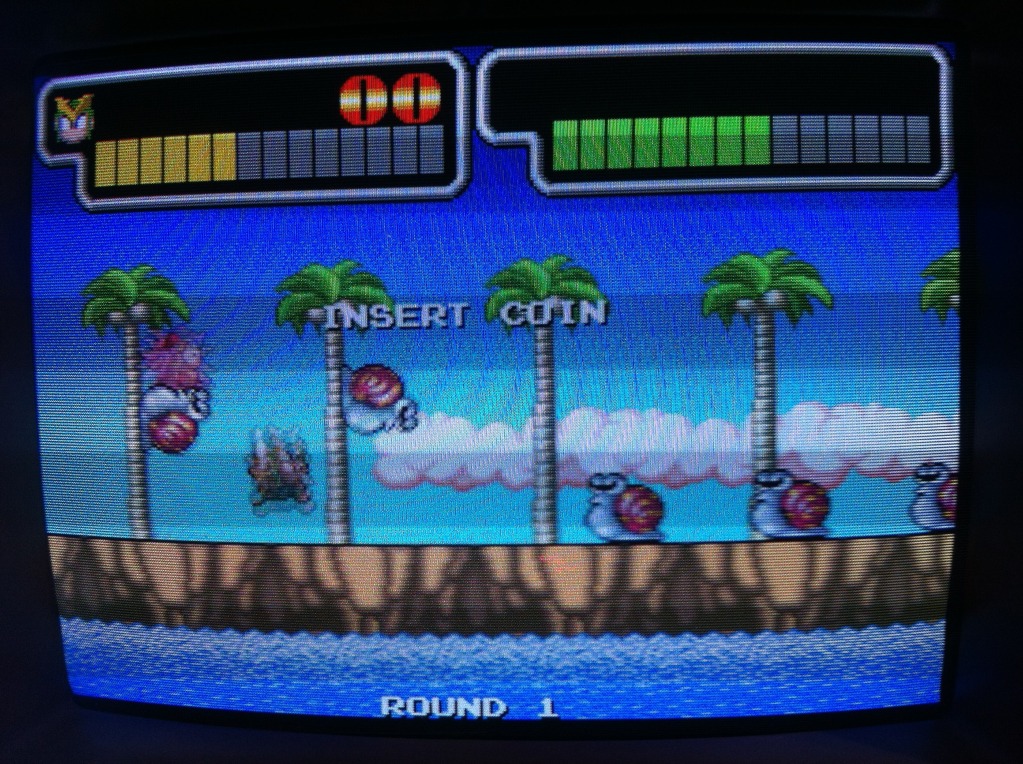
After having a quick look at the edge connector, I took a chance and hooked the board up to my test rig / SuperGun via my Sega System16 adaptor, as the original board is System16. I got these screens
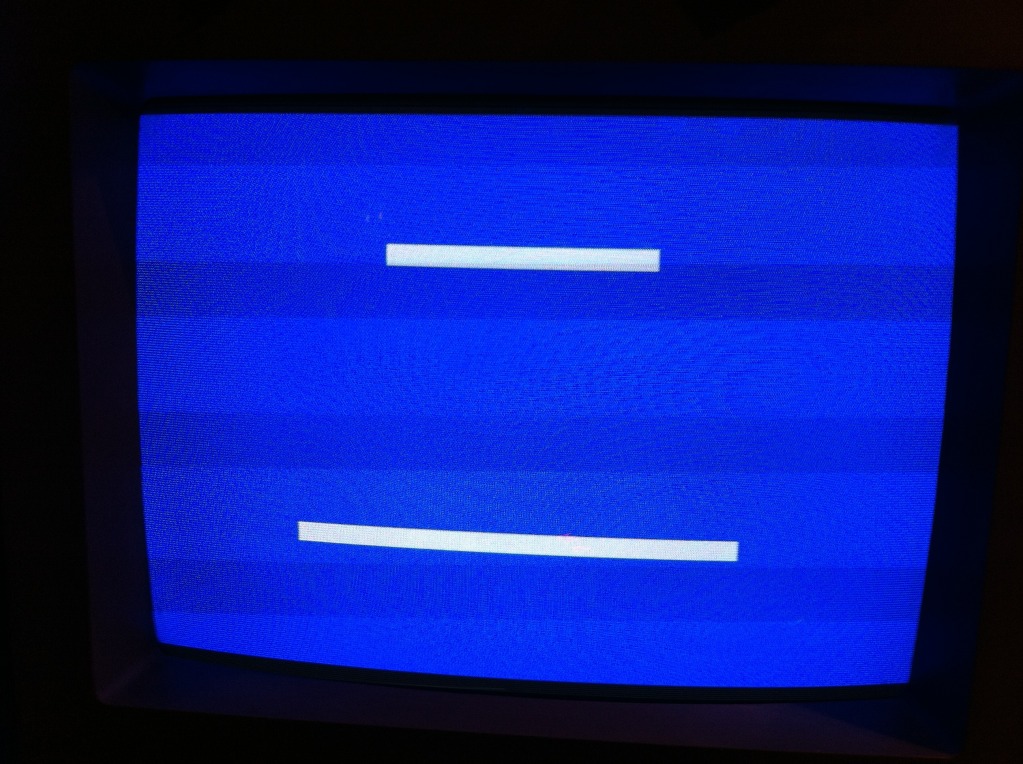
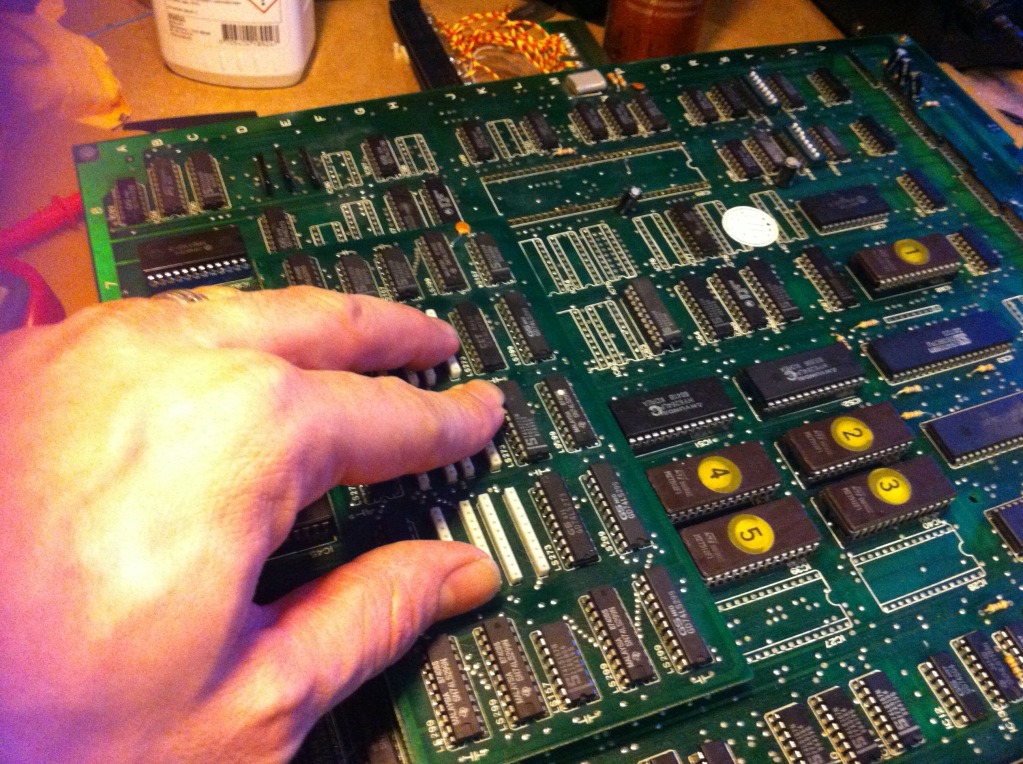
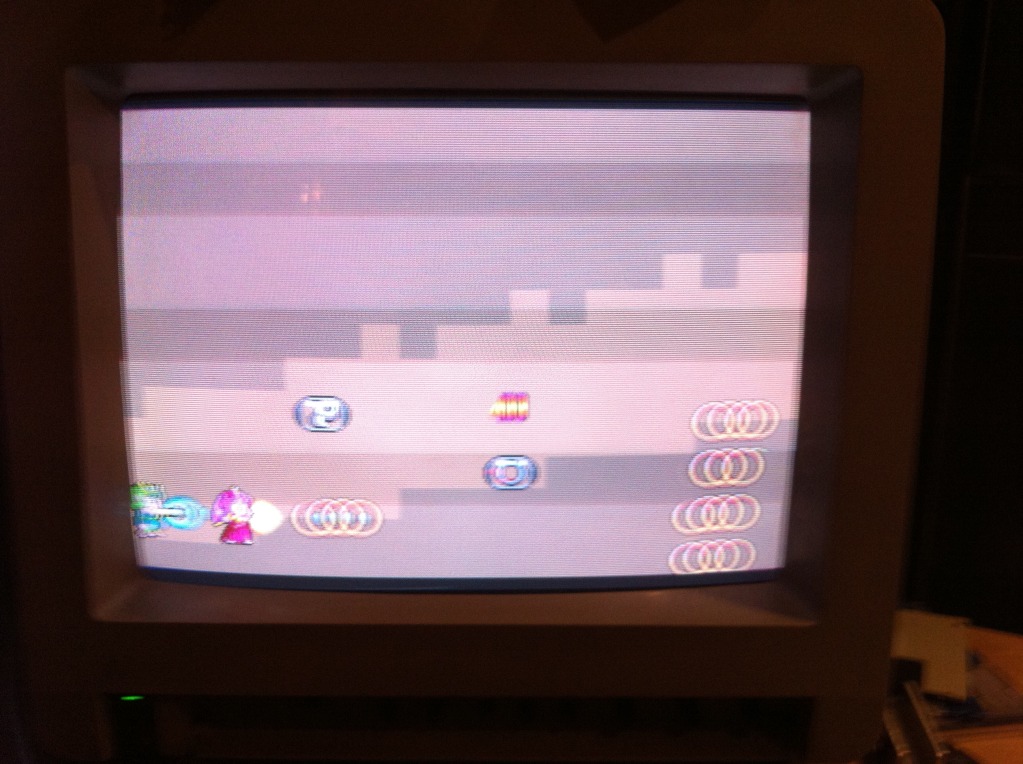
Cool, System16 was obviously the correct pin-out. Tried touching different parts and ICs on the board and looked for changes in the graphis, and when pressing down on the daugther board on the primary PCB
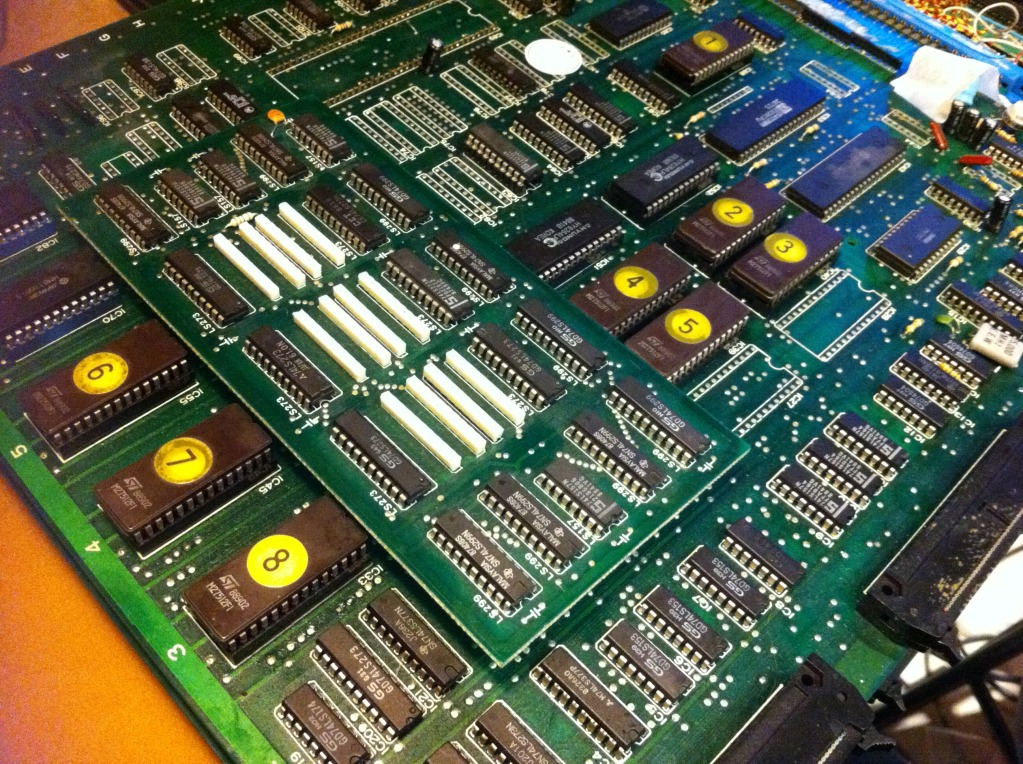
Lovely...this seemed very promising indeed };-P This might turn out to be an easy fix...
I cut the power, and took off the daugther board
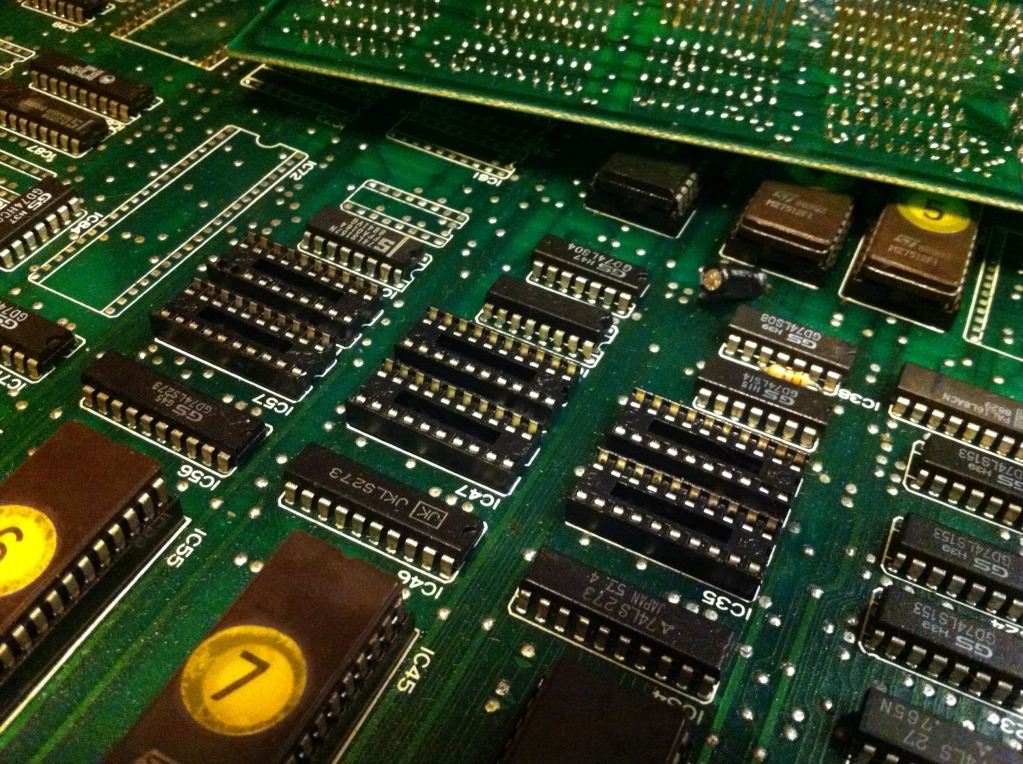
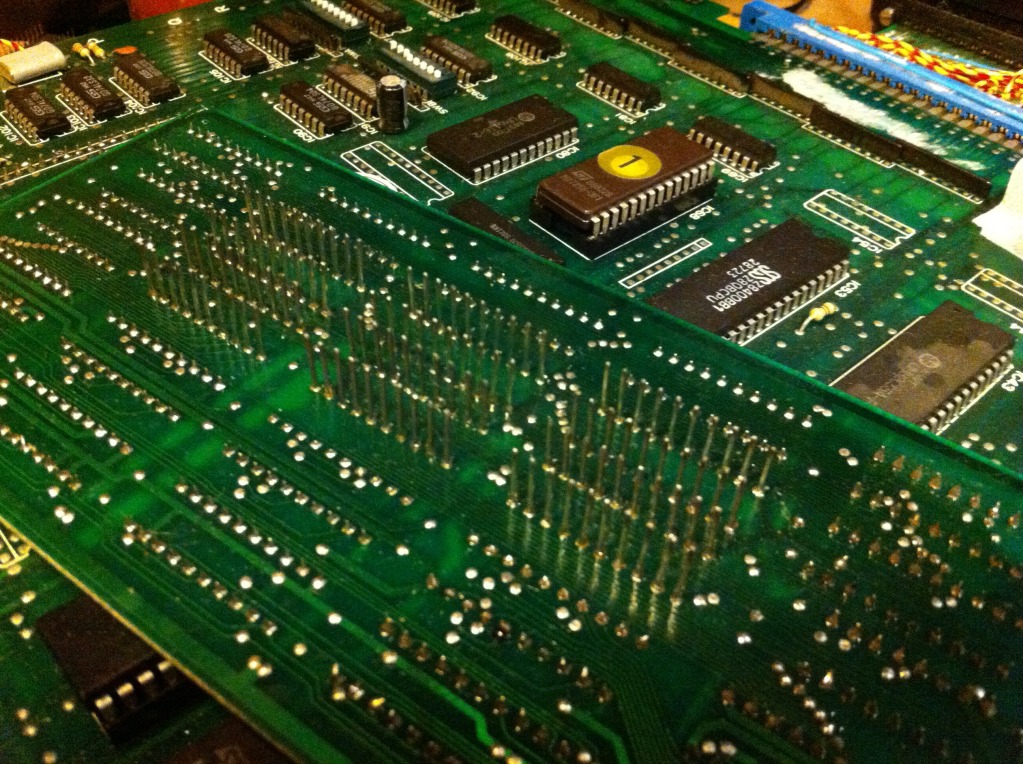
Hmmm, 6 standard 20pins DIL-sockects to grap hold of the reletively long pins on the daugther board; not the most durable (or smart) solution ever seen };-S Well, had a closer look at the many pins, and they all look healthy. But when turning to the DIP-sockets, I found this
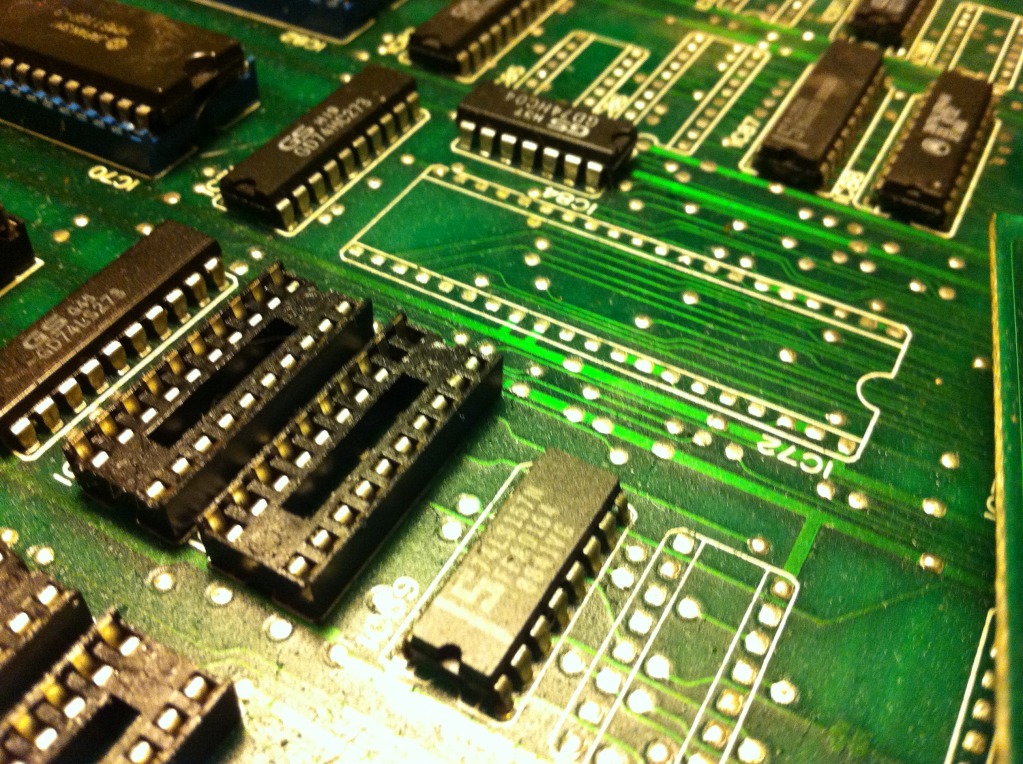
It looked like the daugther board had at some point been forced into the sockets, but with 2 of the pins sligthly bend causing the metal in the coresponding DIP-holes to be deformed. This would surely cause bad contact for the 2 pins, and maby some of the others, as the board migth not be fitted correctly. I didn't have any new sockets, but found a decent looking one on one of my scraps. Removed the damaged socket
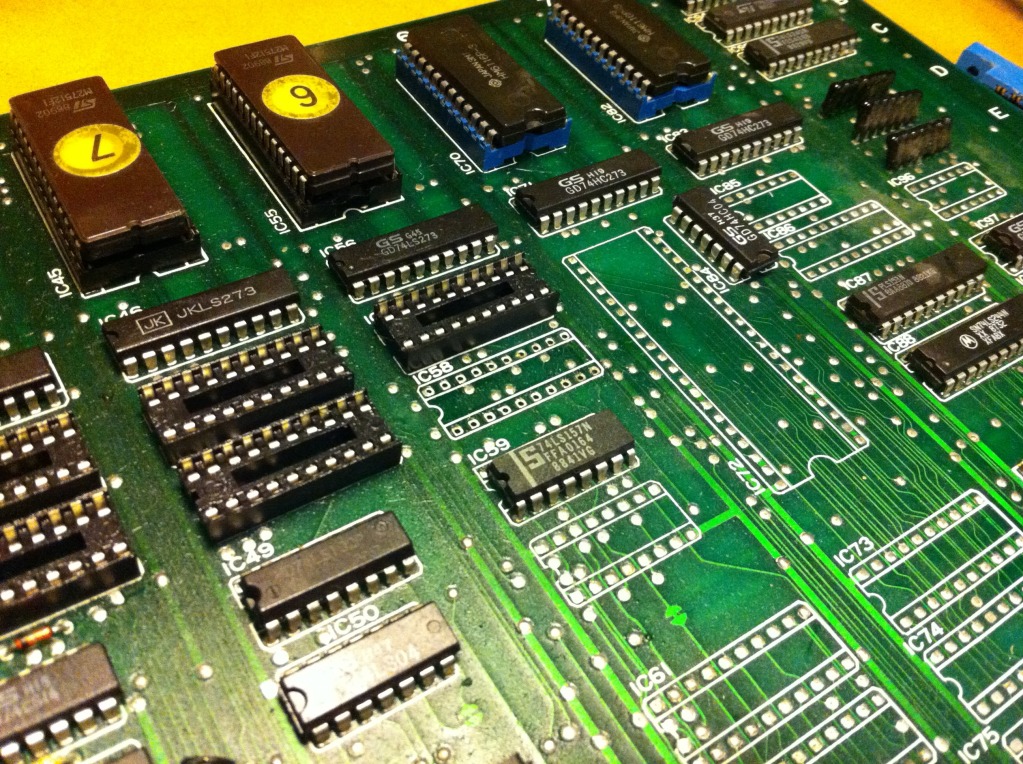
and fitted the one from the scrap board
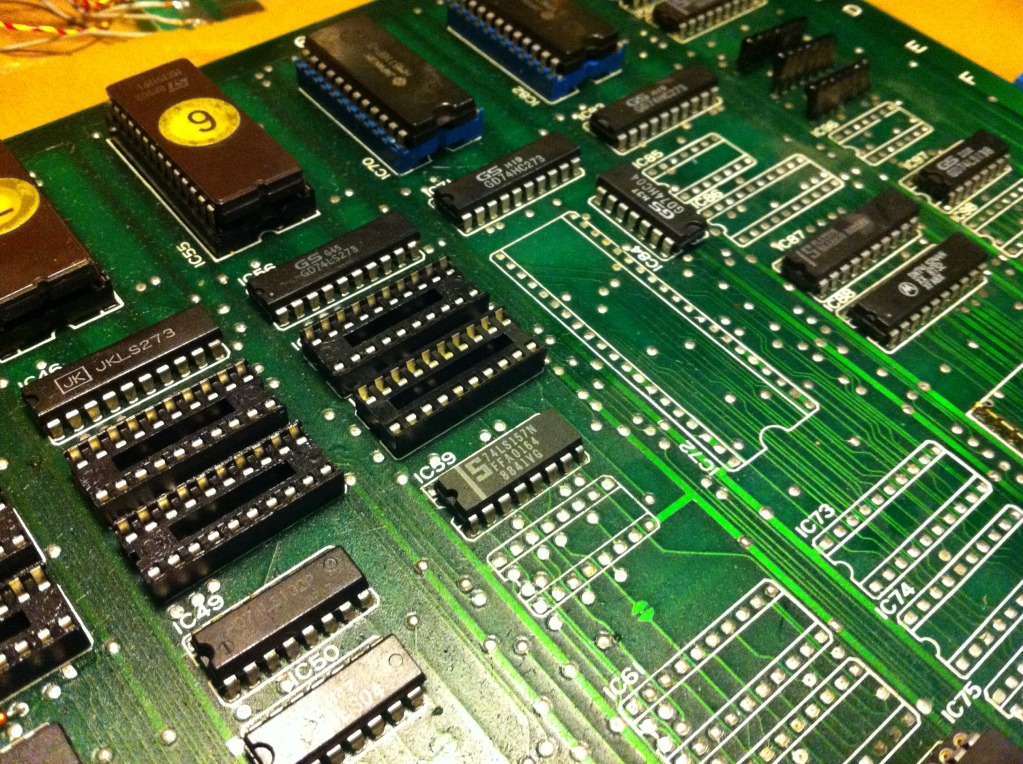
Here I have to mention how much I love my desoldering station. These 2 small desoldering tasks could easily have taken me 1+ hour instead of the 5mins I used };-P ... and with no damage to the socket nor the PCBs.
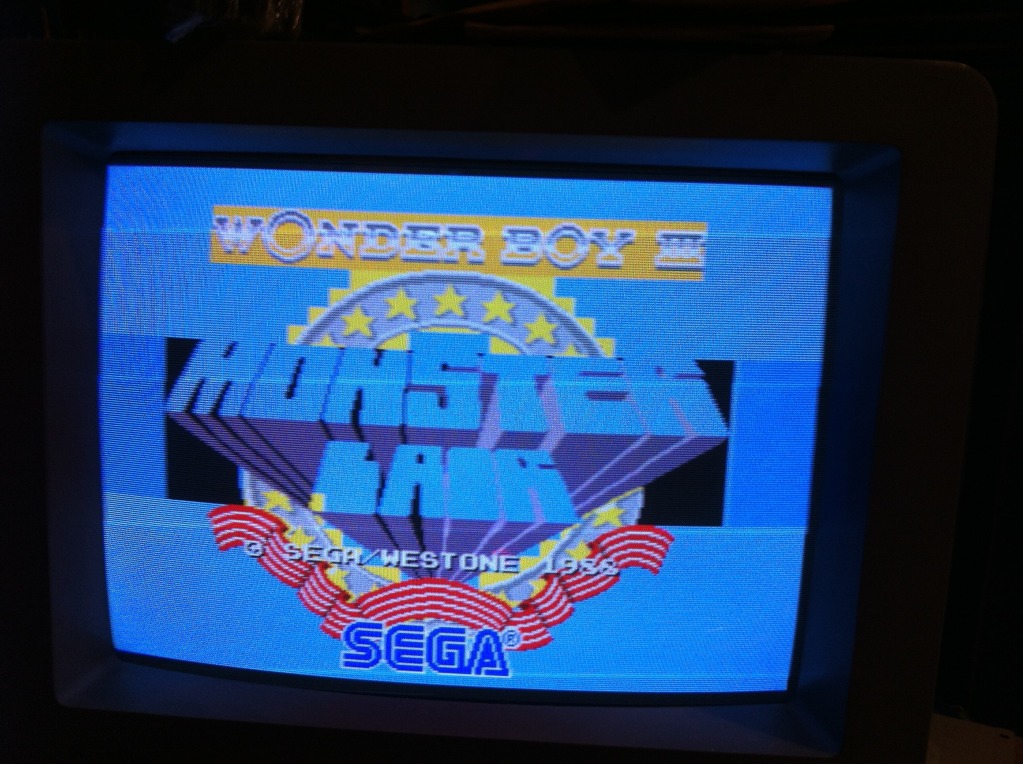
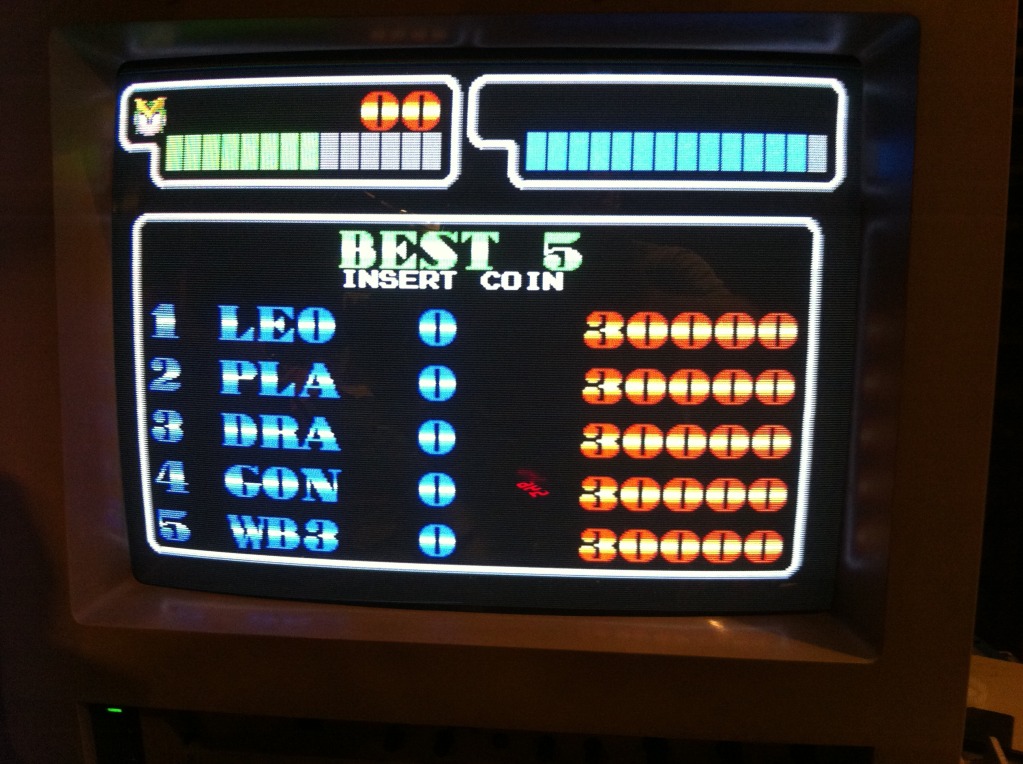
With the daugther board well fitted again, I powered up the game...and LO AND BEHOLD!
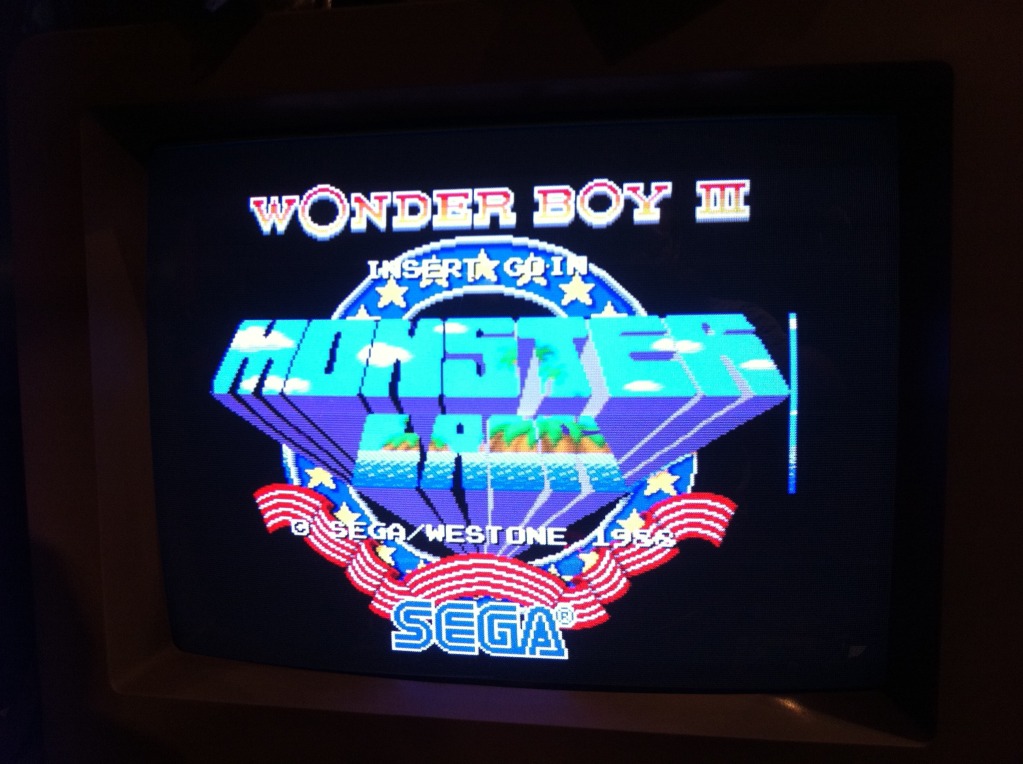
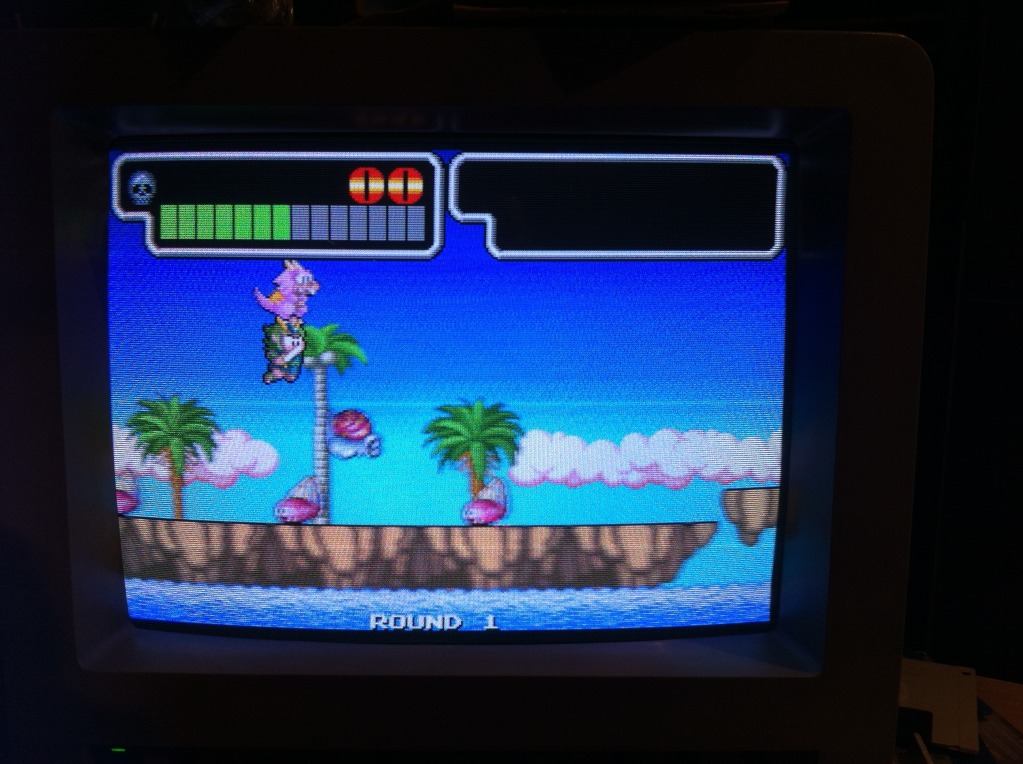
Now the next thing to address was, that until now the game had been dead silent, also when coined up and started! First thing I found, was this loose cap near the amp
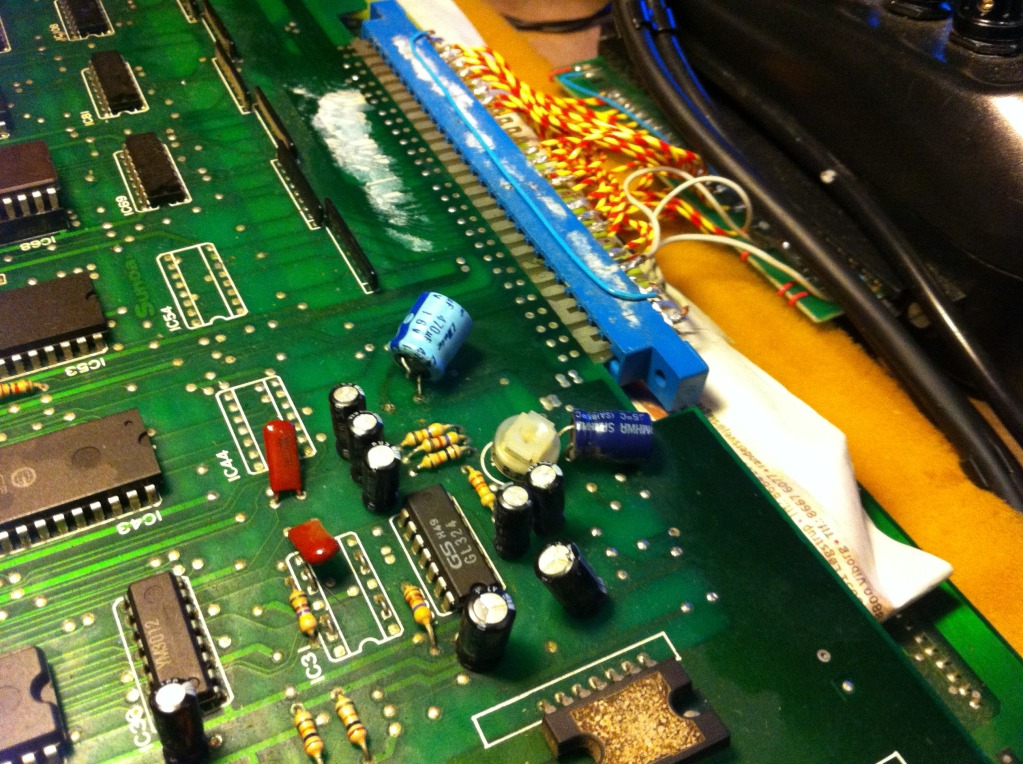
The cap itself didn't look like it was knackered, so cleaned the holes and soldered it back in.
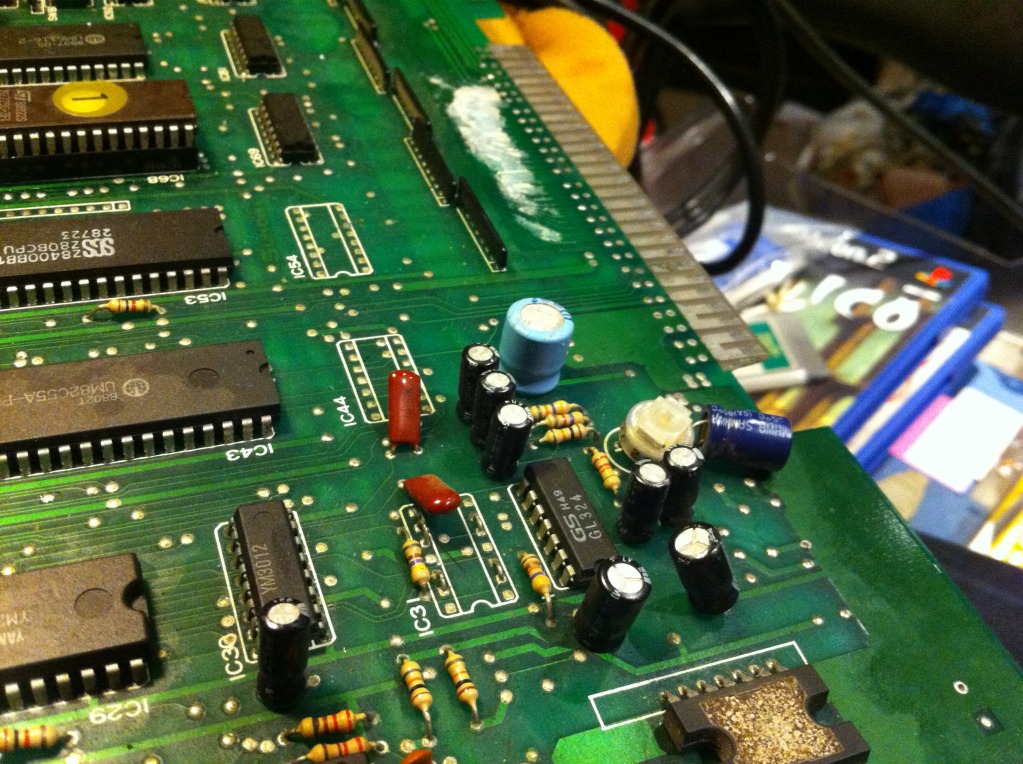
But still no sound; not all that surprising, cause after a closer inspection of the System16 pinout, this cap was merely a smoothening cap with no direct connection to the sound output; it just happend to be close by.
Tried running a finger over the pins of the amp while having the volume pot at both extremes, but didn't even get a slight hiss; clearly no signal at all got through to the monitor! I carefully lifted the amp from the PCB in order to find a part number
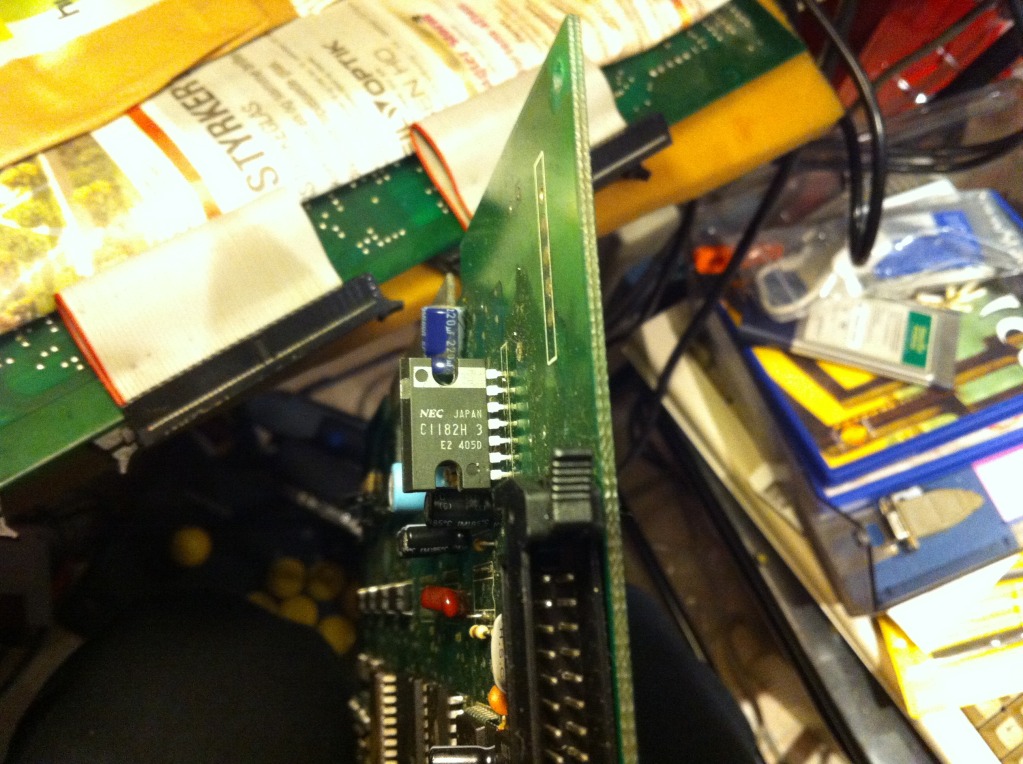
After A LOT of googling, I finally found some useful info at www.andysarcade.de Here's a screen dump of the pinout:
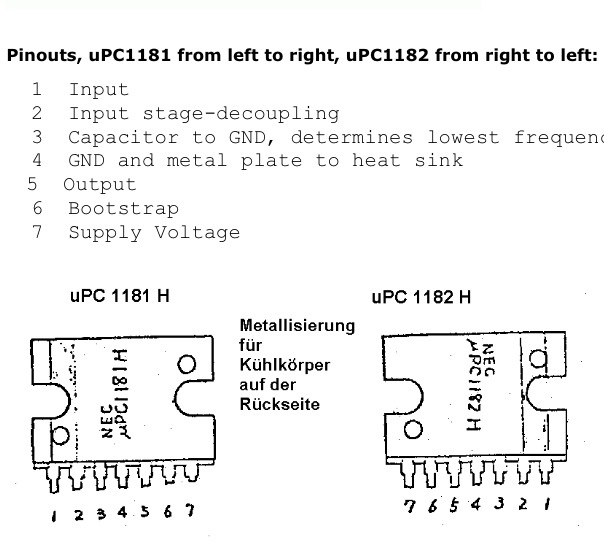
So tried hitting the output (pin 5) with the scope
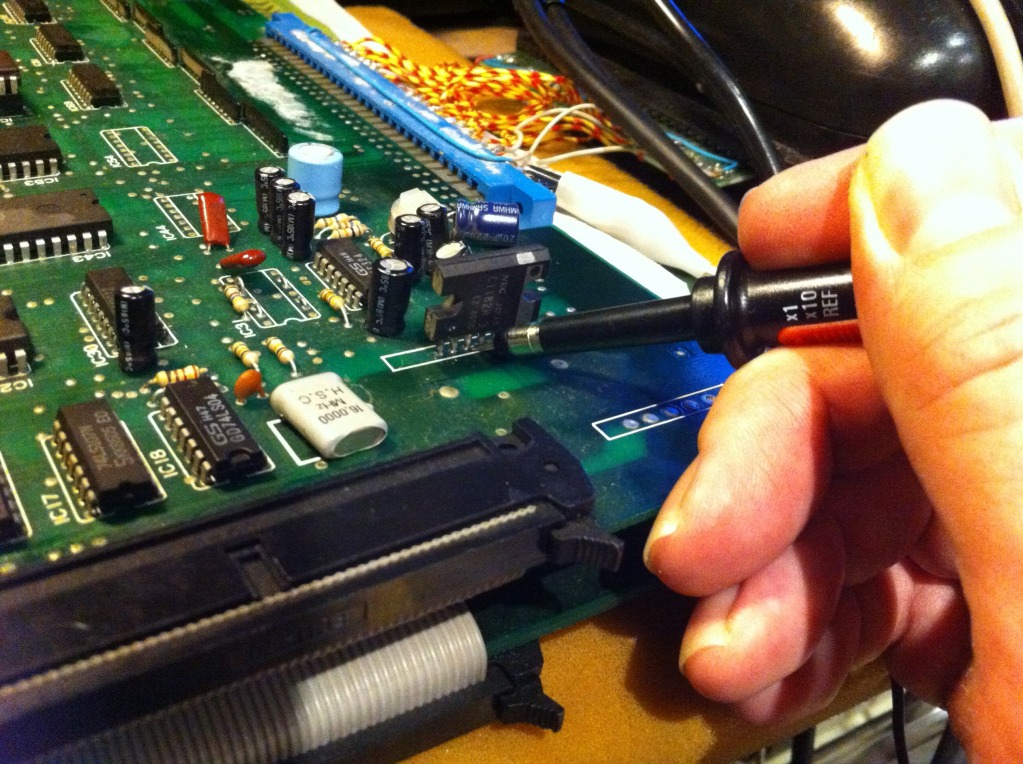
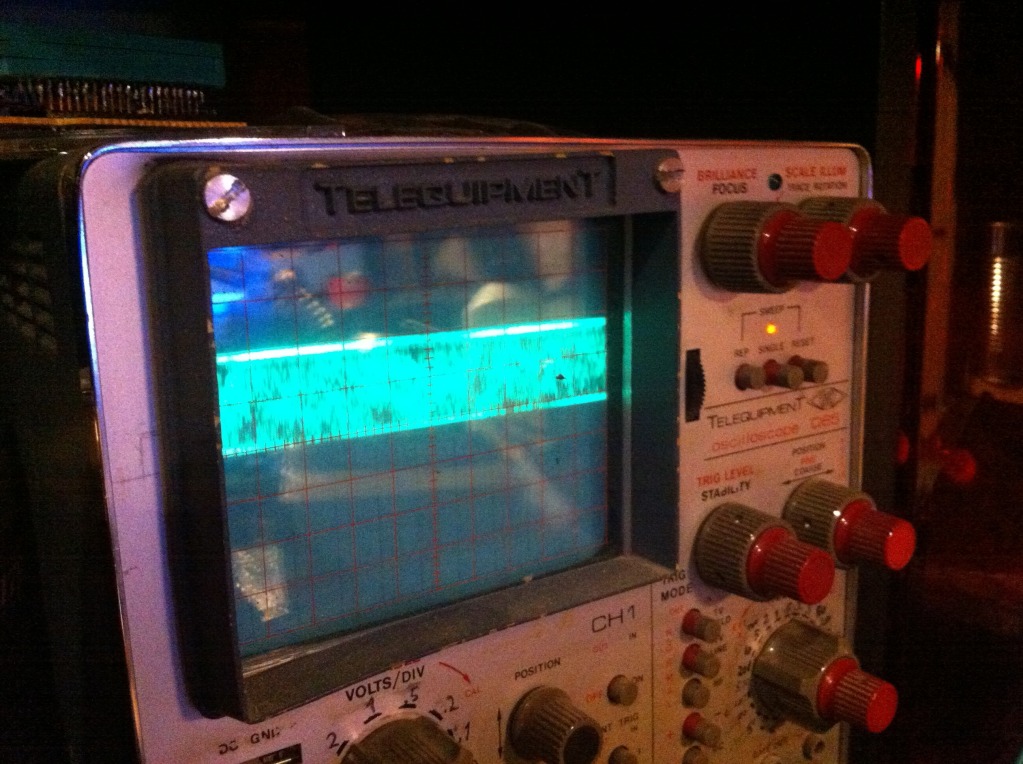
Now that surely looked like sound to me, and the pattern also changed, when coining up, pressing start ect. So the amp seem to work. I then traced the signal through a cap and then straight to SPEAKER- on the edge connector. Hmmm, wait a sec. what about SPEAKER+ then? By using my continuity tester, I found that it was connected directly to GND. Now while this would work flawlessly if the board is connected to a cab with a speaker, it was now clear to me why I didn't get any sound on the monitor. In my homemade SuperGun I feed SPEAKER+ and GND directly into the SCART-plug for mono-sound, so in this case, that would leave me with 2 x GND };-S
A quick criss/cross of the two speaker wires on the System16 adaptor, and I had sound.
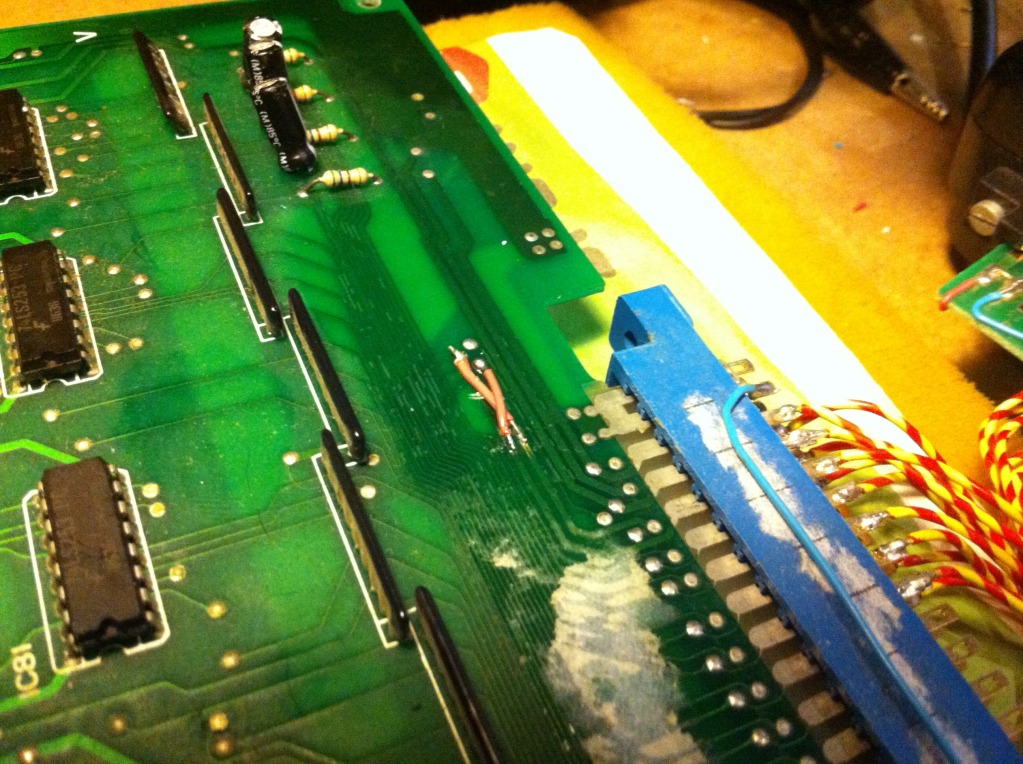
Now as I usually play arcade games on my SuperGun and not in the cabs, and as this is not an original but a bootleg, I decided to cross the two lines on the board instead (had it been an original, I'd made a custom adaptor instead). So found a place where they ran close together, cut the traces, and soldered two small pieces of wire on.
The game is now fully functional (also with my SuperGun), and I'm very happy to have it in my collection. However, it would be nicer to have the original, but you rarely see them up for sale...
